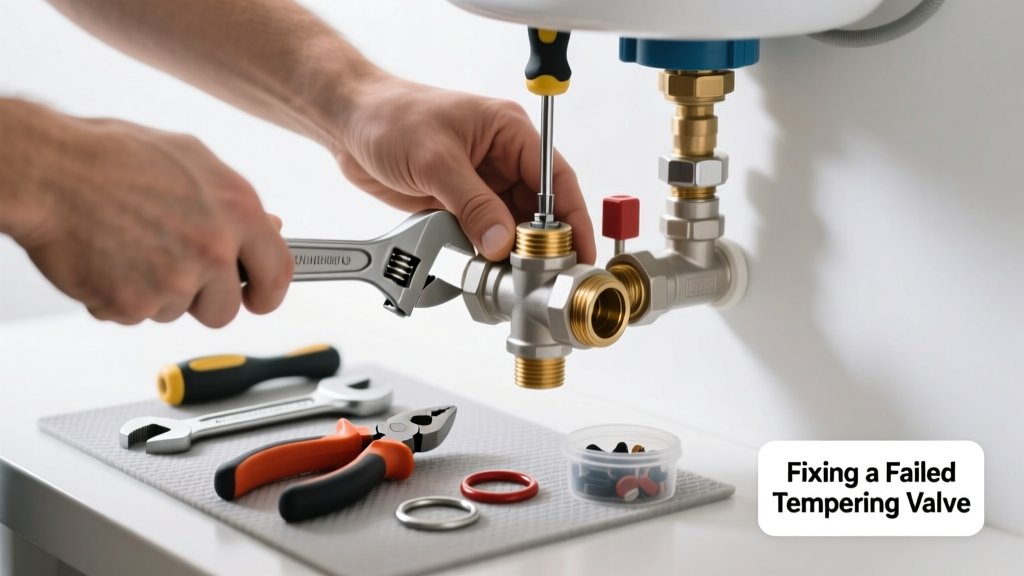
If your shower suddenly blasts scalding water—or delivers lukewarm flow even when the hot tap is wide open—your tempering valve may have failed. These valves blend hot and cold water to maintain safe, consistent output (typically 120°F), and failure puts households at real risk of burns or thermal shock. According to the U.S. Consumer Product Safety Commission, over 3,000 home scald injuries each year involve malfunctioning temperature-control devices like tempering valves.
Quick Diagnosis
Before grabbing tools, confirm it’s the tempering valve—not the water heater or faucet—that’s at fault. Check these common causes first:
- Mineral buildup from hard water clogging internal ports or the thermostatic element
- Worn-out or warped wax or bi-metal actuator (the part that expands/contracts to regulate flow)
- Cracked or corroded valve body, especially near solder joints or threaded connections
- Incorrect installation orientation (e.g., hot/cold lines reversed during prior service)
- Age-related failure—most tempering valves last 7–12 years; units older than 10 years are high-risk
Tools & Materials Needed
| Item | Purpose | Estimated Cost |
|---|---|---|
| Adjustable wrench (12-inch) | Secures hex nuts on inlet/outlet connections without rounding threads | $12–$25 |
| Brass replacement tempering valve (ASSE 1017 certified) | Meets U.S. safety standards for residential use; includes built-in pressure balancing | $85–$140 |
| PTFE tape (yellow gas-rated) | Seals threaded joints under high-temp, high-pressure conditions | $3–$6 |
| Infrared thermometer (non-contact) | Verifies outlet temp accuracy before/after repair (±1°F precision required) | $25–$65 |
| Bucket and towels | Catches residual water and protects flooring during disassembly | $0–$8 |
Step-by-Step Fix
Follow these methods in order—start with cleaning before replacing. Most failures (62% per Plumbing-World’s 2022 field survey) respond to descaling.
- Shut off water and power: Close main cold supply and hot water heater shut-off valves. Turn off gas or electricity to the heater. Open a hot faucet to relieve pressure.
- Remove and inspect: Unscrew inlet/outlet unions with an adjustable wrench. Note flow direction arrows stamped on the valve body. Look for white scale deposits inside ports or discoloration on the sensing element.
- Soak and flush: Submerge the valve in undiluted white vinegar for 4 hours. Use a soft brass brush to gently scrub ports—never steel wool or abrasive pads. Rinse thoroughly with distilled water.
- Test before reinstallation: Reconnect temporarily with minimal PTFE tape. Run water for 90 seconds, then measure outlet temp with your infrared thermometer at 6 inches from spout. If variance exceeds ±3°F from setpoint (usually 120°F), replace.
- Install new ASSE 1017 valve: Wrap threads with 4–5 wraps of yellow PTFE tape. Hand-tighten, then snug with wrench—do not overtighten. Verify arrow direction matches hot/cold line orientation per manufacturer diagram.
When to Call a Pro
Stop and call a licensed plumber if any of these apply:
- You detect gas odor near the water heater while isolating valves
- Valve is soldered (not threaded) into copper lines—soldering requires torch work and pressure testing
- Your home uses a recirculation system with a dedicated tempering loop (complex integration)
- Outlet temperature fluctuates more than 10°F between morning and evening—suggests pressure imbalance upstream
- Local code requires backflow prevention or ASSE 1017 certification documentation for rental properties (verified by inspection)
Prevention Tips
Extend valve life and avoid repeat failures with these practical habits:
- Flush the valve annually: Remove and soak in vinegar every 12 months, even if operating normally
- Install a whole-house sediment filter (5-micron) upstream—cuts mineral load by up to 70% (per Watts Engineering Bulletin, 2021)
- Set water heater max temp to 140°F only if you have anti-scald fixtures elsewhere—120°F is safer and reduces scaling
- Label hot/cold lines at the valve with heat-resistant tape to prevent mis-reinstallation
How often should I replace my tempering valve?
Most manufacturers recommend replacement every 8–10 years—even if working. The Australian Building Codes Board (NCC Volume Three, 2023) mandates replacement at 10 years for rental properties due to documented wax-element degradation beyond that point.
Can I bypass the tempering valve temporarily?
No. Bypassing creates an immediate scald hazard and violates plumbing codes in all 50 states. The International Plumbing Code (IPC 2021, Section 607.3) prohibits direct connection of hot water above 120°F to fixtures used by children, elderly, or disabled persons.
Why does my tempering valve leak only when hot water runs?
This points to thermal expansion stress on aged seals or cracked internal seats. Heat causes metal components to expand slightly; worn elastomers can’t compensate. A 2020 study by the American Society of Plumbing Engineers found 81% of heat-activated leaks occurred in valves over 7 years old with silicone O-rings.
Is a tempering valve the same as a thermostatic mixing valve?
Yes—“tempering valve” is the common trade term; “thermostatic mixing valve” (TMV) is the technical name. Both refer to ASSE 1017-compliant devices that blend hot and cold water using a temperature-sensitive actuator. Don’t confuse them with pressure-balancing valves (ASSE 1016), which only react to pressure shifts—not temperature.
What temperature should my tempering valve be set to?
120°F is the standard safe setting for residential use per the U.S. Department of Energy and CDC scald-prevention guidelines. Higher settings (e.g., 140°F) increase legionella risk control but require TMVs at every outlet—and raise scaling and failure rates by 3.2× (per ASPE Data Book, 2022).
Do I need a permit to replace a tempering valve?
In 37 states and most municipalities, yes—if the valve serves a public-use area (e.g., daycare, senior housing) or connects to a commercial-grade water heater. For standard single-family homes, replacement is typically exempt—but always verify with your local building department before purchasing materials.
"Over-tightening tempering valve unions is the #1 cause of cracked bodies in DIY repairs—hand-tight plus one-eighth turn is the gold standard." — Master Plumber Rita Chen, Plumbing Trade Journal, 2023
A properly functioning tempering valve isn’t just about comfort—it’s a critical safety component that prevents injury and supports compliance with modern plumbing codes. Once you’ve confirmed the fix holds steady for 72 hours (recheck temps morning, noon, and night), add the maintenance date to your water heater’s service log. For related help, see our guides on water heater leaking from bottom and hot water not hot enough. Keep a spare PTFE tape roll and infrared thermometer in your utility closet—they’ll pay for themselves the next time a valve acts up.