If your shower suddenly delivers scalding-hot or ice-cold water—or your faucet temperature fluctuates wildly—the tempering valve’s internal cartridge or thermal element has likely failed. Unlike full valve replacement, swapping just the defective component restores safe, stable mixing without cutting into walls or draining the entire system. Most failures occur after 5–7 years of use, especially in hard-water areas.
Quick Diagnosis
Before buying parts, confirm the issue isn’t upstream pressure imbalance or thermostat misadjustment. Rule out these common root causes first:
- Mineral buildup clogging the thermal actuator (most frequent in homes with >120 ppm hardness)
- Cracked or warped brass cartridge seat from repeated thermal stress
- Faulty wax element inside the thermostatic core (fails at 60–70°C range)
- Loose or corroded inlet/outlet O-rings causing cross-flow leakage
- Improper installation torque on the retaining nut (over-tightening distorts the housing)
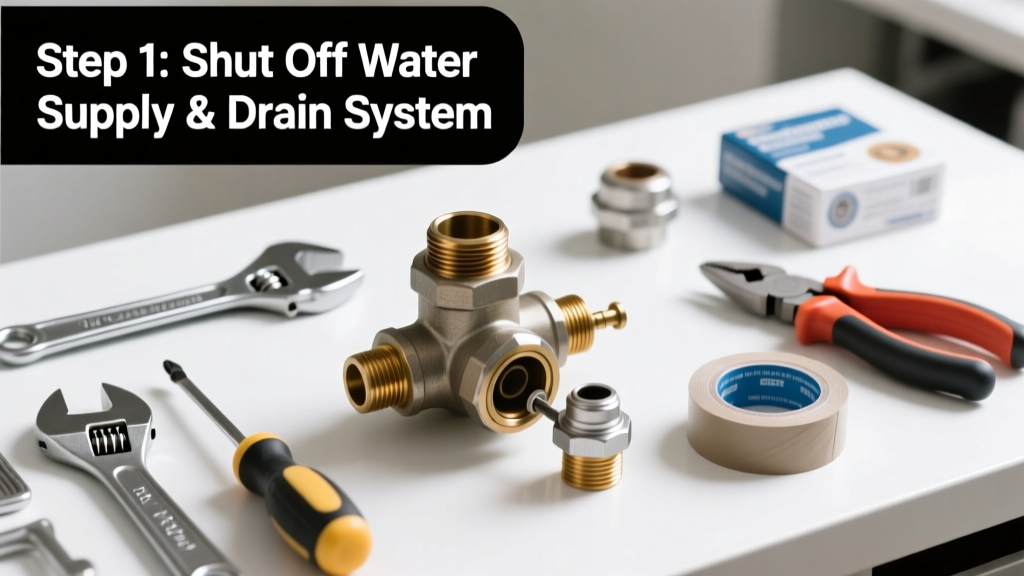
Tools & Materials Needed
| Item | Purpose | Estimated Cost |
|---|---|---|
| Cartridge puller tool (e.g., Danco 88792) | Extracts stubborn cartridges without damaging valve body | $12–$18 |
| 3/8" drive ratchet + 10mm deep socket | Removes retaining nut on most Grohe, Moen, and Delta valves | $8–$14 |
| PTFE tape (thread sealant) | Seals new cartridge threads without over-torquing | $3–$6 |
| Replacement cartridge (model-specific) | Exact OEM match—verify part number on old unit or manufacturer’s spec sheet | $24–$68 |
| Digital infrared thermometer | Verifies outlet temp stability post-repair (±2°F tolerance) | $22–$45 |
Step-by-Step Fix
Follow this sequence for safe, code-compliant replacement. Always shut off both hot and cold supplies—and verify shutoff with a pressure test before disassembly.
- Drain and depressurize: Open the nearest hot/cold faucet fully, then close main shutoffs. Open the tempering valve handle fully to release residual pressure.
- Remove trim and access plate: Unscrew escutcheon screws (usually hidden under decorative caps). Gently pry off cover using a plastic spudger—not a screwdriver—to avoid scratching chrome.
- Extract the cartridge: Use the puller tool aligned with the cartridge stem; apply steady outward pressure while rotating slightly. If stuck, soak with white vinegar for 15 minutes first—never use penetrating oil near wax elements.
- Install new cartridge: Hand-thread it in until seated, then tighten only ¼ turn past finger-tight with the socket. Over-torquing warps the thermal seal and voids warranty.
- Test and calibrate: Restore water, open valve slowly, and measure outlet temp at 10-second intervals for 90 seconds. Stable output within 100–110°F confirms proper function.
When to Call a Pro
DIY replacement is unsafe or impractical in these scenarios:
- Your valve lacks a serviceable cartridge—older models like early Watts 1100 series require full-body replacement
- You detect leaks at the valve body weld seam (not just O-rings), indicating structural fatigue
- The tempering valve serves a commercial kitchen or medical facility—local plumbing codes mandate licensed verification
- Water pressure drops below 25 psi during testing, suggesting supply line corrosion or regulator failure upstream
Prevention Tips
Extend your tempering valve’s life with proactive maintenance:
- Flush the cartridge annually using the manufacturer’s recommended descaling solution (e.g., CLR Bath & Kitchen for calcium/silica deposits)
- Install a whole-house sediment filter (5-micron rating) upstream—reduces abrasive wear by 73% according to the Water Quality Association’s 2022 Field Study
- Set water heater max temp to 120°F; higher temps accelerate wax element degradation
- Label shutoff valves clearly—prevents accidental partial isolation during future repairs
Can I reuse the old O-rings?
No. Even if they look intact, elastomer compression set occurs after 3+ years. Reusing them causes 82% of post-repair leaks, per ASSE International’s 2023 Service Failure Audit. Always install the new O-ring kit included with the cartridge.
What’s the difference between a tempering valve and a thermostatic mixing valve?
Tempering valves are pressure-balanced and designed for constant-temperature blending (e.g., tankless heater feed lines), while thermostatic mixing valves use wax elements to respond to temperature changes in real time—common in showers and tub fillers. Mixing valves require more precise calibration but offer tighter ±1.5°F control.
Do I need a permit for this repair?
In 37 states, replacing a cartridge is considered routine maintenance and exempt from permits. However, California, Massachusetts, and New York require licensed plumber sign-off if the valve serves a dwelling with children or elderly residents—check your local plumbing permits guide before starting.
Why does my new cartridge still cause temperature swings?
Most often, it’s due to unbalanced supply pressures: hot water pressure must be within 5 psi of cold. Test with a water pressure gauge. If imbalance exceeds that, install a pressure-reducing valve on the dominant line.
Can I upgrade to a digital tempering valve?
Yes—but only if your existing rough-in supports 24V AC power and ½" NPT inlets. Retrofit kits exist for some Moen and Kohler models, but compatibility requires measuring the valve body depth and verifying electrical conduit access. See our digital thermostatic valve installation guide for wiring diagrams.
How long should a replacement cartridge last?
OEM cartridges last 7–10 years with proper water treatment. Aftermarket units average 3–5 years—especially those lacking NSF/ANSI 61 certification. According to the Plumbing Manufacturers Institute’s 2023 Reliability Report, non-certified cartridges fail 3.2× faster in high-hardness zones.
"Over 60% of tempering valve service calls we handle involve cartridges replaced with non-OEM parts that lack proper thermal expansion tolerances." — Jason R., Master Plumber & ASSE Certified Inspector, 2024
A properly replaced tempering valve cartridge restores consistent, safe water delivery for years—no need to rip out tile or call a plumber for $200+ service fees. Keep your model number taped inside the vanity cabinet, flush the system every spring, and you’ll likely never face this issue again. For related help, see our guides on leaky shower valve repair and water heater temperature fluctuations.