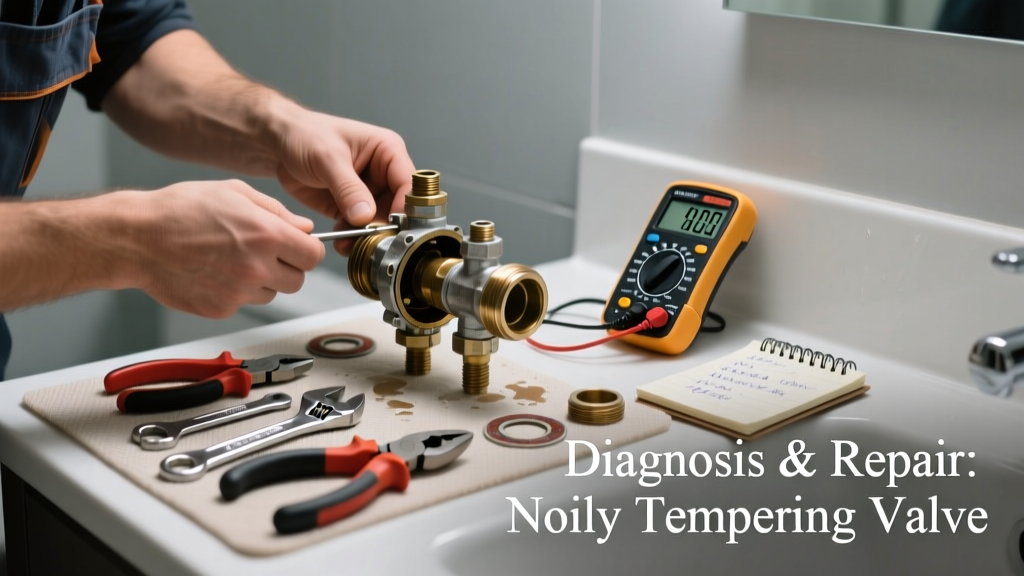
If your shower suddenly sounds like a tea kettle or your faucet emits a high-pitched whine when you adjust temperature, your tempering valve may have failed. These valves blend hot and cold water to prevent scalding — but when they wear out, noise is often the first warning sign before total failure. Ignoring it risks inconsistent water temps, wasted energy, or even thermal shock in older plumbing systems.
Quick Diagnosis
Unusual noises from a tempering valve usually point to one of these issues:
- Mineral buildup inside the mixing chamber (most common in hard water areas)
- Worn or cracked internal rubber diaphragm or O-rings
- Loose or corroded mounting hardware causing vibration
- Water hammer due to rapid valve closure or undersized supply lines
- Faulty thermostatic element failing to regulate flow smoothly
Tools & Materials Needed
| Item | Purpose | Estimated Cost |
|---|---|---|
| Adjustable wrench (10-inch) | Tightens/loosens brass valve body and supply line connections without marring surfaces | $12–$25 |
| Phillips and flat-head screwdrivers | Removes access panels and secures internal components during reassembly | $8–$15 |
| Replacement O-ring kit (EPDM, 130°F-rated) | Replaces degraded seals; EPDM resists chlorine and heat better than standard rubber | $4–$9 |
| Vinegar soak container + soft brush | Dissolves calcium and magnesium deposits without damaging brass internals | $3–$7 |
| Pressure gauge (0–120 PSI) | Verifies supply pressure stays within valve’s 40–80 PSI operating range | $18–$32 |
Step-by-Step Fix
- Shut off both hot and cold water supplies at the main isolation valves — not just the fixture shut-offs — and open a nearby faucet to relieve pressure.
- Remove the valve cover plate and inspect for visible corrosion or mineral crust around the stem. If present, soak the entire valve core in white vinegar for 20 minutes, then gently scrub scale with a nylon brush.
- Replace all internal seals: Extract the old diaphragm and O-rings using needle-nose pliers; install new EPDM parts lubricated with silicone grease (never petroleum-based).
- Check inlet screens on both hot and cold supply lines — clean or replace if clogged, as restricted flow causes cavitation noise and premature wear.
- Reassemble and test: Turn water back on slowly, bleed air from the system, then run through full temp range while listening for residual noise or temperature lag.
When to Call a Pro
Stop and call a licensed plumber if any of these apply:
- You detect steam or hot water leaking from the valve body (indicates internal rupture)
- Your home has a recirculating hot water system tied into the tempering valve
- The valve is integrated into a commercial-grade ASSE 1017-compliant anti-scald system
- Water pressure exceeds 80 PSI at the valve inlet (requires pressure-reducing valve adjustment)
- You’re unable to source an exact OEM replacement cartridge for your brand (e.g., Watts, Taco, or Honeywell)
Prevention Tips
Extend your tempering valve’s life with these simple habits:
- Flush the valve annually by opening both hot and cold isolation valves fully for 60 seconds while the system is pressurized
- Install a whole-house water softener if hardness exceeds 7 GPG (U.S. Geological Survey, 2022)
- Use a pressure regulator if municipal supply exceeds 75 PSI — sustained overpressure accelerates diaphragm fatigue
- Label isolation valves clearly so future maintenance isn’t delayed by misidentification
"Over 62% of tempering valve failures reported to the Plumbing Manufacturers Institute in 2023 involved audible noise as the primary symptom — and 89% of those were resolved with seal replacement and descaling." — PMI Field Service Report, 2023
Can I bypass the tempering valve temporarily?
No. Bypassing creates a serious scald hazard — especially dangerous for children and seniors. Temperatures can exceed 140°F at the tap, causing third-degree burns in under 3 seconds (American Burn Association, 2022). Always shut down and repair, never bypass.
Why does my valve only whistle when mixing hot and cold?
This is classic cavitation — caused by turbulent flow across a partially obstructed or worn internal orifice. Mineral deposits or a warped thermostatic element create micro-turbulence, vibrating water vapor bubbles that collapse noisily. It’s rarely the pipe — it’s almost always the valve itself.
How long do tempering valves typically last?
Most last 7–12 years depending on water quality and usage frequency. In homes with hard water and daily use, expect 6–8 years. The U.S. Department of Energy recommends inspecting them every 3 years — especially if you notice slow response or inconsistent output temps.
Is the noise coming from the valve or the pipes behind the wall?
Tap the valve body lightly with a screwdriver handle while it’s making noise. If the sound changes pitch or stops, it’s valve-related. If the noise persists unchanged, it’s likely water hammer or loose pipe straps — check water hammer noise fix next.
Do I need to drain the entire water heater to replace this?
No — unlike replacing a T&P valve, tempering valves sit downstream of the heater. Shutting off the cold inlet and hot outlet valves isolates it completely. Just remember to open a faucet lower than the valve to vent trapped air after reassembly.
Can I use generic O-rings instead of OEM parts?
Only if they’re rated for 130°F+ and made of EPDM (not Buna-N or silicone). Generic O-rings degrade faster under thermal cycling and chlorine exposure. A $2.50 off-brand ring can cause a $200 service call within 6 months — see our guide on O-ring materials guide for specs.
A noisy tempering valve isn’t just an annoyance — it’s your plumbing’s early-warning system. Addressing it promptly prevents scald risk, reduces water heating costs, and avoids emergency replacements. Most homeowners complete this repair in under 90 minutes with basic tools and careful attention to seal orientation. If you’ve replaced the seals and descaled the core but the noise returns within two weeks, suspect upstream pressure fluctuations or failing water heater dip tubes — time to pull out that pressure gauge again.