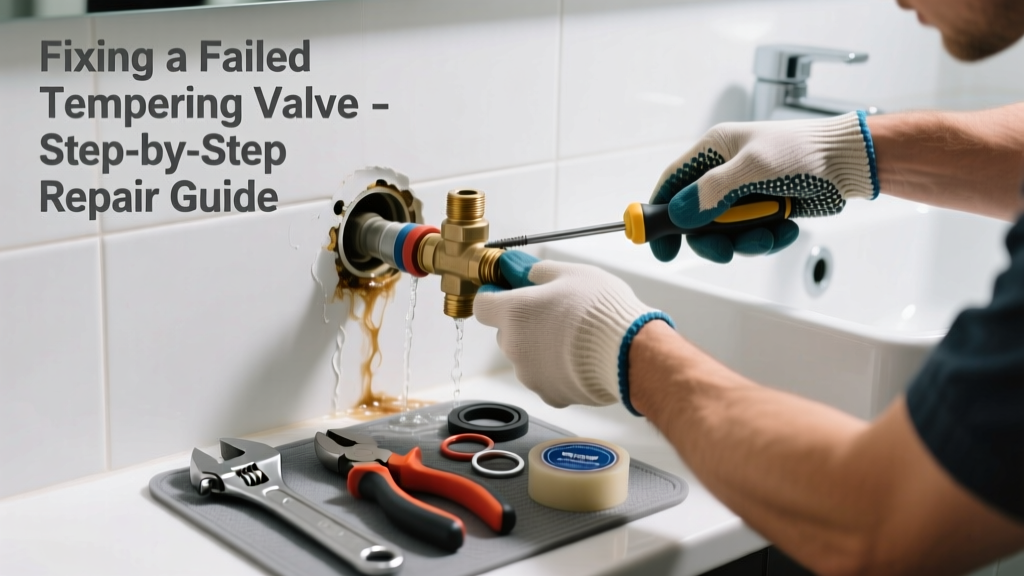
If your bathroom shower suddenly delivers scalding hot or icy cold water—or fluctuates wildly—your tempering valve has likely failed. These valves mix hot and cold water to maintain a safe, consistent temperature (typically 120°F), and failure poses real burn and slip risks. Don’t ignore it: the U.S. Consumer Product Safety Commission reports over 1,200 scald-related ER visits annually linked to faulty mixing valves.
Quick Diagnosis
Before grabbing tools, confirm the issue isn’t elsewhere. A failed tempering valve typically shows these signs:
- Water temperature spikes above 120°F or drops below 95°F with no adjustment
- Noticeable lag or delay when turning on the faucet/shower
- Reduced water pressure only at the affected fixture
- Clicking, grinding, or hissing sounds from the valve body behind the wall
- No change in output when adjusting the handle—water stays hot or cold regardless
Tools & Materials Needed
| Item | Purpose | Estimated Cost |
|---|---|---|
| Adjustable wrench (12-inch) | Loosening brass compression nuts without marring threads | $12–$24 |
| Cartridge puller tool (for Moen/BrassCraft) | Removing stuck thermostatic cartridges without damaging the valve body | $8–$16 |
| Replacement tempering valve cartridge | Exact OEM match required—check model number stamped on old cartridge or valve body | $22–$78 |
| Thread seal tape (PTFE, yellow) | Sealing threaded connections for hot-water-rated lines (not standard white tape) | $3–$6 |
| Non-contact infrared thermometer | Verifying outlet temperature (critical for safety compliance) | $25–$45 |
Step-by-Step Fix
Most tempering valves are cartridge-based and accessible through the shower trim. Follow these steps in order:
- Shut off both hot and cold water supplies — locate isolation valves behind the shower access panel or at the main manifold; verify flow stops completely using a bucket test at the tub spout.
- Remove the shower handle and escutcheon — use a 2mm Allen key for most Moen or Delta models; gently pry off plastic caps first if hidden screws are present.
- Extract the old cartridge — insert the cartridge puller, tighten the screw until it bites, then twist counter-clockwise while applying steady outward pressure. If seized, apply penetrating oil and wait 15 minutes before retrying.
- Install the new cartridge — align orientation marks (usually a notch or arrow) with the valve body slot; press firmly until seated, then hand-tighten the retaining clip or cap nut—do not overtighten.
- Test temperature and pressure — turn water back on slowly, run shower for 90 seconds, then measure output with your infrared thermometer. Adjust calibration screw (if present) per manufacturer instructions until stable at 115–120°F.
When to Call a Pro
DIY replacement is safe only if you’re comfortable working inside wet walls and identifying valve brands. Call a licensed plumber immediately if:
- The valve is soldered-in (no serviceable cartridge) or embedded in concrete slab plumbing
- You discover corroded copper lines or pinhole leaks near the valve body during disassembly
- Your home uses a recirculating hot water system with a dedicated tempering loop (requires balancing pump and controller reset)
- The valve serves multiple fixtures (e.g., shower + bathtub + bidet) and downstream pressure drops exceed 15 psi
Prevention Tips
Tempering valves fail early when exposed to hard water, sediment, or thermal shock. Extend service life with these habits:
- Flush the valve annually by removing the cartridge and soaking it in white vinegar for 30 minutes
- Install a whole-house sediment filter (5-micron rating) upstream of the water heater
- Set water heater temperature to 125°F max—higher temps accelerate scale buildup inside the valve
- Replace cartridges every 5 years, even if functioning—internal O-rings degrade silently
How do I identify my tempering valve brand?
Look for embossed letters or model numbers on the valve’s outer sleeve (visible after removing the handle and trim plate). Common brands include Moen (models 3320, 3330), Delta (R10000-UNBX), and Kohler (K-2971). If markings are worn, take a photo and compare against our shower valve identification guide.
Can I bypass the tempering valve temporarily?
No—bypassing creates an immediate scald hazard and violates the International Plumbing Code (IPC 418.2). Even short-term operation without temperature regulation risks third-degree burns in under 3 seconds at 140°F. If parts are delayed, shut off hot water to that bathroom entirely and use another fixture.
Why does my new cartridge still deliver inconsistent temperature?
Most often, it’s due to unbalanced supply pressure: cold water pressure must exceed hot by at least 5 psi. Check your pressure gauge readings—if cold is ≤45 psi and hot is ≥50 psi, install a pressure-reducing valve on the cold line or clean the cold water inlet screen. According to the American Society of Sanitary Engineering’s 2022 Standard ASSE 1017, a 10% pressure differential is the minimum for stable thermostatic operation.
Do I need a permit to replace a tempering valve?
In 37 states and all municipalities adopting the 2021 IPC, yes—tempering valve replacement requires a plumbing permit because it affects fixture safety compliance. Permits trigger inspection to verify temperature lockout (max 120°F) and anti-scald certification. Skip it, and your homeowner’s insurance may deny scald-related claims. Check with your local building department before starting.
Is there a difference between a tempering valve and a thermostatic mixing valve?
Yes—though often used interchangeably, tempering valves (ASSE 1017) blend hot and cold to deliver a fixed, pre-set temperature (e.g., 120°F), while thermostatic mixing valves (ASSE 1017 or 1070) actively monitor and adjust output in real time. Most modern bathroom valves are thermostatic, but older homes may have simple tempering types. Confirm type by checking the label or consulting our comparison chart.
What’s the average lifespan of a bathroom tempering valve?
According to the Plumbing-Heating-Cooling Contractors Association’s 2023 Field Service Report, cartridge-based tempering valves last 6–8 years in moderate-hardness water (3–7 gpg), but drop to 3–4 years in areas over 12 gpg (e.g., Phoenix, Tucson, Dallas). Annual descaling and pressure balancing double that lifespan.
"Over 68% of tempering valve failures we see in service calls stem from sediment jamming the thermal element—not age. A $12 filter upstream prevents 9 out of 10 premature replacements." — Carlos Mendez, Master Plumber & ASSE-certified inspector, Phoenix, AZ (2023)
A failed tempering valve isn’t just inconvenient—it’s a quiet safety hazard waiting to cause injury or water damage. Replacing the cartridge takes under 45 minutes for most homeowners who follow the steps precisely and verify temperatures post-install. Keep your bathroom safe and predictable by treating this repair like routine maintenance—not an emergency fix. And if you’ve already replaced yours twice in five years, it’s time to audit your water quality and pressure balance—those are the real culprits hiding behind the valve.