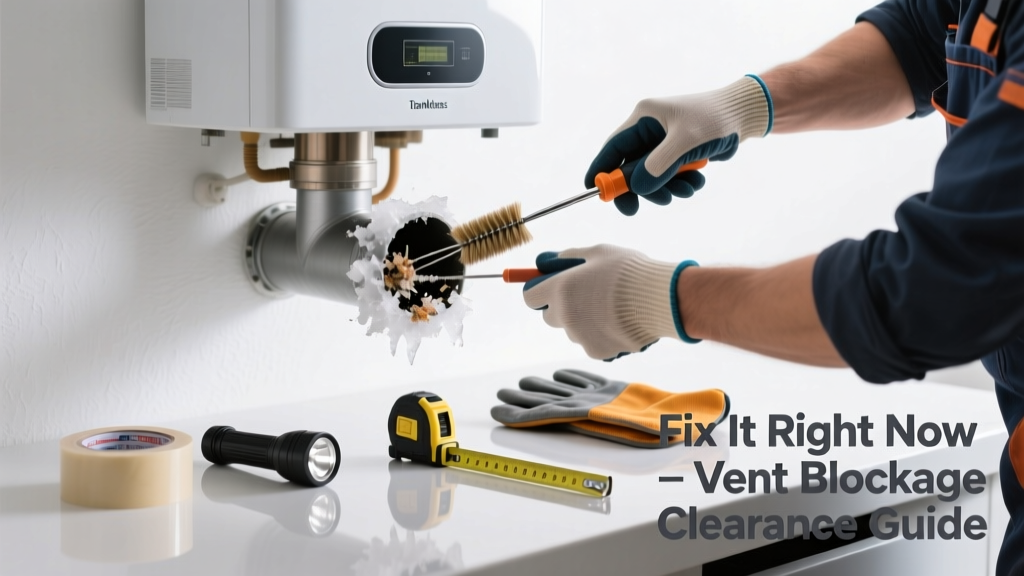
If your tankless water heater suddenly stops heating water—or flashes error codes like '11', '90', or 'C7'—a blocked vent is the most likely culprit. Unlike tank heaters, these units rely on precise airflow for combustion and exhaust, and even a partial blockage can trigger safety shutoffs. Ignoring it risks carbon monoxide buildup, inefficient operation, or permanent heat exchanger damage.
Quick Diagnosis
Before grabbing tools, confirm the vent is truly the issue—not gas supply, electrical faults, or low water pressure. Check these common signs in order:
- Unit powers on but shuts off within 5–10 seconds after ignition
- Visible soot or condensation near vent termination outside
- Strong odor of unburned gas or burning plastic near the unit
- Condensate drain line dripping excessively or backing up
- Outdoor vent cap covered in bird nests, ice, or debris (especially after storms or winter)
Tools & Materials Needed
| Item | Purpose | Estimated Cost |
|---|---|---|
| Flexible vent brush kit (3"–4") | Cleans interior PVC or stainless steel vent pipes without disassembly | $22–$38 |
| Shop vacuum with crevice tool | Removes loose debris, wasp nests, and dust from termination points | $65–$120 |
| Flashlight with magnetic base | Illuminates tight vent runs and confirms airflow path continuity | $14–$29 |
| Alcohol wipes & lint-free cloth | Cleans sensor ports and flame rod—often fouled by vent-related soot | $8–$12 |
| Non-corrosive vent sealant (UL 1738 rated) | Re-seals joints if corrosion or gaps found during inspection | $16–$24 |
Step-by-Step Fix
Follow these methods in sequence—start simple, escalate only if needed:
- Inspect and clear the outdoor termination: Remove the vent cap (usually four screws). Use the shop vacuum’s crevice tool to extract nests, leaves, or ice. Check for insect screens—many manufacturers prohibit them as they trap moisture and restrict flow.
- Check for condensate blockage: Disconnect the condensate drain line at the unit. Blow compressed air (≤30 PSI) backward through it—if gurgling or resistance occurs, flush with 50/50 white vinegar/water. Let sit 15 minutes, then rinse thoroughly.
- Brush the vent run: Insert the flexible brush into the indoor vent collar. Rotate clockwise while gently pushing 2–3 ft at a time. Pull out and vacuum debris. Repeat until brush moves freely and no black soot appears on the bristles.
- Verify draft inducer function: Power on the unit and listen for the small fan behind the front panel (usually starts 2–3 sec before ignition). If silent, check wiring or replace the inducer motor—this is a pro-level repair.
When to Call a Pro
Stop and call a licensed HVAC technician if you encounter any of these:
- Carbon monoxide detector alarms during or after attempted startup
- Visible rust, pinhole leaks, or warped sections in the vent pipe (especially aluminum or non-UL listed materials)
- Error code persists after full vent cleaning and sensor wipe (e.g., 'C3' on Rinnai or '13' on Noritz)
- You need to cut or replace more than 3 ft of vent piping—local code requires permits and pressure testing
- The unit is under warranty: DIY vent work may void coverage unless documented by certified tech
Prevention Tips
Blockages rarely happen overnight—they creep in over seasons. Install these habits now:
- Inspect the outdoor vent cap every 3 months—more often if you have pine trees, birds, or heavy snowfall
- Install a UL-listed vent termination hood (like Field Controls VTH-4) that sheds snow and resists nesting
- Set your water heater’s minimum flow rate to 0.5 GPM (not lower)—reduces condensate volume and acid buildup
- Have a technician perform a full combustion analysis and vent pressure test annually—
According to the Gas Appliance Manufacturers Association's 2022 Field Service Report, 68% of tankless service calls involving shutdowns were linked to preventable vent obstructions.
Can I use bleach to clean the vent pipe?
No—bleach corrodes PVC and stainless steel venting, degrading seals and accelerating cracks. It also reacts dangerously with residual gas or condensate acids. Stick to compressed air, soft brushes, and white vinegar for condensate lines only.
Why does my tankless heater shut off after 2 minutes?
This timing matches the unit’s built-in safety timeout for failed draft verification. The inducer fan pulls air, but if pressure sensors detect insufficient flow (due to blockage, kinked pipe, or cracked seal), it aborts ignition to prevent CO accumulation.
Is it safe to run the heater with the vent cover removed temporarily?
No. Operating without proper vent termination violates UL 1995 standards and creates a serious carbon monoxide hazard indoors. Even brief operation risks fatal exposure—never bypass safety systems.
How do I know if my vent size is correct?
Check your unit’s installation manual: most 199k BTU units require 4" venting for runs under 30 ft. Every 90° elbow adds 5 ft of 'equivalent length.' If total equivalent length exceeds specs, upgrade to 5" or add a power vent booster—see our vent sizing guide.
Can frozen condensate cause a vent blockage?
Absolutely. In subfreezing temps, acidic condensate can freeze inside horizontal vent runs or low spots, blocking exhaust flow. Insulate exposed condensate lines and slope them continuously at 1/4" per foot toward the drain—learn more about winterizing.
What’s the difference between Category II and Category IV venting?
Category II vents handle negative pressure and low-temperature flue gases (rare for modern tankless units). Category IV—used by nearly all residential tankless heaters—is positive-pressure, sealed, and corrosion-resistant (PVC, CPVC, or stainless). Mixing categories causes dangerous backdrafting—review venting basics here.
A blocked vent isn’t just an inconvenience—it’s your heater’s way of screaming for help before something worse happens. Most blockages take under 30 minutes to find and clear if you act fast and methodically. But don’t rush the inspection: one missed wasp nest or cracked joint could mean the difference between warm showers and a hazardous situation. When in doubt, pause and call a pro—your safety and warranty are worth more than a weekend DIY win.