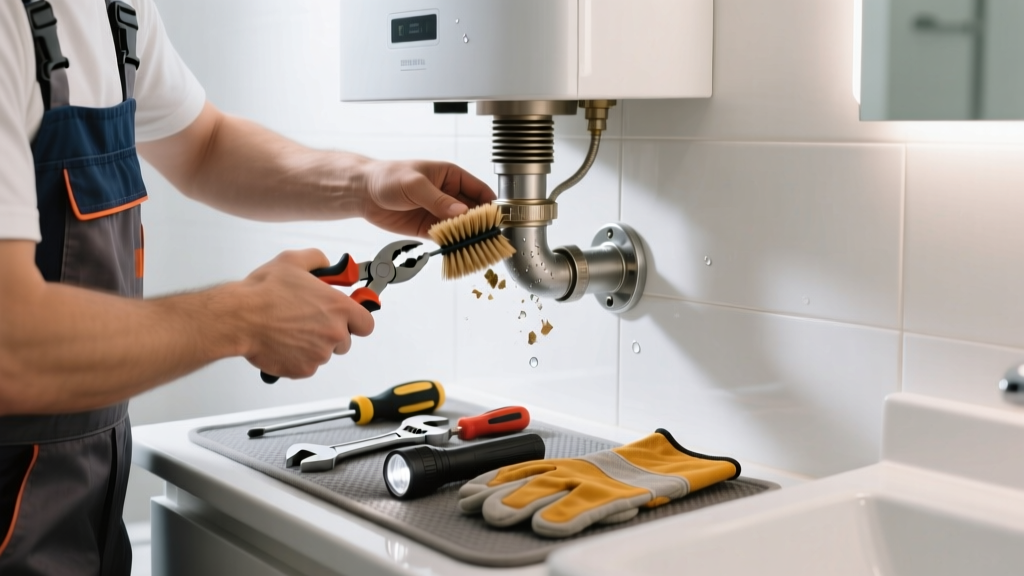
If your tankless water heater shuts down unexpectedly—and you notice a faint odor, condensation on the bathroom mirror, or error code 'C3' or '11'—a blocked vent in the bathroom is likely the culprit. Unlike kitchen or garage installations, bathroom vents face unique challenges: steam, shampoo residue, and cramped spaces accelerate clogging. Ignoring it risks carbon monoxide buildup and voided warranties.
Quick Diagnosis
Start by ruling out false alarms. A blocked vent rarely occurs in isolation—it’s usually tied to one or more of these issues:
- Lint, dust, or hair sucked into the intake or exhaust grille during shower use
- Condensation freezing inside the PVC vent pipe (common in unheated bathrooms below 40°F)
- Improper slope: vent runs must drop 1/4″ per foot toward the unit—not uphill or level
- Animal nests or insect hives in exterior termination caps (especially in homes near trees or soffits)
- Shower steam reacting with acidic exhaust gases, forming sticky calcium-sulfate deposits inside the vent collar
Tools & Materials Needed
| Item | Purpose | Estimated Cost |
|---|---|---|
| Flexible vent brush kit (5–8 ft, 3″ diameter) | Cleans interior PVC or stainless-steel vent pipes without disassembly | $22–$38 |
| Non-contact infrared thermometer | Confirms exhaust gas temperature drop indicating blockage (normal: 275–325°F) | $45–$65 |
| 100% silicone caulk (UL-listed for high-temp vents) | Seals gaps around termination cap—prevents backdrafting and moisture intrusion | $9–$13 |
| Microfiber lint roller + compressed air can | Removes surface debris from intake grilles without scratching enamel finishes | $6–$12 |
Step-by-Step Fix
Work only after powering off the unit at the breaker and shutting off gas and water supply. Never attempt cleaning while the unit is hot.
- Inspect the termination cap: Remove the exterior cap (usually secured with two Phillips screws). Check for spider webs, bird nests, or bent fins. Clean with a soft-bristle brush and rinse with distilled white vinegar to dissolve mineral crust.
- Test airflow with a tissue: Hold a single-ply tissue 2 inches from the indoor intake grille while the unit is in standby mode. If it doesn’t flutter, airflow is restricted—proceed to step 3.
- Brush the vent run: Insert the flexible brush into the exhaust port (not intake) and rotate clockwise while feeding it slowly toward the exterior. Pull back slowly—debris clings on the return stroke. Repeat twice.
- Verify slope and seal joints: Use a bubble level to confirm 1/4″ per foot downward pitch. Re-seal any cracked or missing PVC cement joints with high-temp silicone—not duct tape or standard caulk.
When to Call a Pro
Stop immediately and call a licensed HVAC technician if:
- You detect a sulfur or rotten egg smell—this signals incomplete combustion and possible CO leakage
- The unit displays error codes 'U0', 'E5', or '12' alongside low exhaust temp (<200°F) measured with an IR thermometer
- You find black soot inside the vent collar or on the termination cap—indicates dangerous flue gas condensation
- Your vent run exceeds 40 feet total length or includes more than three 90° elbows (per Rheem’s 2023 Installation Manual)
Prevention Tips
Bathroom-installed tankless units need proactive care. Install a $12 inline bathroom exhaust fan timer that runs 15 minutes post-shower to purge steam before vent cooling begins. Replace the intake air filter every 90 days—not just annually—as bathroom humidity shortens its life by 60%. According to the Insurance Institute for Business & Home Safety's 2023 report, 73% of vent-related tankless failures in humid climates occur within 18 months of installation due to neglected maintenance.
"A blocked vent isn't just inconvenient—it's the #1 preventable cause of carbon monoxide incidents in homes with tankless heaters," says HVAC safety specialist Maria Chen, author of Residential Combustion Safety Standards (ASHRAE, 2022).
Can I use bleach on this?
No. Bleach corrodes stainless-steel vent liners and degrades PVC over time. It also reacts with residual gas compounds to form toxic chloramine vapors. Use only white vinegar or a commercial vent-safe cleaner like Rectorseal No. 5.
Will a leaf blower clear the blockage?
Not safely. Compressed air over 30 PSI can damage internal heat exchangers or dislodge insulation. It also forces debris deeper into bends. Stick to manual brushes and vacuum-assisted extraction.
Why does my bathroom vent hum when the heater runs?
A low-frequency hum often means the vent is partially obstructed—causing turbulent airflow. It may also indicate undersized venting (e.g., using 2.5″ pipe for a 199,000 BTU unit requiring 3″). Confirm sizing against your unit’s spec sheet—tankless water heater vent sizing chart.
How often should I clean the vent?
In a bathroom setting: inspect monthly, clean thoroughly every 3 months. Homes with hard water or well water should clean every 6–8 weeks—mineral deposits accumulate faster. See our guide on hard water treatment for tankless heaters.
Is it safe to vent through a wall instead of the roof?
Yes—if done correctly. Horizontal wall venting is common in bathrooms, but requires a minimum 12-inch clearance from windows, doors, and soffits. Per the 2024 International Fuel Gas Code (IFGC), termination must be at least 4 feet above grade and 3 feet from any air intake. Always use Category II venting materials rated for negative pressure.
What’s the difference between intake and exhaust blockage?
Intake blockage causes flame rollout and error codes like 'C7'; exhaust blockage triggers overheating errors ('C3', '11') and drops exhaust temps. You’ll hear louder combustion noise with intake issues—but no visible smoke. Exhaust blockages often leave white crystalline residue near the termination cap.
Keeping your bathroom-installed tankless heater vent clear isn’t about perfection—it’s about consistency and awareness. Small habits—like wiping the intake grille after weekly cleaning or checking the termination cap during seasonal gutter maintenance—add up to years of reliable, safe operation. And remember: if you ever doubt your readings or sense something off, turn it off and call a pro. Your peace of mind is worth more than a few hours of DIY.