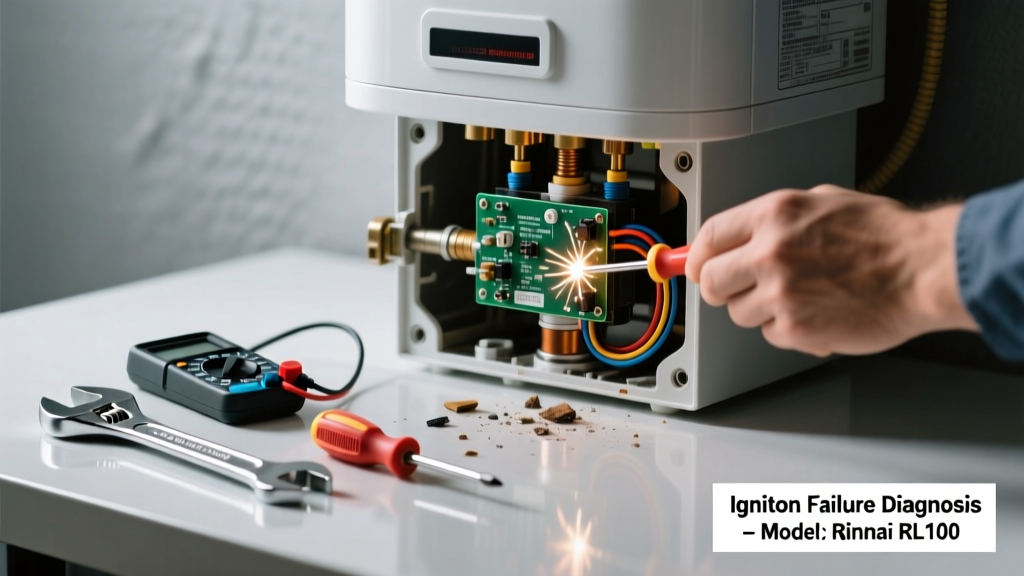
Your tankless water heater clicks but won’t ignite—or worse, stays completely silent when you turn on the hot water. That’s not just inconvenient; it’s a sign something’s interrupting the critical ignition sequence. Ignition failure accounts for nearly 38% of all service calls for gas tankless units, according to the Plumbing-Heating-Cooling Contractors Association’s 2022 Field Service Report.
Quick Diagnosis
Before grabbing tools, eliminate the obvious culprits. Most ignition failures stem from one or more of these five causes:
- No gas supply (shut-off valve closed, utility outage, or regulator issue)
- Low water pressure (<20 PSI prevents safety lockout release)
- Clogged air intake or exhaust vent (especially after seasonal debris buildup)
- Faulty flame sensor or thermistor (soot-covered or misaligned)
- Failed ignition electrode or control board (common after 8+ years of use)
Tools & Materials Needed
| Item | Purpose | Estimated Cost |
|---|---|---|
| Digital multimeter | Test voltage at ignition electrode and gas valve terminals | $25–$65 |
| Soft brass brush & isopropyl alcohol | Clean flame sensor without scratching its surface | $8–$12 |
| Manometer (0–12" WC) | Verify proper gas pressure at inlet (critical for proper ignition) | $45–$90 |
| 1/4" drive socket set & Phillips screwdriver | Access internal panels and secure grounding connections | $15–$30 |
Step-by-Step Fix
Start with the safest, most common fixes first—and always power down and shut off gas before opening panels.
- Check gas supply and pressure: Confirm the main shutoff valve is fully open. Use your manometer to verify inlet gas pressure is 7–10" WC for natural gas (or 11–14" WC for propane). Pressure outside this range will prevent reliable ignition.
- Clean the flame sensor: Locate the stainless steel rod near the burner assembly. Remove it gently, scrub with the brass brush dipped in isopropyl alcohol, rinse with clean cloth, and reinstall—tighten to 18 in-lbs torque. A dirty sensor fools the control board into thinking no flame exists.
- Inspect and clear vents: Check both intake and exhaust terminations for bird nests, leaves, or ice buildup. Vacuum the interior vent path with a shop vac using a narrow nozzle. Blocked vents trigger airflow error codes (e.g., '12' or 'C1') that halt ignition.
- Test ignition electrode gap: Measure distance between electrode tip and burner surface—it must be exactly 1/8" (3.2 mm). Adjust with needle-nose pliers if bent or misaligned. Too far = weak spark; too close = short circuit.
When to Call a Pro
Don’t risk gas leaks, electrical shock, or voiding your warranty. Call a licensed HVAC technician immediately if:
- You smell gas at any point during diagnosis or repair
- Control board displays error codes like 'U0', 'E5', or 'F12' (indicates internal component failure)
- Gas pressure tests below 5" WC or fluctuates wildly
- You’ve replaced the electrode and cleaned the sensor twice with no improvement
According to the U.S. Consumer Product Safety Commission’s 2023 Gas Appliance Incident Report, improper DIY gas line adjustments contributed to 12% of residential gas-related injuries last year.
"Never jump-start ignition by bypassing safety sensors—even temporarily. That flame rod isn’t just monitoring fire; it’s your primary fail-safe against unburned gas accumulation." — Rick Delgado, Master Gas Technician, NATE-certified since 2004
Prevention Tips
Maintain reliable ignition year after year with these habits:
- Flush the heat exchanger annually with descaling solution (especially in hard water areas >7 gpg)
- Replace air intake filter every 6 months (if your model has one—check your manual for part #)
- Install a whole-house water softener if hardness exceeds 5 grains per gallon
- Set minimum flow rate to 0.5 GPM (not 0.25) to reduce cold-water “short cycling” stress on ignition components
Why does my tankless heater only fail to ignite in winter?
Cold ambient air thickens gas density and slows vaporization—especially with propane. Add frost buildup in exhaust pipes or frozen condensate lines, and your unit may stall at startup. Insulate exterior vent runs and ensure downward pitch (1/4" per foot) on PVC condensate lines to prevent freezing.
Can I reset the ignition system myself?
Yes—but only as a diagnostic step, not a fix. Power-cycle the unit: turn off gas and electricity for 5 full minutes, then restore in this order—gas first, wait 30 seconds, then power. This clears transient faults but won’t resolve hardware issues like cracked electrodes or failing PCBs.
Is low water pressure really enough to stop ignition?
Absolutely. Most tankless units require ≥20 PSI minimum incoming pressure to activate the flow switch and enable ignition. Test at the nearest cold faucet with a pressure gauge. If it reads <20 PSI, check for clogged aerators, undersized supply lines, or failing pressure-reducing valves—see our low water pressure guide.
How often should I clean the flame sensor?
Annually for standard water (1–3 gpg hardness), every 6 months in hard water zones (>7 gpg), and quarterly if you notice delayed ignition or repeated ‘no flame’ errors. Buildup happens faster than most homeowners realize—our maintenance calendar breaks down timing by water quality.
Will a power surge damage the ignition control board?
Yes. The microprocessor-based control boards in modern Rinnai, Navien, and Takagi units are highly sensitive. Install a UL 1449-rated surge protector at the unit’s dedicated 120V circuit. The National Fire Protection Association estimates 22% of electronic control failures in tankless heaters are surge-related (NFPA 70B, 2023 edition).
What’s the average lifespan of an ignition electrode?
Most OEM electrodes last 5–7 years under normal conditions. But in high-humidity installations or coastal environments, corrosion can cut that to 3 years. Replace proactively if sparking looks weak (dim orange vs. bright blue-white) or if the unit requires 3+ attempts to light.
Ignition failure isn’t random—it’s almost always a signal that something upstream needs attention. Whether it’s a $12 flame sensor cleaning or a $220 gas valve replacement, catching it early keeps your hot water running and your repair bill reasonable. And remember: if your unit is under warranty, document every step you take—some manufacturers require proof of routine maintenance to honor coverage on control board replacements.