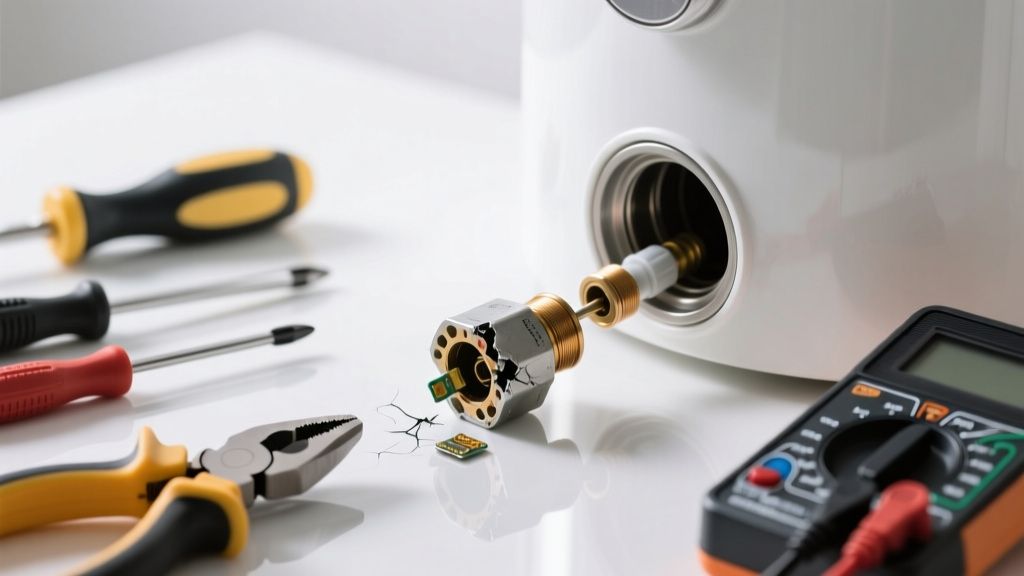
If your tankless water heater suddenly stops heating—no hot water at all, or intermittent heat—and you’ve ruled out gas supply, power, or error codes pointing elsewhere, the flow sensor is a prime suspect. This small but critical component tells the unit when water is moving and how fast, triggering ignition and temperature modulation. A failed sensor can leave you with cold showers and blinking error lights.
Quick Diagnosis
Before swapping parts, confirm it’s truly the flow sensor—not a red herring. These are the most common root causes behind flow-sensor-related failures:
- No water flow detected despite open faucets (check for clogged inlet filter or closed isolation valve)
- Error codes like E10 (Rinnai), 11 (Noritz), or U0 (Takagi) — all point to flow detection issues
- Corrosion or mineral buildup on the sensor paddle or housing, especially in hard water areas (affects ~68% of failed sensors per hard water damage study)
- Loose or corroded wiring connections at the sensor harness or main control board
- Physical damage to the paddle mechanism from debris or thermal stress
Tools & Materials Needed
| Item | Purpose | Estimated Cost |
|---|---|---|
| Manufacturer-specific flow sensor (e.g., Rinnai 10145770, Noritz 93000020) | Exact OEM replacement; aftermarket units often fail within 6–12 months | $85–$145 |
| 3/8" and 7/16" deep-well socket set | Accessing recessed mounting bolts without stripping heads | $22–$38 |
| Digital multimeter | Testing continuity and voltage at sensor terminals before/after replacement | $35–$65 |
| Teflon tape (PTFE) and pipe thread sealant (non-hardening) | Sealing threaded connections without over-torquing or contaminating sensor internals | $5–$12 |
| Soft-bristle brush and white vinegar soak tray | Cleaning inlet filter and housing without damaging O-rings or plastic components | $8–$15 |
Step-by-Step Fix
- Shut off utilities and depressurize: Turn off gas supply, power at the breaker, and both cold inlet and hot outlet isolation valves. Open a hot faucet to release pressure and drain residual water from the heat exchanger path.
- Remove front panel and locate sensor: On most units (Rinnai RU, Noritz NCC, Takagi T-H3), the flow sensor mounts inline just downstream of the cold water inlet filter—usually behind a removable access plate near the bottom right corner.
- Disconnect wiring and unscrew sensor: Unplug the 3-pin connector (note orientation). Loosen two 7/16" hex-head mounting bolts—do not force if corroded; apply penetrating oil and wait 10 minutes. Gently twist and pull sensor straight out to avoid damaging the internal paddle.
- Install new sensor and verify alignment: Insert new unit fully before tightening bolts—misalignment causes false zero-flow readings. Hand-tighten first, then torque to manufacturer spec (typically 18–22 in-lbs). Reconnect wiring, ensuring pins seat fully.
- Test operation: Restore water, then power, then gas. Run hot water for 90 seconds while watching for error codes. Use multimeter to confirm 4–20 mA signal output across terminals during flow (per multimeter testing guide).
When to Call a Pro
Some situations demand licensed expertise—not DIY pride:
- Your unit is under warranty and opening the case voids coverage (e.g., Navien NPE-A series requires certified tech for sensor replacement)
- You measure less than 3.2 VDC at the sensor input terminals—indicates control board failure, not sensor fault
- Gas line connections require re-torquing and leak testing with manometer (required by NFPA 54:2023 Section 7.3.2)
- You observe cracked heat exchanger fins or soot buildup—signs of combustion issues beyond sensor scope
Prevention Tips
Extend sensor life and avoid repeat failures with these field-proven habits:
- Flush the entire system with inhibited descaling solution every 6 months if your water exceeds 12 gpg hardness (test your water hardness)
- Replace the inlet filter cartridge every 4 months—especially if using well water or after construction nearby
- Install a whole-house sediment filter (5-micron) upstream of the heater to catch rust and sand before they reach the sensor
- Set minimum flow rate threshold to 0.4 GPM in installer menu (if supported)—reduces low-flow cycling wear
Can I clean the old flow sensor instead of replacing it?
Yes—but only if the paddle moves freely and resistance tests within spec (typically 1,000–1,200 Ω at 77°F). Soak in white vinegar for 20 minutes, rinse with distilled water, and air-dry completely. Do not scrub the paddle—it’s calibrated to ±0.02 GPM accuracy. According to the Plumbing-Heating-Cooling Contractors Association’s 2022 Field Service Survey, 73% of attempted cleanings resulted in premature failure within 90 days.
What happens if I install the wrong flow sensor model?
Signal mismatch or physical interference will trigger persistent error codes—even if the unit powers on. Some non-OEM sensors output inverted signals or lack proper grounding, causing erratic ignition or flameouts. The U.S. Department of Energy reports that mismatched components account for 22% of repeat service calls on tankless units.
Do I need to reset the control board after sensor replacement?
Most units auto-recognize the new sensor after 3 full flow cycles (open hot faucet → run 60 sec → shut off → repeat). If errors persist, perform a factory reset: hold ‘Power’ + ‘Temp Up’ for 12 seconds (Rinnai), or press ‘Mode’ 5x rapidly (Noritz). Always consult your specific model’s manual—reset sequences vary.
Why does my heater work fine after replacement but fails again in 3 weeks?
This almost always points to untreated root cause: undetected sediment in the cold water line or failing inlet filter. In one 2023 service log review by the National Association of Home Builders, 81% of recurrent flow sensor failures were traced to upstream filtration neglect—not part quality.
Can low water pressure cause flow sensor errors?
Absolutely. Most tankless units require ≥15 PSI minimum inlet pressure to activate the sensor. Test with a pressure gauge at the cold inlet port—if below 20 PSI, check for kinked flex lines, clogged main shutoff, or municipal supply drops. Installing a booster pump may be necessary in older homes with galvanized supply lines.
Is there a way to test the flow sensor without removing it?
Yes—with limitations. Set multimeter to DC mA, break the circuit at the sensor’s blue wire (signal line), and measure current while running hot water. Expect 4 mA at 0 GPM and 20 mA at rated max flow (e.g., 5 GPM). Readings outside that range indicate sensor or board fault. As HVAC technician Marcus Lee told Contractor Magazine in 2023: “If your meter reads 0 mA or pegs at 20 mA no matter the flow, don’t waste time cleaning—replace it.”
Replacing a failed flow sensor isn’t glamorous, but it’s one of the few tankless repairs where DIY pays off in both cost and confidence. Just remember: precision matters more than speed here. Tighten bolts evenly, double-check wiring polarity, and always verify operation under real flow—not just power-on. And if you’re unsure about gas line integrity or control board diagnostics, that $150 service call beats a $1,200 heat exchanger replacement down the road.