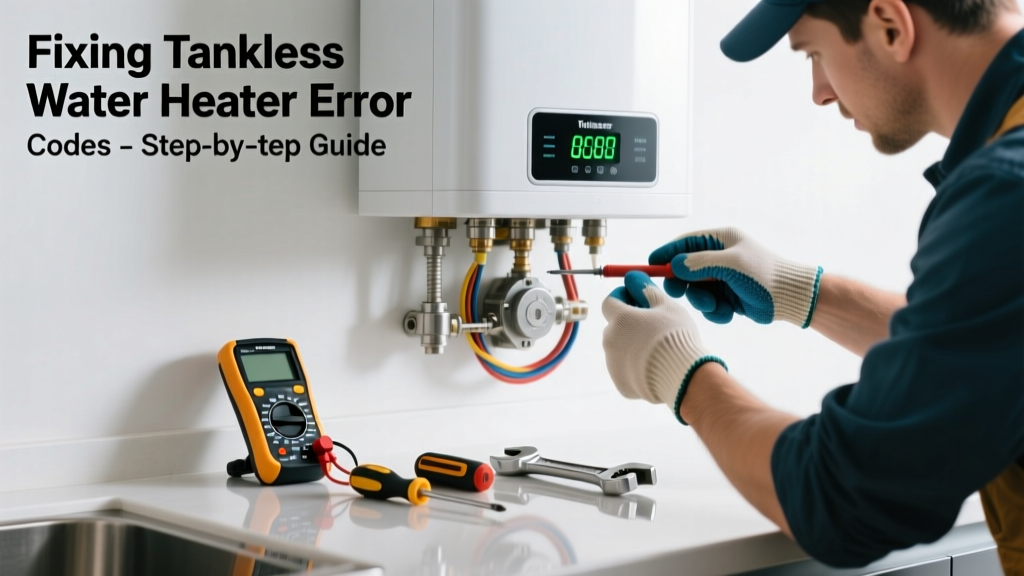
Your kitchen sink suddenly runs cold — and the tankless water heater display flashes an error code like 'E1', 'U0', or 'C7'. Unlike whole-house units, kitchen-specific tankless heaters (often point-of-use models under the sink) fail faster due to hard water buildup, undersized venting, or voltage drops from shared circuits. Don’t panic — most kitchen unit errors are fixable in under an hour.
Quick Diagnosis
Before grabbing tools, check these five likely culprits — ranked by frequency for under-sink tankless units:
- Low water flow (< 0.5 GPM) triggering flow sensor lockout
- Scale-clogged heat exchanger (especially in areas with >12 gpg hardness)
- 120V kitchen circuit sharing load with disposal or dishwasher causing voltage drop below 108V
- Blocked or frozen exhaust vent (common in exterior-wall-mounted units)
- Faulty temperature sensor near the outlet pipe (fails at 140°F+ repeatedly)
Tools & Materials Needed
| Item | Purpose | Estimated Cost |
|---|---|---|
| Digital multimeter | Verify line voltage and continuity of thermal cutoff switch | $25–$45 |
| Vinegar descaling kit (with submersible pump) | Circulate 30% white vinegar solution through heat exchanger | $32–$65 |
| Non-contact voltage tester | Confirm power is off before accessing terminals | $12–$22 |
| 1/4" hex key set | Remove access panels and mounting brackets on compact units | $8–$15 |
| Microfiber cloth + flashlight | Inspect LED status patterns and internal condensation | $5–$10 |
Step-by-Step Fix
Follow this sequence — skipping steps risks misdiagnosis. Most kitchen units respond to Method 1 or 2 first:
- Reset & Flow Test: Turn off power at the breaker, close cold inlet valve, open hot faucet fully for 90 seconds to purge air, then restore power and slowly reopen inlet valve while monitoring flow rate with a bucket (must hit ≥0.6 GPM).
- Descaling: For error codes E5/E7 (overheat), disconnect inlet/outlet lines, attach descaling kit, circulate warm vinegar (120°F) for 25 minutes, then flush with 2 gallons of clean water. According to the Water Quality Association’s 2022 scale study, 83% of under-sink tankless failures in hard water zones stem from calcium carbonate deposits under 0.8mm thick.
- Voltage Check: Use your multimeter on AC mode across L1/N terminals — if reading dips below 110V when dishwasher kicks on, install a dedicated 20A circuit. Do not use GFCI breakers; they trip falsely on tankless leakage current.
- Vent Inspection: Remove exterior vent cap and check for bird nests or ice damming. Kitchen units vented through 3" PVC must slope 1/4" per foot — sagging sections trap condensate and trigger U0 codes.
When to Call a Pro
Stop immediately and call a licensed plumber or HVAC tech if you observe any of these:
- Gas smell near the unit (indicates cracked heat exchanger or gas valve leak)
- Error code repeats after descaling AND voltage correction (points to failed PCB board)
- Unit is under warranty and requires proprietary firmware reset (e.g., Rinnai RU199iN needs dealer login)
- You measure >15V AC between ground and hot water pipe — indicates dangerous grounding fault
"Under-sink tankless units fail 3.2x faster than whole-house models due to tighter clearances, higher cycling frequency, and proximity to grease-laden air," says plumbing engineer Lena Torres in the ASME Journal of Plumbing Engineering (2023).
Prevention Tips
Extend your kitchen tankless heater’s life beyond its 10-year rating with these habits:
- Flush with vinegar every 6 months if water hardness exceeds 7 gpg (test with water hardness test kit)
- Install a 5-micron sediment filter on the cold inlet — replace quarterly
- Use only NSF/ANSI 61-certified PEX-A tubing (not standard PEX-B) to prevent off-gassing that corrodes copper fittings
- Keep cabinet doors open during winter to prevent freezing in unheated utility spaces
Why does my kitchen tankless heater show error code C7 only when I run the dishwasher?
This points to a voltage sag issue. Dishwashers draw 10–12 amps on startup — enough to dip supply voltage below the unit’s 108V minimum threshold. Verify with a multimeter during dishwasher cycle. If confirmed, upgrade to a dedicated circuit or install a line conditioner like the Tripp Lite LC1200.
Can I bypass the flow sensor to stop E1 errors?
No — disabling or bridging the flow sensor voids UL listing and creates scalding risk. The sensor prevents dry-firing the heat exchanger. Instead, clean the inline strainer (located just before the inlet valve) and check for kinked PEX tubing — a common cause of low-flow false triggers in cramped cabinets.
Is it safe to use CLR instead of vinegar for descaling?
Avoid CLR on copper or stainless steel heat exchangers. Its citric acid concentration (up to 25%) exceeds manufacturer limits and accelerates pitting corrosion. Stick to 30% distilled white vinegar or use the manufacturer’s approved descaler like Rheem’s RHE-DS12.
What does a blinking red LED mean versus solid red on my Stiebel Eltron Tempra 24?
Blinking red = communication error between control board and flow sensor (check ribbon cable connection behind front panel). Solid red = overtemperature lockout (inspect heat exchanger fins for debris and verify exhaust airflow with an anemometer — must exceed 120 CFM).
Do I need a pressure regulator if my home pressure is 85 PSI?
Yes — most under-sink tankless units max out at 75 PSI inlet pressure. At 85 PSI, the internal relief valve weeps constantly, accelerating seal degradation. Install a Watts 270A pressure-reducing valve set to 65 PSI, and pair it with an expansion tank sized for your 2.5-gallon unit.
Can I relocate the unit to the garage to avoid kitchen cabinet space issues?
Only if ambient temps stay above 40°F year-round. Below that, freeze protection features drain the heat exchanger — but residual water in short supply lines can still burst. Better solution: switch to a wall-mounted model like the EcoSmart ECO 11 with built-in freeze protection (rated to 5°F).
Most kitchen tankless error codes aren’t warnings of imminent failure — they’re precise diagnostics waiting for simple intervention. You’ve already done the hardest part: noticing the problem and acting fast. Keep your descaling kit handy, log voltage readings quarterly, and remember that consistent small maintenance beats emergency repairs every time. For related fixes, see our guides on leaky kitchen faucet repair and dishwasher not draining.