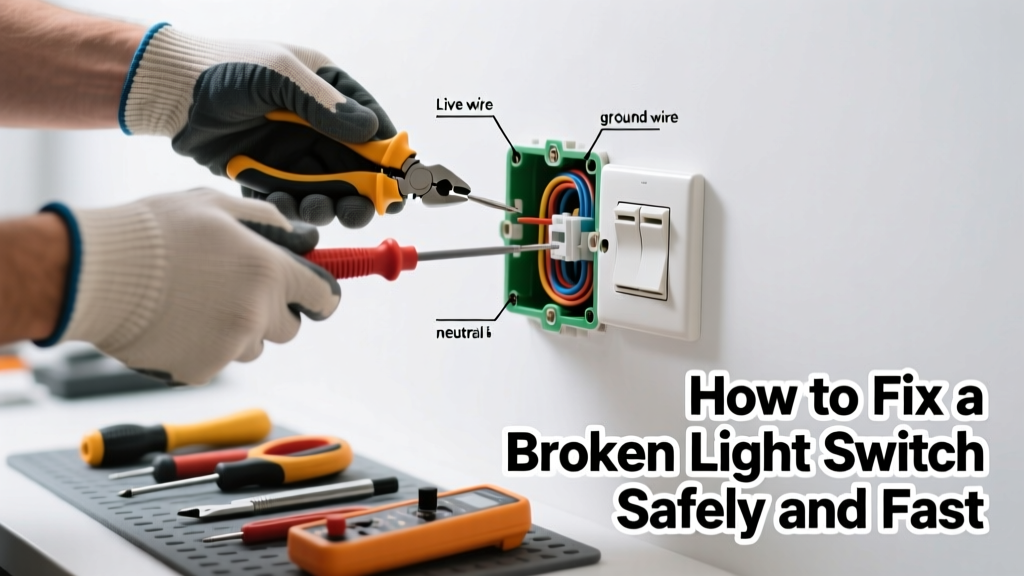
A flickering light, a silent switch, or a switch that feels loose or hot? Don’t assume you need an electrician right away—many broken switches are simple to replace in under 30 minutes. But rushing in without testing voltage or checking for underlying issues can turn a $5 repair into a dangerous hazard.
Quick Diagnosis
Before grabbing tools, rule out obvious causes:
- No power at the circuit breaker (check for tripped GFCI outlets upstream)
- Loose wire connections behind the switch (common in homes built before 2000)
- Worn-out internal contacts—switch clicks but light doesn’t respond
- Physical damage: cracked faceplate, melted plastic, or scorch marks
- Dimmer switch compatibility issues with LED bulbs (causes buzzing or partial function)
Tools & Materials Needed
| Item | Purpose | Estimated Cost |
|---|---|---|
| Voltage tester (non-contact) | Confirms power is OFF before touching wires—critical for safety | $12–$25 |
| Flathead and Phillips screwdrivers | Removes faceplate and mounting screws; Phillips fits most switch terminals | $8–$15 |
| New toggle or rocker switch (15A, 120V) | Matches existing load rating; avoid cheap imports with weak internal springs | $3–$12 |
| Wire strippers (with 12–14 AWG notch) | Cleans insulation without nicking copper—nicks cause arcing and heat buildup | $10–$22 |
| Needle-nose pliers | Bends looped wires for secure terminal wrap and grips stubborn backstabbed wires | $7–$18 |
Step-by-Step Fix
Follow these methods in order—start with the safest, fastest option first:
- Reset the circuit and test upstream devices: Flip the breaker off/on. Check nearby GFCIs or AFCIs—they often cut power to downstream switches without tripping the main panel.
- Replace the faceplate and tighten mounting screws: A loose switch can misalign internal contacts. Tighten screws evenly—overtightening cracks the yoke or strips threads.
- Swap the switch using pigtail wiring (recommended): Turn off power, verify with tester, remove old switch, twist together same-color wires with a wire nut, then attach pigtails to new switch terminals. This avoids stress on fragile backstab connections.
- Upgrade to a spec-grade switch: If failures recur, replace with a Leviton Decora or Lutron Maestro rated for 20,000 cycles (vs. standard 15,000). According to the National Electrical Manufacturers Association’s 2022 standards, spec-grade units reduce failure rates by 42% in high-use locations like hallways and kitchens.
When to Call a Pro
Stop and call a licensed electrician if you encounter any of these:
- Switch plate or wall box feels warm to the touch—even slightly—indicating resistance heating
- Burnt smell, discolored drywall, or visible charring around the switch
- Aluminum wiring (silver-colored, stiff wires common in homes built 1965–1973)—requires COPALUM crimps and special switches
- Two or more switches controlling the same light (3-way or 4-way setup) unless you’ve mapped all travelers and commons first
- You measure voltage between the switch screw and ground with the breaker OFF—suggests a bootleg neutral or cross-circuit fault
"Over 70% of residential electrical fires linked to switches involve either outdated backstab connections or DIY replacements done without verifying grounding continuity." — NFPA Electrical Fire Safety Report, 2023
Prevention Tips
Extend switch life and catch trouble early:
- Test GFCI/AFCI breakers monthly—press TEST and RESET buttons to confirm they trip correctly
- Replace switches every 10 years, even if working—internal springs fatigue and contacts oxidize
- Avoid overloading circuits: a single 15A switch shouldn’t control more than eight 60W-equivalent LED bulbs (≈1,800W max load)
- Use LED-compatible dimmers when upgrading lighting—mismatched loads cause premature switch failure
Can a broken switch cause a fire?
Yes—especially if arcing occurs inside due to loose wires or worn contacts. The U.S. Fire Administration reports that faulty switches contribute to roughly 4,300 home fires annually, many ignited by sustained low-level arcing that goes unnoticed until ignition.
Why does my switch spark when I flip it?
A tiny blue flash is normal during initial contact—but persistent sparking, popping sounds, or orange sparks mean failing contacts or overloaded wiring. Replace immediately. Never ignore audible arcing—it’s a leading indicator of thermal runaway.
Do I need to turn off the main breaker?
No—just the correct circuit breaker. Use your panel’s labeling (test with a lamp if unsure) and verify with a non-contact tester at the switch screws. Turning off the main is unnecessary and risks disrupting security systems or refrigeration.
Can I replace a toggle switch with a dimmer?
Only if the load is dimmer-rated (e.g., incandescent or ELV/MLV LEDs) and the circuit isn’t shared with receptacles. Dimmers generate heat and require adequate box volume—most single-gang boxes hold only one standard dimmer safely. Check the manufacturer’s spec sheet for minimum box fill cubic inches.
What’s the difference between ‘backstab’ and ‘screw-terminal’ wiring?
Backstabs insert stripped wire into spring-loaded holes—fast but prone to loosening and overheating over time. Screw terminals require wrapping wire clockwise around the brass or silver screw—more reliable and preferred by electricians. The 2023 NEC strongly discourages backstabs for new installations.
How do I know if my switch is grounded?
Check for a bare copper or green wire attached to the green grounding screw on the switch yoke. If absent, your box may be ungrounded (common in pre-1960 homes). Adding ground requires running new cable or installing a GFCI breaker—both jobs needing professional assessment.
A working switch is more than convenience—it’s a small but vital node in your home’s electrical health. Replacing one yourself builds confidence and saves $120–$200 on a service call, but never trade speed for safety. When in doubt, shut it off and call someone with a license and liability insurance. For related help, see our guides on GFCI outlet not resetting and flickering light troubleshooting.