A braided stainless steel supply line hose that’s leaking isn’t just annoying—it’s a ticking time bomb for water damage behind your sink, toilet, or appliance. These hoses are rated for 5–10 years, but corrosion, over-tightening, or improper installation can cause failure in as little as 18 months. Don’t wait for a flood—catch it early and fix it right.
Quick Diagnosis
Before grabbing tools, confirm the source and type of leak:
- Connection leak (at shutoff valve or fixture inlet): Most common—caused by loose nuts, damaged washers, or cross-threaded fittings
- Body leak (along the braided length or near crimp): Indicates internal liner rupture or fatigue—requires full replacement
- Weeping at the crimp collar: Often means the hose was overtightened during install or the ferrule failed
- Intermittent drip only when water is turned on: Points to pressure-related seal failure—not just a loose nut
Tools & Materials Needed
| Item | Purpose | Estimated Cost |
|---|---|---|
| Adjustable wrench (10-inch) | Tightens or loosens compression nuts without rounding edges | $12–$22 |
| Replacement braided supply line (1/2" FIP × 3/8" compression, 12"–24") | New hose with EPDM liner and 304 stainless braid; meets ASME A112.19.5 standards | $8–$16 |
| Thread seal tape (PTFE, yellow gas-rated) | Seals threaded shutoff valve connections—use sparingly on male threads only | $3–$6 |
| Small towel or bucket | Catches residual water during disconnection; prevents cabinet saturation | $0–$5 |
Step-by-Step Fix
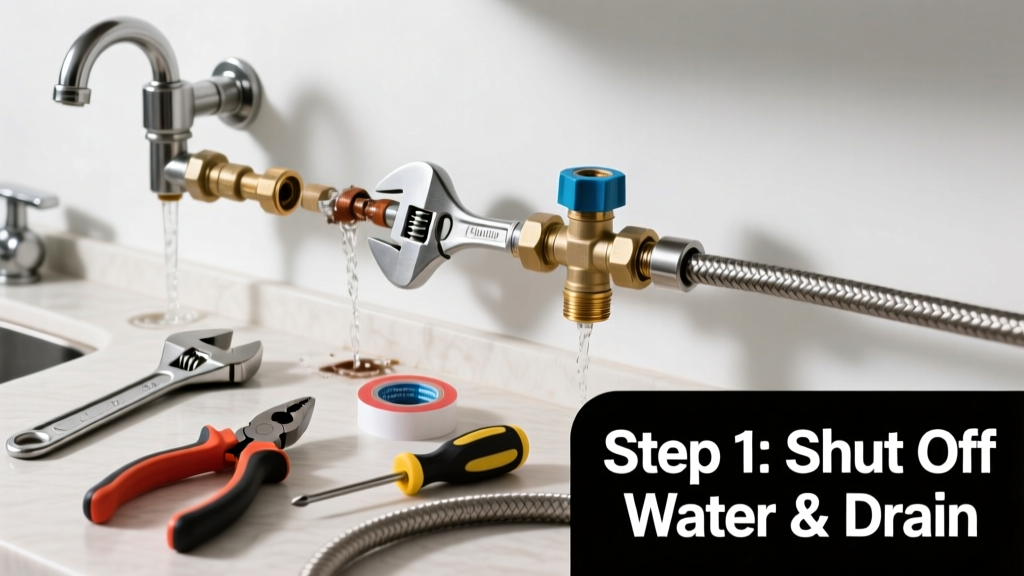
- Shut off water and relieve pressure: Turn clockwise on the shutoff valve under the sink or behind the toilet. Open the faucet or flush the toilet to drain remaining water and release line pressure.
- Inspect and hand-tighten: Gently snug the compression nut at both ends—no more than 1/4 turn past hand-tight with a wrench. Over-torquing cracks the rubber washer or deforms the ferrule.
- Replace the washer if worn: Remove the old flat rubber or fiber washer from the fixture inlet side. Replace with a new 3/8" compression washer (not an O-ring)—they’re $1.29/pack at hardware stores.
- Swap the entire hose if body is compromised: If you see bulging, rust streaks, or moisture along the braid, discard the old hose. Install the new one using two wrenches—one holding the valve, one turning the nut—to prevent twisting and stress on pipes.
When to Call a Pro
Some situations demand licensed expertise—not DIY confidence:
- The shutoff valve itself is leaking at its base or handle stem (indicates internal seat or packing failure)
- You’re working with galvanized or polybutylene supply lines upstream—these require specialized transition fittings
- Leak persists after two replacement attempts, suggesting misaligned threads or undersized pipe thread (e.g., NPT vs. BSP)
- You’re replacing supply lines for a washing machine or dishwasher where high-flow, high-pressure cycling demands certified 125 PSI-rated hoses
Prevention Tips
Braided hoses fail predictably—if you know what to watch for. According to the Insurance Institute for Business & Home Safety's 2023 report, 68% of supply line failures occur beyond the manufacturer’s 5-year service recommendation.
"Replace all braided supply lines every 5 years—even if they look fine. Internal liner degradation isn’t visible until it’s too late." — Plumbing Code Advisory Board, 2022 Edition
- Label each hose with install date using a permanent marker on the crimp collar
- Use only hoses marked "ASME A112.19.5"—avoid generic 'stainless' hoses lacking third-party certification
- After installation, test with a 15-minute full-pressure run—not just a quick faucet check
- Keep cabinet space dry and well-ventilated to slow corrosion on metal fittings
Can I reuse the old compression nut and washer?
No. Compression nuts deform slightly on first use, and washers compress permanently. Reusing them is the #1 cause of repeat leaks. Always install fresh components with every hose replacement—especially the flat fiber washer on the fixture side.
Why does my new braided hose still leak after tightening?
Most likely: cross-threading or mismatched thread types. Verify both ends match your fixture (e.g., 3/8" compression) and shutoff (1/2" FIP). Hand-start every connection for 2–3 full turns before wrench-tightening. If it binds or feels gritty, back off and realign.
Is Teflon tape necessary on braided supply line threads?
Only on the shutoff valve’s male threaded end—not the compression side. Use 2–3 wraps clockwise on clean, dry threads. Never apply tape to the compression nut or ferrule—it interferes with the metal-to-metal seal and causes leaks.
How tight should the compression nut really be?
Hand-tight plus 1/4 to 1/2 turn with a wrench. Overtightening cracks the inner liner or crushes the ferrule, creating micro-fractures that leak under pressure. If you hear squeaking or feel resistance spike, stop—you’ve gone too far.
Can I use a regular rubber supply line instead of braided?
You can, but you shouldn’t. Standard rubber lines last ~3 years and burst at ~60 PSI; certified braided hoses withstand 125+ PSI and resist kinking, abrasion, and UV exposure. The U.S. EPA estimates that 14% of household water usage is from leaks—including those caused by degraded rubber lines.
What’s the difference between 3/8" and 1/2" supply line connections?
It’s about inlet size—not flow rate. Most sinks and toilets use 3/8" compression inlets; shutoff valves are typically 1/2" FIP outlets. Using a 1/2" hose on a 3/8" fixture requires a reducer and risks improper seating. Always match the fixture’s inlet spec—check the manufacturer’s manual or measure the existing nut’s internal diameter.
Fixing a leaking braided supply line takes under 20 minutes—and saves hundreds in potential water damage. Keep spares on hand, track install dates, and treat every connection like it’s holding back a small river. For related repairs, see our guides on how to replace a shutoff valve and why your toilet supply line keeps leaking.