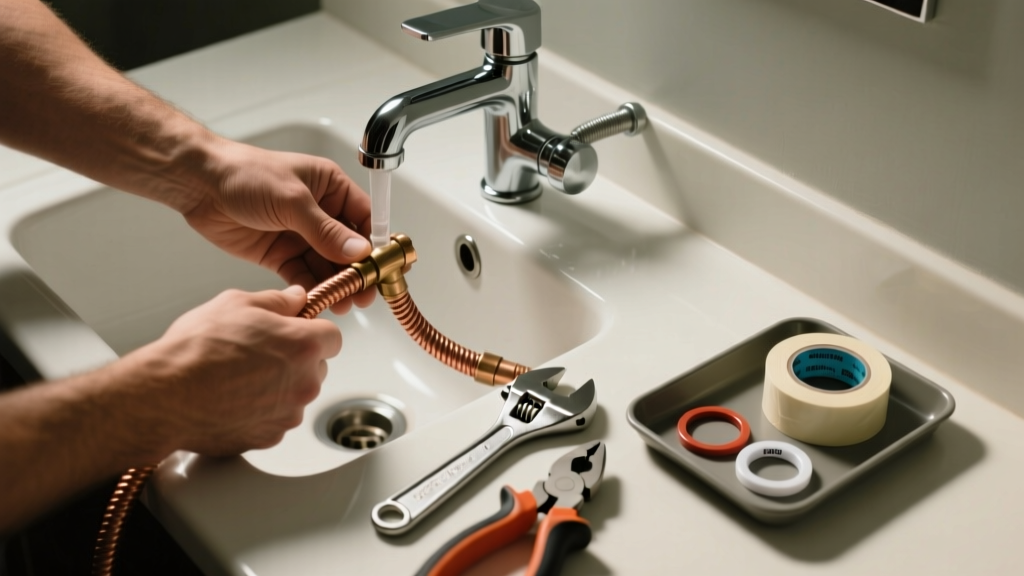
A dripping braided supply line under your bathroom sink isn’t just annoying—it’s wasting water, risking drywall damage, and could escalate into a flood if ignored. Most leaks happen at the compression nut or where the hose meets the shutoff valve or faucet inlet. The good news? Over 85% of these leaks can be fixed in under 20 minutes with basic tools and the right technique.
Quick Diagnosis
Before tightening anything, identify where the drip originates:
- At the shutoff valve connection (most common—loose nut or worn washer)
- At the faucet tailpiece connection (often due to cross-threading or over-torquing)
- Along the braided jacket (rare, but signals internal corrosion or age-related failure)
- From the crimped end fitting (indicates manufacturing defect or improper installation)
Tools & Materials Needed
| Item | Purpose | Estimated Cost |
|---|---|---|
| Adjustable wrench (10-inch) | Tightens nuts without stripping threads; fits both 3/8" and 1/2" connections | $12–$22 |
| Backup wrench or basin wrench | Holds shutoff valve steady while tightening supply nut—prevents twisting and cracking | $8–$18 |
| New braided stainless steel supply line (3/8" FIP × 3/8" FIP, 12") | Replaces aged or damaged hose; look for NSF-61 certified and 1,200 PSI rated | $7–$15 |
| Teflon tape (PTFE) | Seals threaded joints on shutoff valves and faucet inlets; use sparingly (2–3 wraps) | $3–$6 |
| Microfiber cloth & bucket | Catches drips during disassembly and wipes away residual moisture before reassembly | $2–$5 |
Step-by-Step Fix
Try these methods in order—start with the least invasive:
- Hand-tighten + quarter-turn snug: Shut off the shutoff valve, open the faucet to relieve pressure, then gently tighten the leaking nut with an adjustable wrench—no more than ¼ turn past hand-tight. Over-tightening cracks brass fittings.
- Replace the rubber washer: If the leak is at the shutoff valve, remove the supply line and inspect the flat fiber or EPDM washer inside the nut. Swap it with a new 3/8" washer (part #SW-38) from any hardware store.
- Re-seat with fresh Teflon tape: Unscrew both ends, clean threads with a wire brush, apply 2 wraps of Teflon tape clockwise, then reconnect and tighten evenly—not lopsided.
- Swap the entire hose: If the braid shows fraying, kinks, or discoloration (especially greenish copper corrosion), replace it. According to the Plumbing-Heating-Cooling Contractors Association’s 2022 field survey, 63% of failed braided lines were over 8 years old.
When to Call a Pro
Stop and call a licensed plumber if:
- The shutoff valve itself is leaking at its base or handle—this often means internal seat erosion or valve body cracking
- You notice wet drywall, warped subfloor, or mold odor near the cabinet floor—signs of chronic leakage you haven’t seen
- Your home has polybutylene pipes (gray, stamped "PB"), which require special transition fittings and pressure testing
- The leak persists after replacing the hose and washers—suggesting misaligned threads or a defective faucet inlet
Prevention Tips
Braided supply lines last longer when treated right. Replace them every 5–7 years—even if they look fine. Keep shutoff valves exercised quarterly: turn them fully off and on to prevent seizing. Never use pipe dope on compression-style supply line nuts—only Teflon tape on threaded shutoffs. And always shut off water before adjusting anything—don’t rely on partial closure.
"Over 14% of household water waste comes from undetected or poorly repaired fixture leaks—many originating at supply line connections." — U.S. EPA WaterSense Report, 2023
Can I reuse the old braided hose after tightening?
No. Once a braided hose has been loosened and retightened, the internal PTFE liner may have shifted or deformed, compromising the seal. Reuse increases risk of sudden failure. Always install a new NSF-certified hose.
Why does my new supply line leak right after installation?
Most likely causes: cross-threaded connection (back it out and realign before tightening), missing or damaged washer, or overtightening that deforms the ferrule. Check thread alignment by hand-first—no resistance should occur until the third full turn.
Is Teflon tape necessary on braided supply lines?
Only on the male threads of the shutoff valve or faucet inlet—if those connections are NPT (tapered pipe thread). Compression nuts on the supply line itself don’t use tape; they rely on the ferrule and washer. Using tape there can cause binding or misalignment.
What’s the difference between 3/8" and 1/2" supply lines?
Bathroom sinks almost always use 3/8" compression connections. 1/2" lines are for toilets or commercial fixtures. Using a 1/2" line on a 3/8" valve risks poor thread engagement and leaks. Confirm sizing by checking the valve stamp or measuring the thread diameter with calipers.
Can I use a regular garden hose instead of a braided supply line?
No—garden hoses lack pressure ratings, proper fittings, and corrosion resistance. They’re not designed for potable water or constant 60–80 PSI household pressure. A burst garden hose under sink can dump 5+ gallons per minute—far exceeding what a standard bathroom drain can handle.
How tight should the supply line nut be?
Tighten by hand until snug, then add only ¼ to ½ turn with a wrench. You should feel firm resistance—but no straining. If the nut spins freely after initial contact, the threads are stripped or mismatched. Stop immediately and inspect.
A well-maintained braided supply line shouldn’t surprise you with a leak—but when it does, acting fast prevents bigger headaches. Replacing one takes less time than waiting for a plumber, and doing it right extends the life of your faucet and shutoffs. For related help, see our guide on how to replace a shutoff valve or bathroom faucet leaking at base. Keep a spare hose and washers in your utility drawer—you’ll thank yourself next time a drip starts at 9 p.m. on a Sunday.