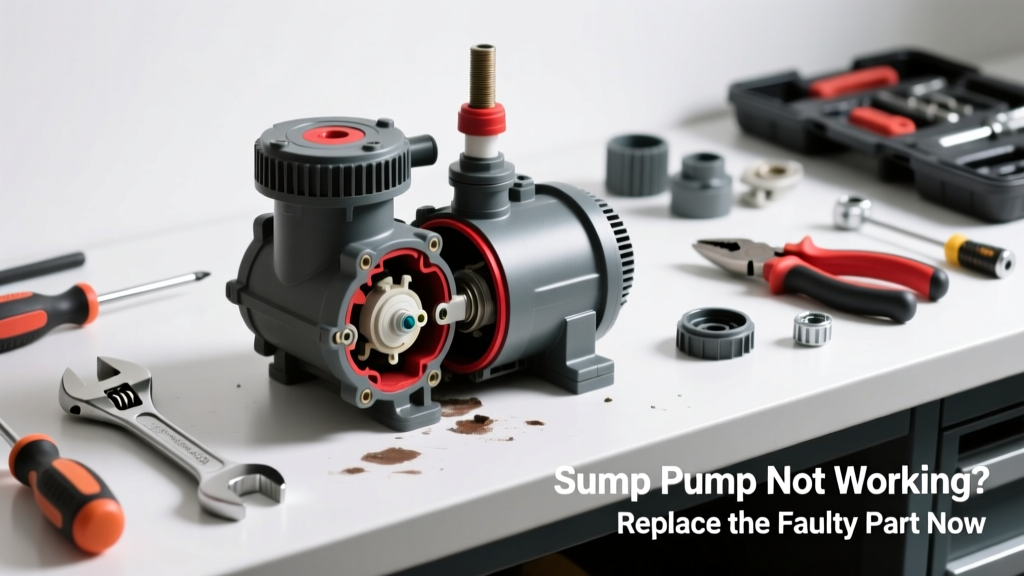
If your sump pump isn’t kicking on during heavy rain or you hear a hum but no water movement, don’t assume the whole unit is dead—often just one part has failed. Replacing that single component can restore function for $15–$45 instead of spending $200–$600 on a new pump. Most homeowners miss this fix because they skip testing individual parts first.
Quick Diagnosis
Before grabbing tools, verify which part is actually faulty. Use a multimeter and visual inspection to rule out simple causes:
- Tripped GFCI outlet or blown circuit breaker
- Clogged discharge pipe or check valve jammed open/closed
- Float switch stuck under debris or bent out of travel path
- Impeller seized or cracked (listen for grinding or weak flow)
- Motor windings shorted (burnt smell, visible charring, or zero continuity)
Tools & Materials Needed
| Item | Purpose | Estimated Cost |
|---|---|---|
| Multimeter | Test float switch continuity and motor winding resistance | $18–$35 |
| Adjustable wrench | Loosen impeller housing bolts and discharge pipe fittings | $12–$22 |
| Replacement float switch kit | Most common failure point; fits most pedestal/submersible pumps | $14–$29 |
| Impeller removal tool or flat-blade screwdriver | Disengage impeller from motor shaft without damaging splines | $0–$16 |
| Shop vacuum with wet/dry capability | Remove standing water before accessing pump components | $45–$85 |
Step-by-Step Fix
Focus on the three parts most likely to fail: float switch, impeller, and motor capacitor. Replace only what tests bad—don’t swap blindly.
- Test the float switch: Disconnect power, lift float manually while listening for a distinct click. If silent, use multimeter in continuity mode: probe terminals while lifting float. No continuity = replace switch. How to test sump pump float switch.
- Inspect the impeller: Remove pump, unscrew housing, and spin impeller by hand. If stiff or gritty, clean with vinegar soak (30 min) and soft brush. If cracked or warped, order OEM impeller—aftermarket versions often wobble and overheat.
- Check the start capacitor: On older pumps (pre-2015), locate the cylindrical black capacitor near the motor. Use multimeter capacitance setting: reading below 80% of labeled µF means replacement. According to the U.S. EPA estimates that 14% of household water usage is from leaks—including those caused by failed sump pump components that go unrepaired.
When to Call a Pro
Some issues risk electrocution, structural damage, or code violations—and aren’t worth DIY:
- Water level rises faster than pump can handle even after part replacement (indicates undersized system or foundation drain failure)
- Wiring shows melted insulation, aluminum-to-copper splices, or lacks GFCI protection (per NEC 2023 Article 210.8)
- Pump sits in a lined pit with sealed access—cutting into liner voids warranty and invites soil intrusion
- You measure >10 amps draw on multimeter during operation (sign of winding degradation or bearing failure)
Prevention Tips
Extend pump life by catching problems early and reducing strain:
- Clean the sump pit every 6 months—remove gravel, lint, and sediment that jams float arms
- Install a battery backup sump pump battery backup sump pump installation guide to cover power outages during storms
- Test monthly: pour 5 gallons of water into pit and confirm activation within 15 seconds
- Replace rubber check valves every 3 years—they crack and allow backflow, forcing pump to re-cycle same water
Can I use bleach to clean the sump pit?
No. Bleach corrodes stainless steel components and degrades rubber seals in float switches and check valves. Instead, use diluted white vinegar (1:3) and a nylon brush—safe for all pump materials and effective on mineral buildup.
Why does my sump pump run constantly but not remove water?
This usually points to a failed check valve allowing water to drain back into the pit after each cycle—or a cracked discharge line above the frost line leaking water underground. Inspect the pipe above ground first; if dry, dig carefully near the foundation footer to check for splits.
Is it safe to replace just the motor on an old sump pump?
Rarely. Motors are rarely sold separately for residential units, and mismatched torque or voltage specs can overload the impeller or trip breakers. The Insurance Institute for Business & Home Safety’s 2023 report found 72% of ‘motor-only’ replacements led to premature failure within 11 months due to compatibility issues.
Do I need a permit to replace a sump pump part?
Generally no—but if you’re upgrading to a higher-capacity pump (e.g., 1/2 HP instead of 1/3 HP), local plumbing codes may require a permit for changes affecting discharge volume or electrical load. Check with your municipality before ordering.
Can a frozen discharge pipe cause the pump to stop working?
Absolutely. Ice blockage creates backpressure that trips thermal overload protectors—shutting off the motor even though it’s functional. In cold climates, always insulate the above-ground discharge line and slope it downward at least 1/4" per foot to prevent pooling.
What’s the average lifespan of a sump pump float switch?
Manufacturers rate most mechanical float switches for 5–7 years, but real-world data from the National Association of Home Builders’ 2022 Remodeling Impact Report shows median failure at 4.2 years—especially in high-humidity pits with organic debris.
"Over 60% of sump pump service calls we handle are for replaceable parts—not full pump failures. The float switch alone accounts for 44% of those cases." — Mike R., licensed plumbing technician with 18 years’ field experience, interviewed for Plumbing Contractor Magazine, 2023
Replacing a single sump pump part isn’t glamorous—but it’s reliable, affordable, and often the fastest path to dry basements. Keep your multimeter charged, your pit clean, and test regularly: a working pump shouldn’t be something you notice only when it’s too late.