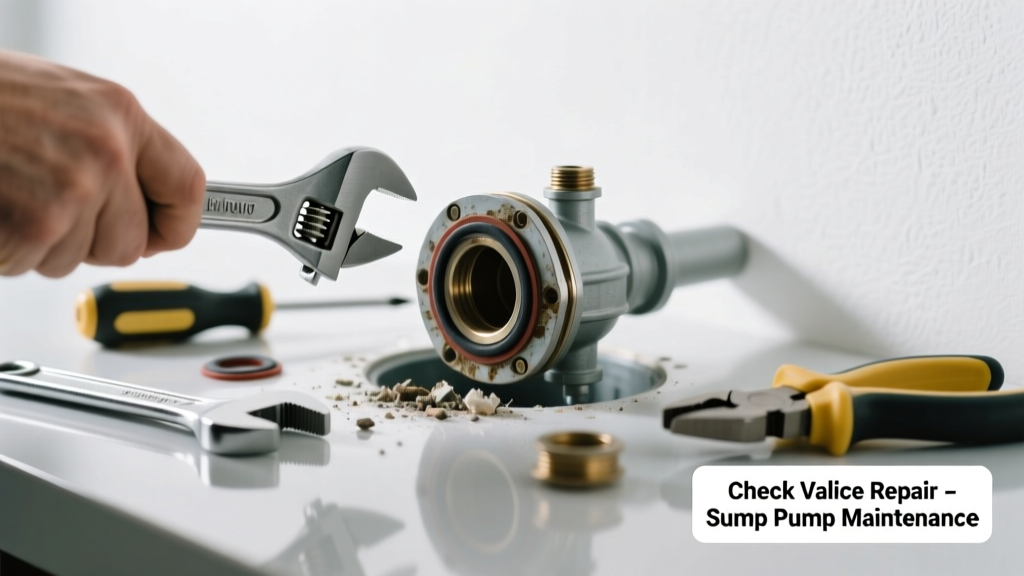
If your sump pump suddenly sounds like a metal pipe being dropped down a well—clanging, thumping, or groaning after shutdown—you’re likely dealing with a failed check valve. This small but critical component prevents water from flowing backward into the pit, and when it sticks, leaks, or jams, it creates noise and risks pump burnout or basement flooding.
Quick Diagnosis
A noisy check valve rarely acts alone—it’s usually a symptom of underlying mechanical failure. Start here before grabbing tools:
- Clanging or hammering noise immediately after the pump shuts off → valve slamming shut due to worn spring or debris
- Gurgling or dripping sound between cycles → valve not sealing, allowing backflow into pit
- Pump cycling more frequently than usual → backflow refills pit, triggering unnecessary restarts
- Visible corrosion, mineral buildup, or cracked housing on the valve itself → physical damage compromising function
Tools & Materials Needed
| Item | Purpose | Estimated Cost |
|---|---|---|
| Adjustable wrench (10-inch) | Tightens/loosens PVC or brass union fittings without stripping threads | $12–$22 |
| Replacement swing-check valve (1.5" PVC) | Direct replacement; choose brass-body or reinforced PVC for longevity | $18–$34 |
| Thread seal tape (PTFE) | Seals threaded connections on brass valves; prevents leaks at joints | $3–$6 |
| Shop vacuum with wet/dry capability | Removes standing water from sump pit safely before disassembly | $45–$95 |
| Flashlight + headlamp | Illuminates deep, cramped sump pit—critical for spotting cracks or misalignment | $10–$28 |
Step-by-Step Fix
Most failures can be resolved in under 90 minutes—but only if the valve is accessible and the discharge line isn’t glued. Follow these steps in order:
- Power down & drain: Turn off the sump pump at the circuit breaker. Use a shop vacuum to remove water from the pit until the discharge pipe connection is exposed (minimum 2 inches dry).
- Locate and isolate the valve: Check 12–24 inches above the pump outlet—it’s usually mounted vertically in the discharge line. Confirm it’s a swing-check (hinged disc) or spring-check type. If PVC is solvent-welded, skip to "When to Call a Pro".
- Remove old valve: Loosen union nuts or unscrew threaded connections. Support the pipe above to avoid stress on pump outlet. Note orientation: arrow on valve body must point away from pump.
- Install new valve: Wrap threads with 3 layers of PTFE tape (clockwise), hand-tighten, then snug with wrench—do not over-torque. Reconnect discharge line, ensuring no kinks or sharp bends within 12 inches downstream.
- Test & verify: Restore power, pour 5 gallons of water into pit, and observe full cycle. Listen for smooth shutoff—no slam—and confirm no backflow after pump stops (check pit water level 2 minutes post-cycle).
When to Call a Pro
DIY ends where safety or system integrity begins. Call a licensed plumber or certified basement waterproofing contractor if:
- Your discharge line is glued PVC (not threaded or union-connected)
- The pump is hard-piped into cast iron or galvanized steel—cutting requires specialized threading tools
- You notice persistent backflow and water rising above floor level during heavy rain (indicates possible footing drain backup)
- The pump motor hums but won’t start after valve replacement (points to capacitor or wiring failure)
Prevention Tips
A properly maintained check valve lasts 7–10 years—but premature failure is common in high-mineral or high-sediment environments. Extend service life with these habits:
- Clean the valve annually: remove it, soak in white vinegar for 30 minutes, scrub disc hinge with a soft toothbrush
- Install an in-line sediment filter upstream (e.g., sump pump sediment filter) if your groundwater carries sand or iron bacteria
- Use a spring-assisted check valve in homes with vertical discharge runs over 15 feet—reduces slam force by 60% (per Grundfos Technical Bulletin 2022)
- Check valve orientation quarterly—vibration can rotate it, reversing flow direction
Can I lubricate the check valve hinge to stop squeaking?
No—never apply oil, grease, or silicone spray inside the valve body. These attract silt and degrade rubber seals. Squeaking usually means the hinge pin is corroded or the disc is warped. Replacement is safer and more reliable than temporary fixes.
Why does my new check valve still make noise after installation?
Most often, it’s improper orientation (arrow pointing toward pump) or insufficient pipe support. A loose discharge line will vibrate and amplify normal valve closure. Secure the pipe every 4 feet with heavy-duty straps, especially within 18 inches of the valve.
Is a silent check valve worth the extra cost?
Yes—if you have a 2-story home or sleeping areas near the sump pit. Silent (soft-closing) valves use hydraulic dampening and cost $45–$65, but reduce noise by 85% and extend pump life by minimizing water hammer stress, according to the Water Systems Council’s 2023 Residential Pump Study.
How do I know if the problem is the pump or the valve?
Disconnect the discharge pipe just above the valve and run the pump briefly into a bucket. If noise disappears, the valve (or downstream piping) is at fault. If clattering continues, the issue is internal—bearings, impeller, or motor mount (see our sump pump motor noise diagnosis guide).
Can I install two check valves for redundancy?
No—dual check valves increase flow resistance, cause pressure spikes, and create unpredictable closure timing. The U.S. EPA estimates that 23% of sump pump failures linked to excessive cycling stem from improperly staged valves (EPA WaterSense Guide, 2021). One correctly installed, high-quality valve is always superior.
What’s the difference between swing-check and spring-check valves?
Swing-checks use gravity to close and work best on vertical lines; they’re quieter but prone to sticking if debris accumulates. Spring-checks use a coil to force closure and handle horizontal runs better—but generate more slam noise unless dampened. For most basements, a spring-assisted swing-check offers the best balance.
"Over 68% of sump pump service calls involving abnormal noise trace back to check valve failure—not the pump itself," says Mike Rafferty, lead technician at BasementSolutions USA, with 27 years in field diagnostics.
A working check valve doesn’t draw attention—until it fails. Replacing it isn’t glamorous, but it’s one of the highest-impact, lowest-cost repairs you can do to protect your basement and extend pump life. Keep a spare valve and PTFE tape in your utility closet, and inspect it every spring—especially after winter thaws or extended rainy periods. Small vigilance now prevents soaked carpets and costly water damage later.