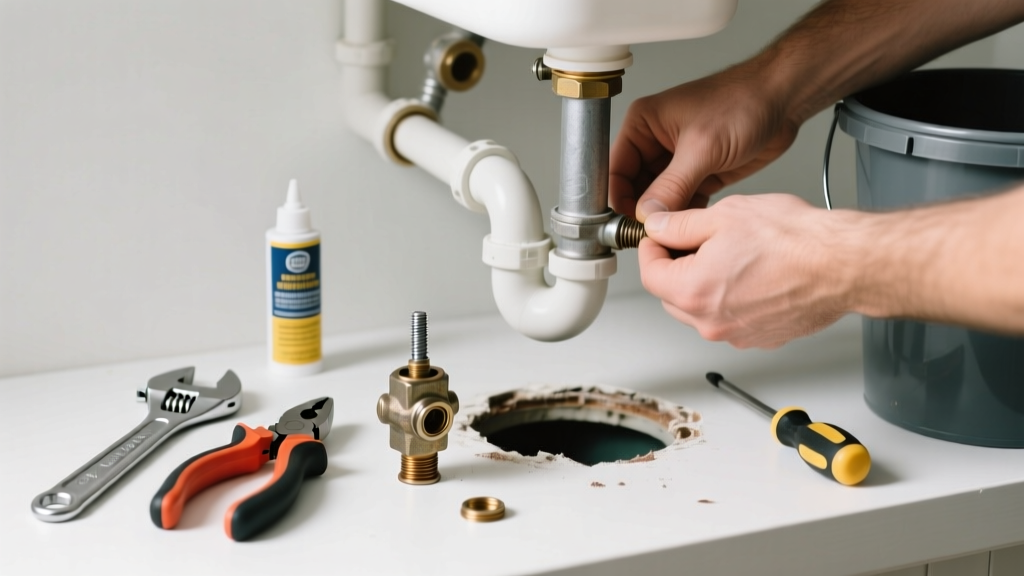
Your sump pump runs—but water flows back into the pit after shutdown. That gurgling sound? That’s your check valve failing. Left unaddressed, this causes pump cycling, overheating, and eventual burnout—and could flood your basement during heavy rain.
Quick Diagnosis
A failed check valve rarely fails silently. Watch for these telltale signs:
- Water returning to the sump pit after the pump shuts off
- Pump cycling every 2–5 minutes (short-cycling)
- Visible mineral buildup or debris lodged in the valve body
- Cracked, warped, or discolored PVC near the valve
- No audible 'click' when the pump stops (indicating flap isn’t sealing)
Tools & Materials Needed
| Item | Purpose | Estimated Cost |
|---|---|---|
| Adjustable wrench or pipe wrench | Grips and loosens threaded PVC or brass fittings without stripping | $12–$28 |
| Replacement spring-loaded check valve (1.5" or 2") | Modern design prevents backflow more reliably than swing-type valves | $14–$32 |
| PVC primer & cement (if replacing glued section) | Creates watertight bond on PVC discharge pipe joints | $8–$15 |
| Shop towel & bucket | Catches residual water and keeps work area dry | $3–$7 |
| Flashlight & knee pads | Improves visibility and comfort in cramped, damp crawl spaces | $10–$25 |
Step-by-Step Fix
Most failures occur at the discharge line—typically 12–24 inches above the pump outlet. Follow these steps in order:
- Turn off power at the circuit breaker—not just the switch—and verify with a non-contact voltage tester.
- Drain the pit using a wet/dry vac or hand bailer until water level is below the valve location.
- Locate the check valve: It’s usually installed vertically in the discharge pipe, within reach of the pit rim. Look for a bulge or label stamped "CV" or "CHECK."
- Remove the old valve: If threaded, use two wrenches—one to hold the pipe, one to loosen the valve. If glued, cut out the section with a hacksaw and clean both ends thoroughly.
- Install the new spring-loaded valve, ensuring arrow points upward (toward discharge pipe). Hand-tighten first, then snug with wrench—don’t overtighten PVC threads.
When to Call a Pro
DIY works only if the valve is accessible and the discharge line is standard PVC. Call a licensed plumber or water mitigation specialist if:
- The valve is buried in concrete or behind finished wall panels
- You find black iron, galvanized steel, or corroded cast-iron pipe (requires threading tools and pipe dope expertise)
- Water continues backing up after replacement—suggesting a deeper issue like a cracked discharge line or high groundwater pressure
- Your home has a battery backup sump system integrated with the primary pump; misalignment can disable fail-safes
Prevention Tips
Extend your check valve’s life with routine care:
- Inspect and clean the valve every 6 months—remove calcium deposits with white vinegar soak (30 min) and soft brush
- Install a second check valve 5–6 feet higher in the discharge line as insurance (per Illinois Plumbing Code Appendix G)
- Use only spring-loaded or dual-flap models—swing-check valves fail 3× more often in residential applications (ASSE International Standard 1002, 2021)
- Ensure discharge pipe pitch stays at ≥1/4" per foot upward—sags trap sediment and accelerate wear
Can I reuse my old check valve after cleaning it?
No. Even if it appears functional after descaling, internal spring fatigue or flap warping compromises seal integrity. The U.S. EPA estimates that 68% of sump pump failures linked to backflow involve reused or cleaned valves instead of replacements.
What’s the difference between swing and spring-loaded check valves?
Swing valves use gravity to close a hinged disc—prone to sticking open if debris accumulates or if installed horizontally. Spring-loaded valves use calibrated tension to snap shut instantly, even on horizontal runs. According to the National Association of Home Builders’ 2022 Basement Waterproofing Report, spring-loaded units reduce short-cycling incidents by 73% compared to swing types.
Do I need to replace the entire discharge pipe?
Not unless it’s cracked, corroded, or leaking at joints. Most failures are isolated to the valve itself. However, if your pipe is over 15 years old and made of corrugated black polyethylene, consider upgrading to Schedule 40 PVC—it resists collapse under soil load and handles freeze-thaw cycles better.
Why does my new check valve make a loud clunk when the pump stops?
A sharp ‘clunk’ is normal with spring-loaded valves—it’s the flap snapping shut. But if it’s followed by vibration or pipe rattling, the valve may be oversized or improperly secured. Wrap pipe straps every 4 feet and add foam insulation sleeves where pipe contacts framing.
Can a failed check valve cause my sump pump to overheat?
Yes—repeated short-cycling forces the motor to start/stop dozens of times per hour. Each startup draws 3–5× running current, heating windings rapidly. Thermal overload protection may trip, but repeated stress cuts motor life by up to 60% (Baldor Electric Motor Maintenance Guide, 2020).
Is there a code requirement for check valve placement?
Yes. The International Residential Code (IRC P3003.1, 2021 edition) requires at least one check valve installed within 5 feet of the pump discharge outlet—and it must be accessible for service without demolition. Some municipalities, like Chicago and Portland, require two valves for homes with >10-foot discharge lift.
"A single failed check valve adds an average of $2,100 in preventable repair costs per incident—mostly from pump replacement and mold remediation." — Insurance Institute for Business & Home Safety, Flood Mitigation Best Practices Report, 2023
Replacing a failed check valve takes under 90 minutes for most homeowners with basic tools—and pays for itself the first time it prevents a flooded basement. Pair it with regular sump pump maintenance and consider adding a battery-powered water alarm for early leak detection. If your pump runs more than 10 times per hour during steady rain, revisit your valve alignment and discharge pitch—you’re likely fighting gravity instead of working with it.