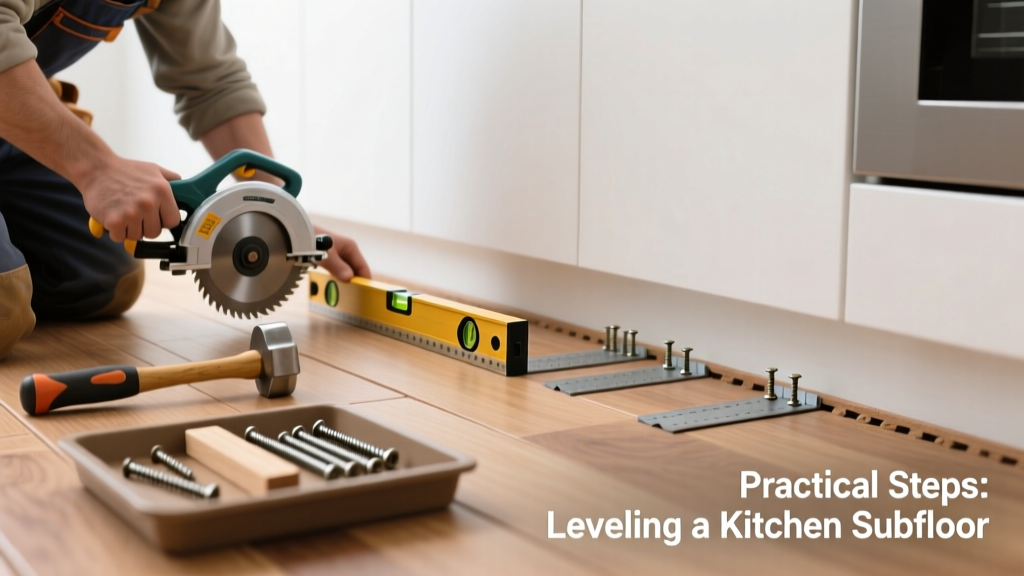
If your kitchen floor feels bouncy, squeaks underfoot, or shows visible dips near cabinets or the fridge, you’re likely dealing with an uneven subfloor—and it’s more than just cosmetic. Left unaddressed, it can warp new flooring, crack tile grout, and even compromise cabinet alignment. The good news? Many cases are fixable in a weekend with the right tools and approach.
Quick Diagnosis
Before grabbing tools, identify the root cause. An uneven kitchen subfloor rarely happens by accident—it’s usually tied to one (or more) of these issues:
- Water damage from leaky dishwashers, sinks, or refrigerators softening OSB or plywood
- Sagging joists due to undersized framing or long unsupported spans (common in older homes with 16" or 24" on-center joists)
- Settling or shifting of the concrete slab beneath a first-floor kitchen (especially in slab-on-grade homes)
- Poor initial installation—subfloor panels not properly glued, screwed, or staggered at seams
- Termite or fungal decay compromising structural integrity in crawl-space or basement-supported kitchens
Tools & Materials Needed
| Item | Purpose | Estimated Cost |
|---|---|---|
| 4-ft level + laser level | Identify low spots and verify flatness across 10-ft spans | $25–$120 |
| Self-leveling compound (e.g., Ardex K 15) | Fills shallow depressions (<1/2") without adding height | $45–$75 per 50-lb bag |
| 1/4"-thick plywood or underlayment-grade OSB | Shim layers for deeper low areas or localized dips | $18–$28 per sheet |
| Construction adhesive (e.g., PL Premium) | Bonds new layers securely; prevents future movement | $12–$18 per tube |
| Deck screws (2-1/2", coated) | Secures added layers without splitting subfloor | $8–$12 per box of 100 |
Step-by-Step Fix
Choose the method based on dip depth, area size, and access. Most kitchens need a hybrid approach—here’s how to proceed:
- Map the low zones: Use chalk lines and a laser level to mark all areas >1/8" out of plane over 6 ft. Note locations near plumbing runs and cabinet toe-kicks—avoid drilling there.
- Address moisture first: If dampness or musty odor is present, cut a 6"x6" inspection panel near the lowest spot. Confirm dryness with a moisture meter (<12% MC for wood). Dry thoroughly with fans for 48+ hours before repair.
- For dips ≤3/8": Apply self-leveling compound following manufacturer instructions—mix only what you’ll pour in 15 minutes, prime first, and use a spiked roller to de-air. Let cure 24 hrs before walking.
- For dips >3/8" or isolated sags: Cut 1/4" plywood to fit each depressed zone, apply construction adhesive, and screw every 6" along edges and 12" in field. Feather seams with 80-grit sandpaper.
- Verify flatness: Recheck with straightedge and level. Any gap >1/16" over 6 ft needs rework—don’t lay tile or LVP over unresolved high/low transitions.
When to Call a Pro
Some subfloor issues go beyond patching—they threaten structural safety or require specialized equipment. Call a licensed contractor if you observe any of these:
- Joist deflection >L/360 (e.g., >1.33" sag in a 12-ft span), measured with a string line and tape measure
- Rot or insect damage covering >10 sq ft, especially near load-bearing walls or beam supports
- Cracks in the concrete slab beneath, accompanied by vertical displacement (>1/4")
- Inability to locate or access joists due to closed-in soffits, ductwork, or finished ceilings below
- Multiple cabinets pulling away from walls or doors binding—signs of ongoing settlement
According to the Insurance Institute for Business & Home Safety's 2023 report on residential floor systems, 68% of major kitchen subfloor failures originated from undetected water intrusion behind toe-kicks or under appliances—making early detection critical.
Prevention Tips
Once repaired, protect your investment with proactive habits:
- Install drip pans under refrigerators and dishwashers—and check them monthly
- Use a moisture meter annually in high-risk zones (near sink base, dishwasher kickplate)
- Avoid placing heavy appliances (range, double oven) directly over unsupported subfloor seams
- When replacing flooring, specify minimum 3/4" tongue-and-groove subfloor for kitchens—never rely on 1/2" alone
- Keep interior humidity between 30–50% year-round using a dehumidifier or HVAC system with humidistat control
Can I use self-leveling compound over particleboard subfloor?
No—particleboard swells and delaminates when exposed to the water in most SLUs. Replace damaged particleboard with exterior-grade plywood or OSB first. Per the National Wood Flooring Association’s 2022 Installation Guidelines, particleboard is not approved as a substrate for ceramic tile or rigid LVP in wet-prone areas like kitchens.
How long does self-leveling compound take to dry before laying vinyl plank?
Most standard SLUs (e.g., Mapei Planipatch, LevelQuik RS) require 24 hours before light foot traffic and 72 hours before installing glue-down LVP. For floating LVP, some manufacturers allow installation after 48 hours—but always confirm with both the SLU and flooring specs. Never install over damp concrete; use a calcium chloride test (≤3 lbs/1,000 sq ft/24 hrs) first.
Will shimming the subfloor affect my cabinet toe-kick height?
Yes—if you add 1/4" or more of material, toe-kicks may no longer align. Measure existing clearance (typically 3–4") before starting. You can either trim toe-kicks with a jigsaw or install adjustable feet on base cabinets. Avoid forcing cabinets down onto new subfloor height—that stresses hinge mounts and door alignment.
Do I need to remove existing linoleum before fixing the subfloor?
Only if it’s loose, bubbled, or bonded with asphalt-based adhesive (which prevents SLU adhesion). Intact, well-attached sheet vinyl or linoleum can stay—just degrease and rough-sand it first. But never apply SLU over cushioned vinyl or felt-backed products; they compress and cause telegraphing.
Can I screw into joists through the subfloor without removing cabinets?
Yes—if you have access to the underside (basement or crawl space). From above, avoid drilling near toe-kicks unless you’ve confirmed joist location with a stud finder and marked centers. Use a 1/8" pilot hole and stop at 1-1/2" depth to avoid hitting plumbing or electrical in walls. A pro tip: “If your drill bit meets resistance after 1-1/4", you’re likely hitting joist top plate—not the joist itself,” says master carpenter Elena Ruiz in Practical Floor Systems (2021).
Is it safe to use expanding foam to fill gaps under subfloor?
No. Expanding polyurethane foam creates unpredictable pressure, warping panels and lifting adjacent tiles or planks. It also traps moisture and inhibits drying. Fill gaps >1/8" with tapered wood shims and construction adhesive—or better yet, sister joists from below for long-term stability.
A solid kitchen subfloor isn’t just about comfort—it’s the foundation for everything above it: cabinets, countertops, and flooring all depend on that stable, level platform. Take time to assess carefully, choose the right method for your specific dip, and don’t rush the curing or verification steps. Small fixes done right now prevent costly callbacks later—whether you’re prepping for new tile or just tired of that wobble every time you open the pantry door. For related guidance, see our guide on fixing squeaky kitchen floors and repairing water-damaged subfloor.