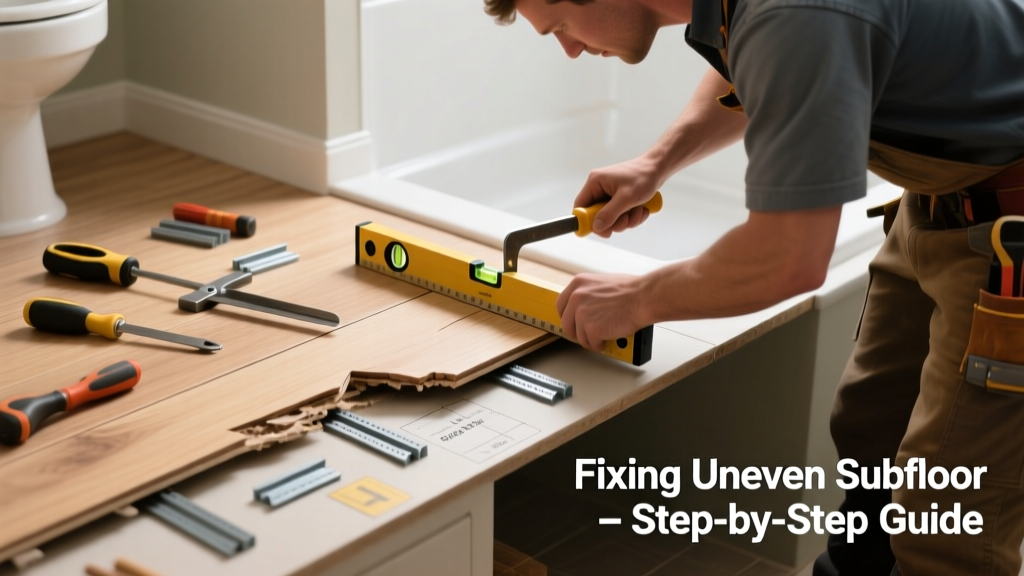
If your bathroom floor feels spongy, slopes toward the drain, or causes tiles to pop or grout to crack, the culprit is likely an uneven subfloor—and ignoring it invites water damage, mold, and structural compromise. Unlike other rooms, bathrooms demand precision: even 1/8" of variance can break waterproofing membranes or void tile warranties. Start here before you rip out fixtures or hire blindly.
Quick Diagnosis
Before grabbing tools, identify the root cause. Most uneven subfloors stem from one or more of these:
- Water-damaged OSB or plywood (soft spots near tub/shower base)
- Settled or improperly spaced floor joists (gaps >16" on center)
- Shrinkage or warping in green lumber used during original build
- Improperly secured subfloor panels (loose screws, missing adhesive)
- Foundation settling beneath bathroom slab (especially in slab-on-grade homes)
Tools & Materials Needed
| Item | Purpose | Estimated Cost |
|---|---|---|
| 100-grit sandpaper or orbital sander | Smoothing high spots without gouging waterproofing layers | $12–$45 |
| Self-leveling underlayment (SLU) kit | Fills low areas up to 1.5" deep; sets fast and bonds to cured concrete or plywood | $35–$75 per 50-lb bag |
| 3/4" exterior-grade plywood or AdvanTech | Replacement layer for rotted sections; resists swelling better than OSB | $22–$38 per sheet |
| Construction adhesive (polyurethane-based) | Bonds new subfloor to joists and prevents squeaks; rated for wet areas | $10–$18 per tube |
| Laser level + 4-ft straightedge | Measures deviation across entire floor; detects dips >1/8" over 6 ft | $45–$120 |
Step-by-Step Fix
Choose the method that matches your diagnosis and extent of damage. Never skip moisture testing first—use a pinless moisture meter (readings >15% indicate active rot).
- Isolate & remove damaged sections: Cut out soft, discolored, or delaminated plywood with a circular saw set to 3/4" depth. Leave 1/2" margin beyond visibly compromised wood.
- Reinforce joists if needed: Sister 2×8 pressure-treated lumber alongside sagging joists using 3" structural screws every 6". Shim gaps tightly before securing.
- Install replacement subfloor: Use 3/4" AdvanTech or CDX plywood. Apply polyurethane adhesive to joist tops, then screw panels with 2" corrosion-resistant screws spaced 6" along edges and 12" in field.
- Level minor dips (<1/4"): Feather self-leveling underlayment over clean, primed surface. Pour in 3-ft-wide ribbons, then spread with a notched trowel and spiked roller to release air bubbles.
- Seal seams and transitions: Tape all joints with fiberglass mesh tape and embed in thinset before applying final underlayment coat—critical for preventing movement at panel edges.
When to Call a Pro
DIY works for localized dips or isolated rot—but stop and consult a licensed contractor if you encounter any of these:
- Subfloor flexes more than 1/4" under foot pressure across a 3-ft span
- Moisture readings exceed 20% in three or more adjacent joist bays
- Cracks in ceiling drywall below bathroom or visible bowing in basement joists
- Drain pipe misalignment or slope loss (>1/4" per ft) indicating structural settlement
- You lack access to crawl space or basement for joist inspection
According to the Insurance Institute for Business & Home Safety's 2023 report, 68% of bathroom floor failures linked to subfloor issues involved undetected joist decay requiring engineered repair—not patching.
"Never pour self-leveler directly over OSB that’s been exposed to standing water—even if it looks dry on top. The core may be compromised and will swell later, cracking your tile." — John R. Vargas, Certified Master Remodeler & NAHB Subfloor Task Force Chair, 2022
Prevention Tips
Long-term stability starts with moisture control and smart installation:
- Always install a vapor barrier (6-mil poly) between joists and subfloor in vented crawl spaces
- Use construction adhesive *and* screws—not screws alone—on all subfloor fastening
- Leave 1/8" expansion gaps between panels, then fill with flexible caulk before tiling
- Run bathroom exhaust fan for 20+ minutes after each shower to reduce humidity buildup
- Inspect subfloor annually during grout cleaning—press firmly near toilet flange and shower curb for softness
How long does self-leveling underlayment take to cure before tiling?
Most urethane-modified SLUs (e.g., Mapei Planipatch, Ardex K 15) allow tile installation in 2–4 hours at 70°F and 50% RH. Always check manufacturer specs—some require 24 hours if ambient temps dip below 65°F or humidity exceeds 75%. Never walk on it barefoot during cure; use shoe covers to avoid tracking dust into pores.
Can I shim under existing subfloor instead of replacing it?
Yes—but only for very small, localized dips (≤1/8") and only with stainless steel or composite shims, never wood. Drive shims between joist and subfloor from below (crawl space), then re-screw the panel above. Wood shims absorb moisture and compress over time, creating new voids. As the National Tile Contractors Association notes in their 2021 Installation Handbook, improper shimming accounts for 22% of early-field tile lippage complaints.
Will fixing the subfloor fix my leaking shower pan?
Not necessarily. An uneven subfloor often *contributes* to leaks by distorting the slope away from the drain or cracking the waterproofing membrane—but the leak source may be elsewhere: failed curb sealant, punctured pan liner, or grout joint failure. Always perform a flood test (2" of water for 24 hrs) *after* subfloor repair but *before* tiling to verify pan integrity.
Do I need to remove toilet and vanity to fix the subfloor?
You must remove the toilet—it’s bolted through the subfloor and obstructs access to the critical area around the flange. Vanity removal depends on construction: if it’s toe-kick mounted and not blocking joist access, you can often work around it. But if it’s screwed directly into subfloor or spans a damaged zone, removal avoids future shifting or fastener pull-out.
Can I use regular drywall screws for subfloor repair?
No. Drywall screws are brittle, lack shear strength, and corrode quickly in humid environments. Use code-compliant, corrosion-resistant screws like Spax #10 x 2" or Simpson Strong-Tie SD920. The International Residential Code (IRC R503.2.1) requires minimum 2" penetration into framing for subfloor fasteners—and drywall screws rarely meet that spec even when fully driven.
What’s the minimum subfloor thickness required for ceramic tile in a bathroom?
The TCNA Handbook (2023 Edition) mandates a minimum *combined* thickness of 1-1/8" for wood subfloors under large-format tile (>15"). That typically means 3/4" structural subfloor + 3/8" cement backer board—or 3/4" AdvanTech + 1/4" uncoupling membrane. For standard 12×12 porcelain, 3/4" alone meets deflection requirements *if* joists are spaced ≤16" o.c. and span ≤10 ft.
A stable bathroom subfloor isn’t just about flatness—it’s the foundation of waterproofing, tile longevity, and safety. Get it right once, and you’ll avoid callbacks, mold remediation, and repeat tear-outs. If you’re tackling this alongside a leaking shower pan, address the subfloor first—then run that flood test. And if you’re weighing whether to add a heated floor, know that electric mat systems require a perfectly smooth, debris-free substrate—so finish leveling before unrolling wire.