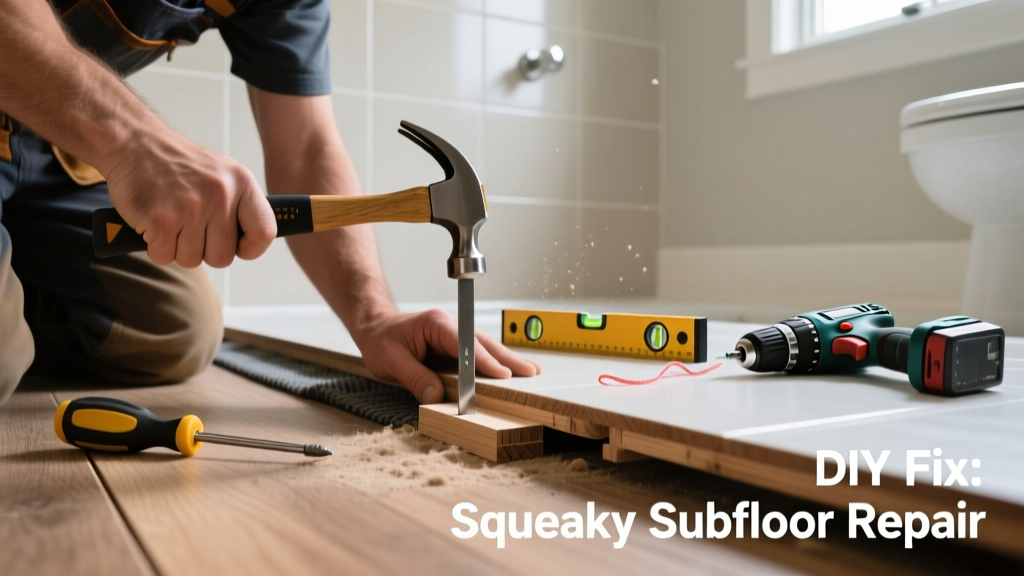
That high-pitched creak every time you step near the shower? In a bathroom, a squeaky subfloor isn’t just annoying—it’s a red flag for moisture exposure, loose fasteners, or structural movement. Unlike squeaks in dry areas, bathroom subfloor noise often signals deeper issues like adhesive failure from humidity or rotting OSB beneath tile or vinyl.
Quick Diagnosis
Bathroom subfloor squeaks rarely stem from one cause alone. Moisture infiltration accelerates wood movement and fastener loosening, while thin or improperly spaced subfloor panels compound the problem. Here are the most common culprits:
- Loose nails or screws connecting subfloor to joists (especially near toilet flange or tub rim)
- OSB or plywood subfloor edges not glued or screwed to adjacent panels
- Moisture-swollen subfloor panels rubbing against joists or each other
- Gaps between subfloor and joists due to settling or undersized blocking
- Shoddy installation—subfloor panels installed without construction adhesive or with insufficient fastener spacing
Tools & Materials Needed
| Item | Purpose | Estimated Cost |
|---|---|---|
| Drill with screwdriver bit | Drives screws through finished floor or access points into joists | $45–$120 |
| 1¼" coated deck screws | Secure subfloor to joists without splitting; corrosion-resistant for damp environments | $8–$15 per box |
| Fein Multimaster or oscillating tool | Cuts small access holes in tile or vinyl without damaging surrounding material | $130–$220 |
| Construction adhesive (e.g., PL Premium) | Fills gaps and bonds subfloor to joists—critical in humid spaces | $12–$18 per tube |
| Moisture meter (e.g., Wagner MMC220) | Confirms subfloor moisture content—anything above 16% warrants investigation | $95–$165 |
Step-by-Step Fix
Choose the method based on your finish flooring and access options. Always test moisture levels first—if readings exceed 16%, address leaks before proceeding.
- Locate the squeak source: Have a helper walk slowly while you listen from below (if accessible) or tap along joist lines with a rubber mallet. Mark joist centers with painter’s tape.
- Top-down screwing (for vinyl, LVP, or thin tile): Drill pilot holes through the finished floor directly over joists, then drive 1¼" coated screws until flush. Use a countersink bit to avoid dimpling. Space screws 6" apart along joist edges.
- Subfloor adhesive injection (for stubborn edge squeaks): Drill ⅛" holes every 4" along subfloor seams or panel edges. Inject PL Premium using a caulk gun with extension nozzle, then clamp with ratchet straps for 2 hours.
- Access-from-below reinforcement (if crawlspace/basement available): Shim gaps with cedar shingles, apply construction adhesive to joist tops, and add blocking between joists at squeak locations. Secure with 3" galvanized screws.
When to Call a Pro
Don’t risk safety or code compliance if any of these apply:
- You detect soft, spongy, or discolored subfloor—possible water damage requiring replacement
- Squeaking coincides with visible grout cracking, tile lippage, or wall separation (signs of foundation shift)
- Your bathroom has radiant heat tubing embedded in the subfloor—drilling risks puncture
- You’re working under a concrete slab-on-grade with no underside access
According to the Insurance Institute for Business & Home Safety's 2023 report, 68% of bathroom subfloor failures linked to unaddressed leaks progress to structural compromise within 18 months if not repaired properly.
Prevention Tips
Long-term quiet hinges on controlling moisture and reinforcing connections:
- Install a bathroom exhaust fan that vents outdoors—not into the attic—and run it for 20 minutes post-shower
- Seal all perimeter gaps around tubs, showers, and vanities with 100% silicone (not caulk) to prevent wicking
- Use construction adhesive on every subfloor-to-joist contact point during new installs—code requires it in wet areas per IRC R503.2.2 (2021)
- Inspect under-sink supply lines and P-traps annually for slow drips; the U.S. EPA estimates 14% of household water usage is from leaks, many hidden under cabinets
Can I screw through ceramic tile to fix the squeak?
Yes—but only if the tile is well-bonded and you use a diamond-tipped masonry bit to drill a pilot hole first. Stop drilling as soon as you feel resistance drop (indicating subfloor contact). Then switch to a carbide bit to penetrate the subfloor and drive the screw. Always seal the screw head with matching grout or epoxy filler afterward.
Will baby powder or talcum powder stop the squeak?
No. Powder may temporarily mute friction noise between layers, but it does nothing to secure movement—and introduces slip hazards in a wet environment. It also attracts dust and mold spores in humid air, worsening long-term conditions.
How do I know if my subfloor is OSB or plywood?
Remove a floor register or inspect an access panel: OSB shows layered, grainy strands pressed together; plywood reveals smooth, alternating wood veneer plies. OSB is more prone to edge swelling in bathrooms—so if you have it, prioritize sealing all cut edges with exterior-grade primer before tiling.
Can I use Liquid Nails instead of PL Premium?
Avoid standard Liquid Nails (LN-901). It lacks the flexibility and moisture resistance needed for bathroom subfloors. PL Premium (polyurethane-based) remains elastic after curing and meets ASTM D3404 standards for wet-area adhesion—verified in independent testing by the National Association of Home Builders Research Center (2022).
Do I need to remove the toilet to fix this?
Not always—but if the squeak originates near the flange, yes. Shut off water, drain the tank and bowl, disconnect supply line, unscrew the bolts, and lift the toilet carefully. Place a rag over the flange opening to prevent debris entry. This gives full access to the subfloor beneath and lets you check for flange warping or rotted wood.
What’s the fastest temporary fix if I can’t do a full repair right now?
Drive two 1¼" coated screws diagonally across the squeak zone—entering at opposing 30° angles—from the surface. This creates a "staple" effect that clamps layers together. It’s not permanent, but holds for 6–12 months while you plan a proper fix. Don’t overtighten—stop when the screw head is flush.
A quiet bathroom floor isn’t just about comfort—it’s proof your substructure is sound, sealed, and stable. Address squeaks early, treat moisture like the silent threat it is, and never skip the adhesive step. If your next renovation includes bathroom subfloor replacement, consider upgrading to Advantech or Huber Zip System sheathing. And if you’re wrestling with squeaky floors under carpet elsewhere, remember: bathroom fixes demand higher moisture intelligence than anywhere else in the house.