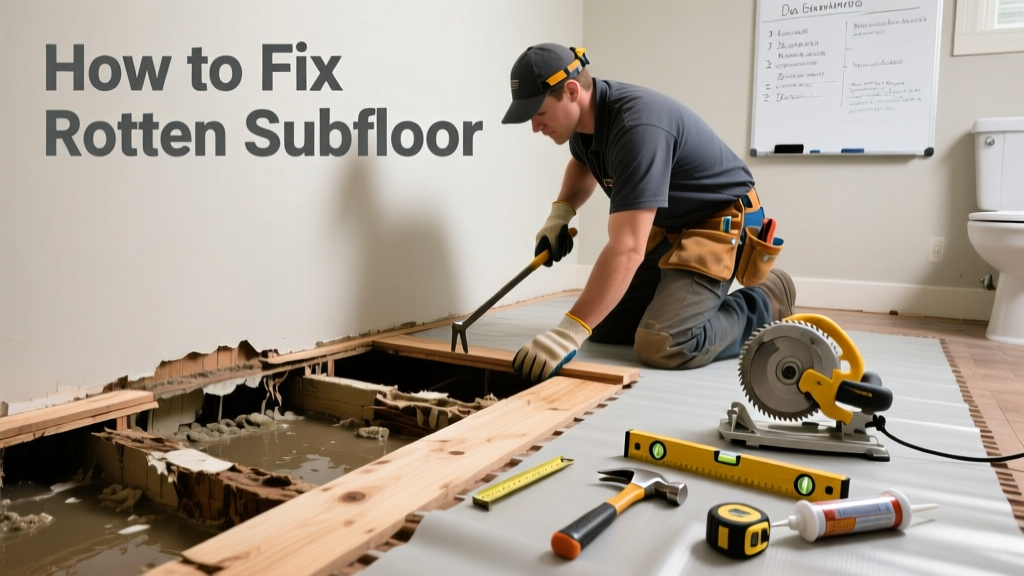
If you hear a soft, spongy spot when walking across your bathroom or basement floor—or notice musty odors, discoloration, or buckling flooring—you’re likely dealing with rotten subfloor. This isn’t just cosmetic: unchecked rot compromises structural integrity and invites mold growth.
Quick Diagnosis
Rotten subfloor rarely appears out of nowhere. Here are the most common root causes:
- Chronic moisture from leaking supply lines, shower pan failures, or unsealed tub surrounds
- Poor ventilation in bathrooms or basements (relative humidity above 60% for extended periods)
- Condensation buildup under vinyl or laminate installed directly over concrete without vapor barrier
- Roof or window leaks that wick down framing into subfloor edges
- Plumbing vent blockages causing slow drainage backups and hidden saturation
Tools & Materials Needed
| Item | Purpose | Estimated Cost |
|---|---|---|
| Carpenter’s square & chalk line | Ensures precise, square cuts when removing and replacing damaged OSB or plywood | $12–$25 |
| Reciprocating saw with demolition blade | Cuts through nails and rotted wood quickly—critical for minimizing damage to joists | $45–$85 |
| 1/2" CDX plywood or 23/32" OSB | Code-compliant replacement material; use exterior-grade for wet areas | $22–$38 per sheet |
| Construction adhesive (polyurethane-based) | Bonds new subfloor to joists and prevents squeaks; resists moisture better than standard glue | $8–$14 per tube |
| Zinc-coated deck screws (2.5") | Corrosion-resistant fasteners spaced every 6" along joists and 12" in field | $6–$10 per pound |
Step-by-Step Fix
Repairing rotten subfloor is methodical—not rushed. Follow these steps in order:
- Shut off water and power to the affected area. If working near plumbing or outlets, verify lines are de-energized and valves closed.
- Remove finished flooring (tile, vinyl, hardwood) using a pry bar and utility knife. Cut carefully around fixtures to avoid damaging pipes or drains.
- Inspect joists with a screwdriver: press firmly into exposed wood. If the tip sinks >1/8", the joist may be compromised—mark for professional assessment.
- Cut out damaged subfloor using a straightedge and reciprocating saw. Extend cuts at least 6" beyond visible rot to reach sound wood; cut square to simplify replacement.
- Install new subfloor: Apply construction adhesive to joist tops, set panel, and secure with screws driven every 6" along joists and 12" elsewhere. Stagger seams between sheets by at least one joist spacing.
When to Call a Pro
DIY has limits—and subfloor rot can cross them fast. Call a licensed contractor if:
- You find more than 24 inches of continuous rot along a joist, especially near load-bearing walls or stair openings
- The affected area exceeds 4 ft × 4 ft in a high-traffic zone like a kitchen or main hallway
- You discover active mold colonies (>10 sq ft) or black, slimy growth on joists or insulation (per EPA guidelines, this requires containment and remediation)
- There’s evidence of termite damage alongside rot—look for mud tubes, frass, or hollow-sounding wood
- Your home was built before 1978 and you uncover lead-painted subfloor layers during removal
Prevention Tips
Fixing rot once isn’t enough—you need long-term defense. Start here:
- Install a hygrometer in moisture-prone rooms and keep indoor RH between 30–50% year-round
- Add an inline fan timer (e.g., Broan Ultra Silent 60-min delay) to exhaust fans so they run 20+ minutes after showers
- Seal all subfloor seams and perimeter edges with liquid-applied membrane (like RedGard) before tiling in wet areas
- Inspect under-sink cabinets quarterly for drips, pooling, or discoloration—catch leaks early
- Use pressure-treated or marine-grade plywood for subfloor in basements or crawlspaces, even if code doesn’t require it
Can I use bleach on this?
No. Bleach only kills surface mold spores and does nothing to stop wood decay fungi. It also leaves behind moisture that feeds rot deeper. According to the U.S. EPA’s Mold Remediation in Schools and Commercial Buildings (2022), “chlorine bleach is not recommended for mold removal on porous surfaces like wood.” Use a fungicidal wood preservative like Bora-Care instead—if the wood still has structural integrity.
How long does subfloor rot take to develop?
It depends on moisture exposure. Constant saturation (e.g., from a pinhole leak under a sink) can cause visible rot in as little as 3–6 months. Intermittent dampness—like condensation under poorly ventilated flooring—may take 1–3 years. The Insurance Institute for Business & Home Safety’s 2023 report notes that 68% of subfloor failures occur within 18 months of first unnoticed water intrusion.
Is OSB or plywood better for replacement?
Plywood is generally preferred for wet-area subfloors because it recovers better from brief moisture exposure and holds screws more reliably at edges. OSB swells irreversibly when saturated and delaminates faster. That said, both meet IRC standards if rated for exterior use—but always specify “Exposure 1” grade and seal all cut edges with asphalt emulsion or polyurethane sealer before installation.
Do I need to replace the entire subfloor?
Not usually. Unless rot spans multiple joist bays or involves structural joists, targeted replacement is safe and code-compliant. The International Residential Code (IRC R502.3.1) allows patching as long as new panels are full-depth, properly supported, and fastened to blocking or solid nailing strips where edges don’t land on joists.
What’s the average cost to fix rotten subfloor?
DIY materials run $75–$220 for a 4 ft × 4 ft patch, depending on material grade and fastener quality. Hiring a contractor averages $450–$1,200 for the same area—including labor, disposal, and minor joist reinforcement. Larger jobs (e.g., full bathroom subfloor) often exceed $2,500, especially if mold abatement or plumbing repairs are needed.
Can I walk on the repaired subfloor right away?
You can walk on it immediately after screwing down the new panel—but wait at least 12 hours before installing finish flooring if you used polyurethane construction adhesive. Most adhesives reach 80% cure strength in 8–12 hours, but full bond develops over 72 hours. Rushing tile or vinyl installation risks movement-induced grout cracking or seam separation.
"Rot doesn’t lie—it’s always telling you where water has been hiding. Find the source first, or you’ll be replacing subfloor again in 18 months." — Mike D’Amico, master carpenter and 32-year IBC-certified inspector
A solid subfloor is the foundation of everything above it—literally. Take time to dry the cavity fully before reassembly, double-check joist integrity, and seal every edge. If you’ve caught the rot early and followed these steps, your repair should last 20+ years. And if you’re unsure about joist soundness or moisture sources, don’t guess—pull a permit and get a third-party inspection. It’s cheaper than rebuilding a collapsed floor.