Bathroom windows get stuck more often than any other room’s—thanks to steam, humidity, and decades of paint buildup. A jammed sash isn’t just annoying; it compromises ventilation, invites mold, and can trap you during an emergency. Don’t force it—that’s how glass cracks and frames warp.
Quick Diagnosis
Before grabbing tools, identify the culprit. Most stuck bathroom windows fall into one of these categories:
- Paint or caulk sealing the sash to the frame (especially common in older homes)
- Swollen wood from chronic moisture exposure
- Rusted or corroded metal tracks or hinges (in aluminum or vinyl-clad units)
- Debris or mineral deposits clogging the track (hard water residue from shower steam)
- Warped vinyl or fiberglass sash due to thermal cycling and humidity
Tools & Materials Needed
| Item | Purpose | Estimated Cost |
|---|---|---|
| Utility knife with fresh blades | Cuts through paint seals and old caulk without gouging wood or vinyl | $5–$12 |
| White vinegar + soft toothbrush | Dissolves calcium deposits and mildew in tracks; non-corrosive and safe near plumbing | $3–$6 |
| 3-in-1 oil or silicone lubricant | Lubricates metal channels without attracting dust or degrading rubber gaskets | $4–$9 |
| Wood shim (1/8" thick) | Gently levers swollen sashes without cracking the frame or breaking glass | $2–$4 |
| Microfiber cloths | Wipes away moisture and residue without scratching tempered glass or coatings | $6–$10 |
Step-by-Step Fix
Work methodically—start gentle, escalate only if needed. Always wear safety glasses and gloves when prying or cutting.
- Break the paint seal: Run a utility knife along both vertical edges where the sash meets the frame. Cut at a 30° angle to avoid deep grooves. Test with light pressure—many windows release instantly after this.
- Clean the track: Soak a toothbrush in undiluted white vinegar, scrub the bottom track and side channels thoroughly. Rinse with distilled water (tap water reintroduces minerals) and dry completely with a microfiber cloth.
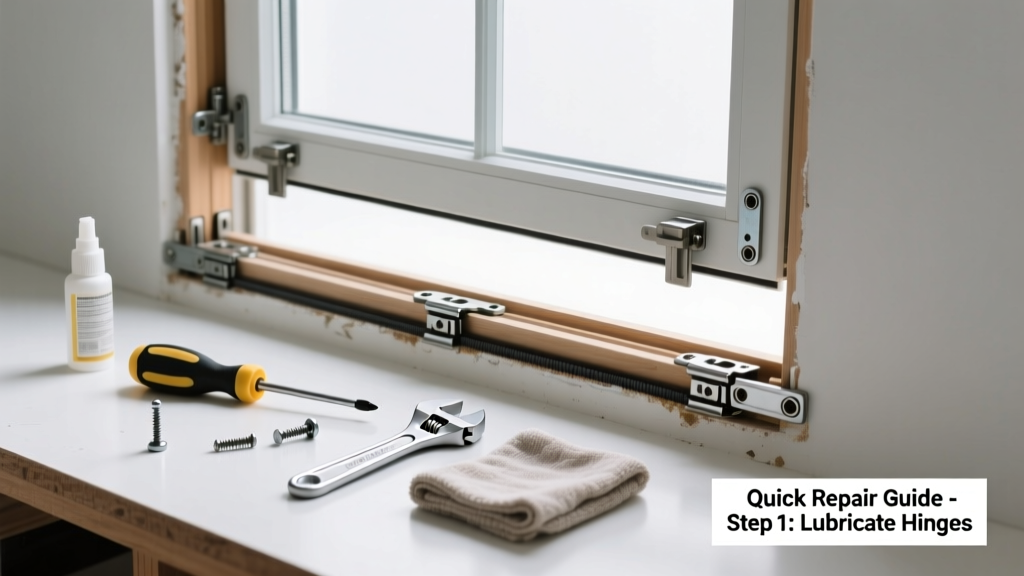
- Lubricate and test: Apply 2–3 drops of silicone lubricant—not WD-40—to each roller or pivot point. Open and close slowly 5–6 times to distribute evenly.
- Address swelling: If the sash still sticks, insert a 1/8" wood shim between the sash and frame at the tightest spot. Tap lightly with a rubber mallet to gently compress swollen grain. Repeat on adjacent corners if needed.
When to Call a Pro
Some situations demand licensed help—not because they’re hard, but because mistakes risk health, safety, or code violations.
- The window is double-glazed and fogged inside the sealed unit—attempting removal breaks the seal and voids warranty
- You detect rot deeper than 1/4" in the jamb or sill (a sign of long-term water intrusion that may compromise structural integrity)
- The window is part of a fire egress route and fails to open fully within 10 seconds—this violates IRC R310.1 and requires certified repair documentation
- You’re dealing with historic aluminum windows manufactured before 1978 and suspect lead-based paint—disturbing it without EPA RRP certification is illegal
Prevention Tips
Prevent recurrence by interrupting the moisture-paint-swelling cycle. Bathroom windows face unique stress—so treat them differently.
- Wipe condensation off the glass and frame daily with a dry microfiber cloth—don’t let it pool at the sill
- Repaint every 3 years using 100% acrylic semi-gloss paint (not oil-based) and mask the sash-to-frame gap with painter’s tape before applying
- Install a small inline exhaust fan that runs automatically for 20 minutes post-shower (per ASHRAE 62.2-2022 standards)
- Once per season, vacuum the track with a crevice tool, then wipe with vinegar solution—skip abrasive cleaners that degrade weatherstripping
Can I use bleach to clean the track?
No. Bleach corrodes aluminum tracks, degrades vinyl gaskets, and reacts with ammonia residues (common in bathroom cleaners) to form toxic chloramine gas. Stick to white vinegar or a pH-neutral cleaner like vinegar-based solutions.
What if the window opens but won’t stay up?
This points to failed friction stays or broken spiral balances—common in tilt-turn or double-hung bathroom windows. Replacing them requires matching torque specs and spring tension. See our guide on how to replace window balances for model-specific steps.
Is it safe to sand down a swollen wooden sash?
Only if swelling is superficial (<1/16") and localized. Sanding removes protective finish and exposes bare wood to future moisture absorption. Better to relieve pressure with shims first, then refinish with marine-grade spar urethane.
Why does my vinyl window stick only in winter?
Cold temperatures make vinyl contract unevenly—especially if the frame was installed too tightly. The U.S. Department of Energy notes that improperly spaced vinyl windows account for 68% of seasonal sticking complaints in humid climates (DOE Home Energy Score Guide, 2023).
Can I replace just the sash, not the whole window?
Yes—if your window is from a major brand like Andersen, Pella, or Marvin, replacement sashes are available. But verify compatibility: measure jamb depth, check balance type, and confirm glazing bead design. Mismatched sashes cause air leakage and void warranties.
How do I know if the problem is the lock or the frame?
Test the lock independently: disengage it and try opening. If it moves freely, the lock is binding—not the frame. If it’s stiff even unlocked, inspect the strike plate alignment and lubricate the latch mechanism with graphite powder (never oil, which attracts grime).
"Over 40% of bathroom window failures stem from improper maintenance—not defective parts. A 2-minute weekly wipe-down prevents 9 out of 10 sticking incidents." — National Association of Home Builders, Remodeling Impact Report, 2022
A stuck bathroom window isn’t just a minor nuisance—it’s a red flag for moisture management failure. Fix it right the first time, and you’ll improve air quality, reduce mold risk, and extend the life of both the window and surrounding drywall. Keep your tools handy, monitor humidity levels, and never ignore that faint squeak—it’s the first whisper before the jam.