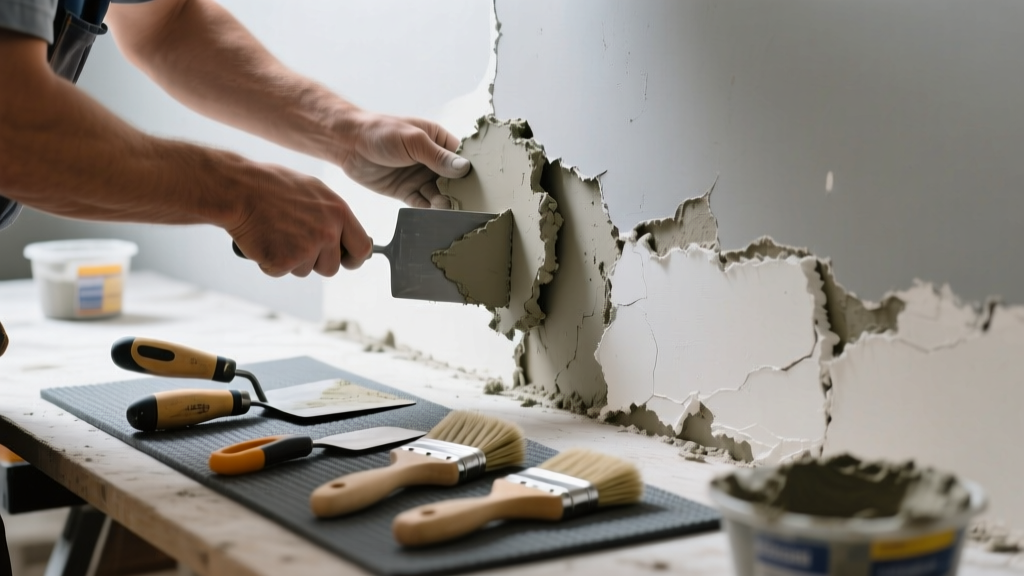
Efflorescence on stucco isn’t just cosmetic—it’s a red flag that water is migrating through the wall system, dissolving salts, and depositing them on the surface. If you’re seeing persistent white chalky residue *plus* cracking, softening, or delamination in that area, the stucco itself has likely degraded and needs targeted replacement—not just cleaning. Ignoring it invites freeze-thaw damage and substrate corrosion.
Quick Diagnosis
Efflorescence alone doesn’t always mean replacement is needed—but these signs confirm it’s time to cut out and rebuild:
- White, powdery deposits reappearing within 2–3 weeks after brushing or rinsing
- Cracks wider than 1/16" radiating from the affected zone
- Soft, crumbly texture when pressed with a screwdriver tip
- Discoloration or dark staining beneath the efflorescence (indicates trapped moisture)
- Visible bulging or hollow-sounding areas when tapped lightly
Tools & Materials Needed
| Item | Purpose | Estimated Cost |
|---|---|---|
| Angle grinder with diamond masonry blade | Cuts clean, precise removal lines without shattering surrounding stucco | $85–$140 |
| Stucco base coat (Type S mortar) | Provides structural bond and vapor-permeable foundation layer | $12–$18 per 80-lb bag |
| Stucco finish coat (acrylic-modified) | Weather-resistant, color-stable top layer with built-in water repellency | $24–$32 per 5-gal pail |
| Wire brush + stiff nylon brush | Removes salt residue and loose material before priming | $8–$15 |
| Vapor-permeable masonry primer | Seals substrate without trapping moisture; critical for efflorescence-prone walls | $22–$29 per gallon |
Step-by-Step Fix
- Mark and cut the damaged zone: Use a straightedge and pencil to outline a square or rectangle extending 2" beyond visible damage on all sides. Score along lines with an angle grinder (wear N95 mask and eye protection), then deepen cuts to 3/8"—deep enough to reach the lath but not the sheathing.
- Remove failed stucco: Chip out material with a cold chisel and hammer. Stop when you hit firm, sound stucco or bare metal lath. Vacuum dust, then scrub exposed area with diluted white vinegar (1:3) to neutralize residual salts.
- Prime and apply base coat: After drying 24 hours, apply vapor-permeable primer. Trowel on Type S base coat in two layers (first at 3/8", second at 1/4")—let each cure 48 hours. Damp-cure with misting for first 72 hours.
- Finish and match: Apply acrylic-modified finish coat at 1/8" thickness. Texture with a damp sponge float to match adjacent stucco. Allow full cure (7 days) before sealing with breathable silane-siloxane sealer.
When to Call a Pro
DIY replacement fails—and risks worsening moisture intrusion—when:
- The efflorescence covers more than 10 sq ft or spans multiple stories
- You find rotting wood sheathing, rusted lath, or missing building paper behind the stucco
- The wall lacks proper weep screed or has no drainage plane (common in pre-1990s homes)
- You detect interior drywall staining or musty odors—signs of hidden rot or mold
According to the Stucco Contractors Association of America’s 2022 Field Survey, 68% of stucco failures linked to efflorescence involved undetected drainage plane breaches requiring licensed remediation.
Prevention Tips
Replacement buys time—but recurrence is avoidable with system-level fixes:
- Install or repair weep screed at the base of all stucco walls (critical for draining bulk water)
- Ensure roof gutters direct runoff at least 3 ft away from foundations
- Apply breathable silane-siloxane sealer every 5 years—not film-forming acrylics
- Grade soil away from the foundation at 6" drop over 10 ft to prevent splashback
- Add drip edges above windows and doors to deflect rainwater
Can I use bleach on this?
No. Bleach reacts with calcium salts in stucco to form chlorides, which accelerate corrosion of metal lath and increase long-term efflorescence. Use diluted white vinegar instead—it dissolves carbonates safely and leaves no harmful residue.
How deep should I cut into the stucco?
Cut just deep enough to remove all compromised material down to solid substrate or clean lath—typically 3/8" to 1/2". Going deeper risks damaging the weather-resistive barrier or sheathing. If you hit wet OSB or rotted wood, stop and call a pro.
Will painting over efflorescence fix it?
Painting seals the symptom, not the cause—and often traps moisture behind the film. Within months, blistering, peeling, and worse efflorescence emerge. Always address the moisture source and replace failing stucco first. See our guide on stucco paint vs. sealer choices.
Do I need to replace the wire lath too?
Only if it’s visibly rusted, detached, or bent beyond recovery. Light surface rust is acceptable if cleaned with wire brush and treated with zinc-rich primer. Lath integrity is non-negotiable—if it’s compromised, the new stucco will fail within 2 years.
How long before I can seal the patch?
Wait minimum 7 days for full hydration curing of both base and finish coats—even if the surface feels dry. Sealing too soon blocks moisture escape and causes micro-cracking. Use a moisture meter: readings must be ≤12% before sealing.
Is efflorescence always a sign of serious damage?
No—but it’s never harmless. The U.S. Department of Housing and Urban Development’s Stucco Repair Handbook (2021) states that isolated, powdery efflorescence with no substrate softening may only require cleaning and improved drainage. But once texture changes or cracking appears, replacement is the only reliable fix.
"Efflorescence is the wall’s distress signal—not its diagnosis. Treat the symptom without finding the leak, and you're just putting duct tape on a burst pipe." — Carlos Mendez, RCI-certified stucco consultant, 2023
Replacing a localized stucco section damaged by efflorescence restores both appearance and function—but only if you respect the moisture dynamics driving the problem. Focus on cutting cleanly, priming properly, and sealing wisely. And remember: if your patch starts sweating or whitening again within 60 days, revisit your drainage details before blaming the materials.