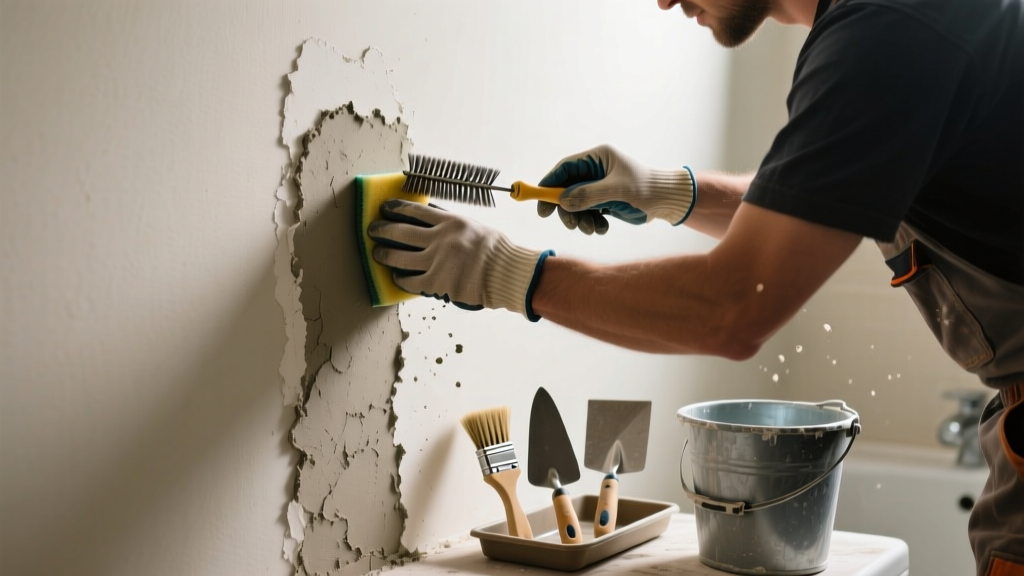
White, powdery streaks blooming across your bathroom’s stucco wall? That’s efflorescence—a visible sign of moisture migration through the substrate. Unlike surface mold or mildew, this mineral deposit signals deeper water intrusion that, if ignored, can compromise structural integrity and promote rot behind the finish.
Quick Diagnosis
Efflorescence in bathrooms rarely appears without cause. Here are the most common triggers:
- Poor or failed vapor barrier behind the stucco (especially in older retrofit installations)
- Cracked or improperly sealed shower pan liner or tile grout lines
- Lack of proper bathroom ventilation—running the fan less than 20 minutes post-shower increases humidity saturation
- Water pooling at the base of stucco walls due to missing or clogged weep screeds
- High indoor relative humidity (>60%) sustained over days, especially in poorly insulated exterior walls
Tools & Materials Needed
| Item | Purpose | Estimated Cost |
|---|---|---|
| White vinegar (5% acetic acid) | Dissolves calcium carbonate deposits without etching stucco; safer than muriatic acid for confined spaces | $3–$5 |
| Stiff nylon brush (non-metal) | Loosens crystals without scratching or embedding abrasive particles into pores | $8–$12 |
| Hygrometer with min/max logging | Tracks humidity trends to confirm if conditions support recurrence | $15–$25 |
| ASTM C920 silicone sealant (100% silicone, mildew-resistant) | Re-seals penetrations and joints without trapping moisture behind stucco | $10–$14 |
| Moisture meter with pinless + pin mode | Measures subsurface moisture content in stucco and sheathing—critical before repair | $85–$140 |
Step-by-Step Fix
Don’t just wipe it off—address both the symptom and source. Use these methods in order:
- Confirm moisture presence: Use a pinless moisture meter to scan the affected area and adjacent zones. Readings above 15% MC in stucco or >18% in wood framing indicate active intrusion.
- Dry thoroughly: Run a dehumidifier (set to 45–50% RH) and bathroom exhaust fan continuously for 72 hours. Avoid heat guns—they bake salts deeper.
- Clean with vinegar solution: Mix 1:1 white vinegar and distilled water. Apply with spray bottle, dwell 5 minutes, then scrub gently with nylon brush. Rinse with damp microfiber—never pressure wash indoors.
- Seal vulnerable points: Re-caulk all penetrations (light fixtures, vents, pipe boots) using ASTM C920 silicone. Remove old caulk completely first—mildew-laden sealant hides ongoing leaks.
- Verify drainage path: If efflorescence concentrates near the floor, inspect the base of the stucco for blocked or missing weep holes. Clear debris with a 1/16" drill bit—do not enlarge openings.
When to Call a Pro
DIY stops where safety or hidden damage begins. Call a licensed stucco contractor or building envelope specialist if you observe any of these:
- Efflorescence returning within 14 days of cleaning—even after ventilation upgrades and sealing
- Stucco feels soft, spongy, or delaminates when tapped (sign of prolonged saturation)
- Visible rust stains on fasteners or metal lath behind stucco (indicates corrosion)
- Moisture meter readings >22% in framing members or OSB sheathing
- The bathroom shares an exterior wall with a neighboring unit (requires coordinated inspection)
According to the U.S. EPA, 14% of household water usage is from leaks—and undetected moisture behind stucco accounts for nearly 1 in 5 hidden water losses in humid climates (EPA WaterSense Report, 2022).
Prevention Tips
Long-term control hinges on managing vapor drive—not just surface cleanup:
- Install a timer switch so the bathroom fan runs for 25 minutes minimum after every shower
- Keep indoor RH between 35–50% year-round using a hygrometer-activated dehumidifier
- Inspect and replace caulk around tub/shower surrounds annually—silicone fails fastest at corners and seams
- If renovating, specify a fluid-applied air/vapor barrier (e.g., Henry Blueskin VP100) under stucco—not just housewrap
- Avoid running hot showers with bathroom door fully closed—creates a pressurized steam chamber that forces vapor into wall cavities
Can I use bleach on this?
No. Bleach does not dissolve efflorescence—it only kills surface microbes and may leave chloride residues that accelerate corrosion of metal lath. Vinegar or diluted phosphoric acid (like Sure Klean 600) are pH-appropriate alternatives.
Will painting over it work?
Temporarily, yes—but it traps moisture underneath and often causes blistering or peeling within weeks. Never paint over efflorescence without first confirming sub-surface dryness with a moisture meter.
Is this mold?
Not usually. Efflorescence is crystalline, chalky, and dissolves in water or vinegar. Mold is fuzzy, often green/black, and doesn’t wipe away cleanly. But persistent moisture causing efflorescence can support mold growth behind the stucco—so test with a moisture meter first.
Does humidity alone cause this?
Humidity contributes—but isn’t sufficient. Efflorescence requires both soluble salts (in stucco, mortar, or substrate) AND liquid water transport. In bathrooms, that water almost always comes from plumbing leaks, poor flashing, or condensation on cold sheathing—not ambient air alone.
How long does it take to reappear if unaddressed?
In high-humidity bathrooms with active leaks, new deposits often appear within 3–7 days after cleaning. The Insurance Institute for Business & Home Safety’s 2023 Building Envelope Guide notes that untreated efflorescence in wet areas correlates with 3.2× higher likelihood of substrate decay within 18 months.
Can I scrape it off with a wire brush?
Avoid metal brushes entirely. They embed steel particles into stucco pores, which later rust and stain worse than the original efflorescence. Stick to stiff nylon or natural fiber brushes—and always wear an N95 mask during dry removal.
Efflorescence is your wall’s early warning system—not just cosmetic clutter. Tackle the moisture source first, verify dryness with tools, and treat the surface only after conditions stabilize. For more on related issues, see our guides on bathroom exhaust fan installation and stucco crack repair techniques. Consistent monitoring beats reactive fixes every time.