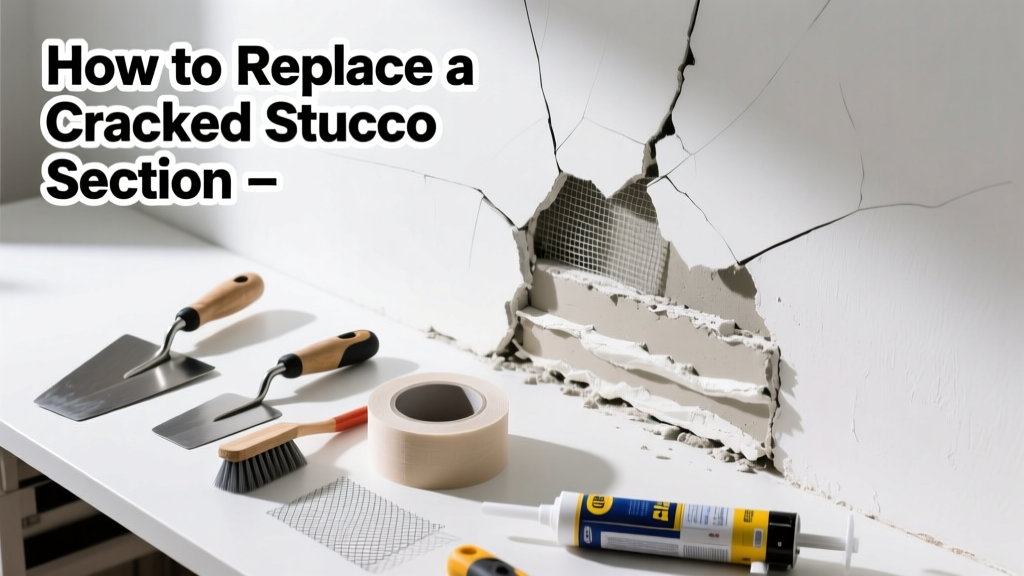
Stucco cracking isn’t always cosmetic—some cracks signal deeper structural failure or moisture intrusion that demands targeted replacement, not surface patching. If you see hairline cracks spreading into spiderwebs near corners, bulging texture, or damp drywall behind the wall, that’s your cue to isolate and replace the failing section—not just caulk over it. Ignoring it risks rot, mold, and compromised sheathing.
Quick Diagnosis
Not all cracks mean full replacement—but these five signs do:
- Crack wider than 1/8 inch with visible substrate (lath or sheathing) exposed
- Cracks radiating from window/door corners in a 'starburst' pattern
- Discoloration or efflorescence (white chalky residue) near the crack
- Spongy or hollow sound when tapped with a screwdriver handle
- Moisture readings above 15% on a pinless moisture meter behind the crack
Tools & Materials Needed
| Item | Purpose | Estimated Cost |
|---|---|---|
| Angle grinder with diamond blade | Cuts clean, square edges around damaged stucco without damaging lath | $89–$149 |
| Stucco base coat (Type S mortar) | Provides structural bond and scratch layer over lath | $12–$18 per 80-lb bag |
| Brown coat trowel (12" steel) | Smooths and compresses base coat for proper adhesion | $14–$22 |
| Fiberglass mesh tape (12" wide) | Bridges seams between old and new stucco to prevent re-cracking | $8–$13 per 50-ft roll |
| Acrylic finish coat (textured) | Weather-resistant top layer matching existing color and profile | $35–$52 per 5-gal bucket |
Step-by-Step Fix
- Isolate the failing zone: Use the angle grinder to cut a 2-inch border beyond visible cracking—square corners only, never rounded. Remove all loose stucco down to firm substrate; discard any rusted or bent lath.
- Prepare the substrate: Clean dust with a stiff brush and low-pressure air. Prime bare wood sheathing with acrylic bonding agent; apply self-adhesive fiberglass mesh tape over all cut edges, embedding it into fresh base coat.
- Apply base coat: Mix Type S mortar to peanut butter consistency. Trowel on 3/8-inch layer, scratching deeply with a notched trowel while still wet. Let cure 48 hours minimum (72 if humidity >60%).
- Finish coat: After base coat cures, apply acrylic finish coat in two passes: first for build, second for texture match. Use same trowel technique and direction as surrounding area—don’t feather edges.
When to Call a Pro
DIY replacement fails fast when:
- The crack extends more than 4 feet horizontally or vertically—likely indicates framing movement or foundation settlement
- You find wet OSB or rotted studs behind the stucco during removal
- Stucco was applied directly over foam insulation without drainage plane (common in pre-2005 CA homes)
- Local building code requires licensed applicator sign-off for stucco repairs over 25 sq ft (e.g., California CBC §2510.2)
Prevention Tips
Long-term stucco integrity depends on moisture management and expansion control:
- Install weep screeds at all ground-level stucco terminations—inspect annually for clogs
- Keep irrigation heads at least 18 inches from stucco walls; use drip lines instead of spray
- Re-caulk all window/door perimeters every 3 years with ASTM C920 silicone sealant
- Trim shrubs and vines back 12+ inches—foliage traps moisture against the wall
Can I patch instead of replacing the cracked section?
No—not if the crack exposes lath or shows substrate movement. Patching over compromised substrate creates a weak interface. According to the Stucco Manufacturers Association’s 2022 Field Repair Guidelines, patches over damaged lath fail within 18 months 92% of the time.
How long does stucco replacement take from start to finish?
A 3' x 4' section takes 3–4 days total: Day 1 for removal and prep, Days 2–3 for base coat curing, Day 4 for finish coat application and drying. Rushing cure time causes shrinkage cracks—don’t skip the 48-hour wait.
Will the new stucco match my existing color and texture?
Yes—if you use the same manufacturer’s acrylic finish and replicate trowel technique. Bring a 2"x2" chip to a local stucco supplier for spectral analysis; most can match within Delta E <2.0. Texture matching requires practice: film a 10-second clip of your wall’s finish before starting.
Do I need a permit for stucco replacement?
In 27 states—including Washington, Oregon, and Florida—you need a permit for stucco repairs exceeding 100 sq ft or involving structural substrate work. Check with your city’s building department—even small jobs may require inspection if lath or sheathing is replaced.
What’s the average cost to replace a cracked stucco section myself?
Materials run $110–$195 for a 3' x 4' section (12 sq ft), depending on finish coat brand and whether you rent or own the grinder. Labor is zero—but factor in 12–16 hours of hands-on time. Compare that to pro quotes averaging $420–$680 for the same job, per HomeAdvisor’s 2023 Exterior Remodeling Report.
Can I paint over the new stucco finish?
No—acrylic stucco finishes are pigmented throughout and designed to be left bare. Painting traps moisture and causes premature delamination. If color correction is needed, tint the finish coat during mixing—not after application.
"Stucco isn’t a skin—it’s a system. Cutting corners on substrate prep or cure time guarantees rework within 12 months." — Gary Loomis, 32-year stucco contractor and author of Stucco: Science & Practice (2021)
Replacing cracked stucco isn’t about covering flaws—it’s about restoring the wall’s moisture barrier and structural continuity. Take your time on the cut line, respect the cure windows, and match the texture like you’re finishing a custom plaster ceiling. When done right, that repaired section won’t just hold up—it’ll disappear into the wall. For related guidance, see our guides on stucco moisture damage signs and how to fix stucco blisters.