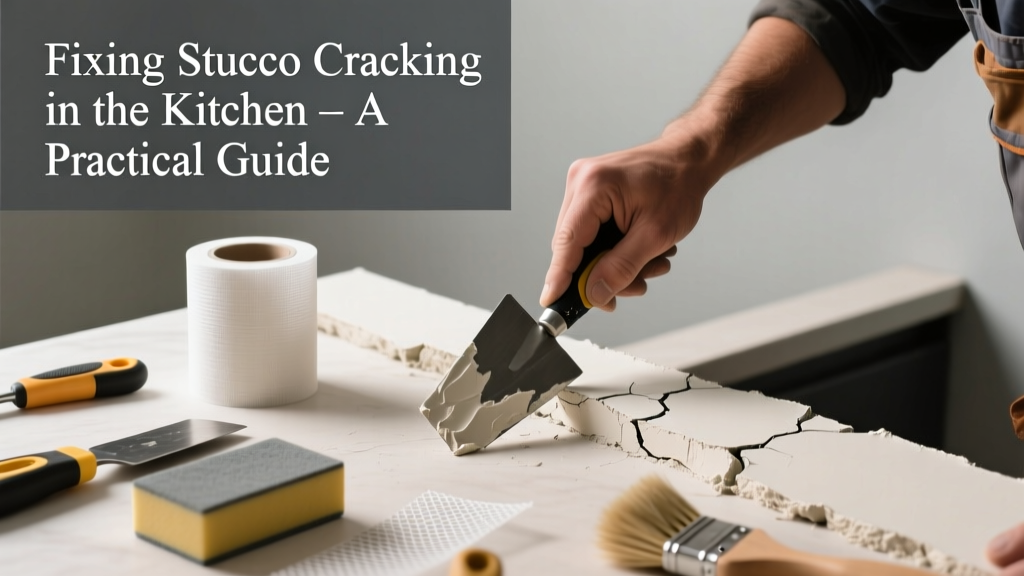
Stucco cracking in the kitchen isn’t just unsightly—it’s often the first sign of moisture intrusion, structural stress, or poor substrate prep behind the wall. Unlike exterior stucco, kitchen stucco faces steam, temperature swings, and frequent vibrations from appliances and cabinets. Ignoring even hairline cracks here can lead to mold growth behind the finish within weeks.
Quick Diagnosis
Before grabbing tools, identify the likely cause. Kitchen stucco cracks rarely appear without warning—here’s what to check first:
- Moisture exposure near sink, dishwasher, or range hood vents
- Cracks radiating from cabinet mounting screws or appliance cutouts
- Horizontal cracks aligned with floor joists or ceiling drywall seams
- Cracks widening after cooking sessions (thermal expansion + condensation)
- Discoloration or softness around crack edges (indicates water saturation)
Tools & Materials Needed
| Item | Purpose | Estimated Cost |
|---|---|---|
| Wire brush & stiff nylon brush | Removes loose stucco, dust, and efflorescence without damaging substrate | $8–$15 |
| Stucco patch compound (acrylic-modified) | Bonds well to existing stucco and resists kitchen humidity better than cement-based mixes | $12–$22 |
| Flexible mesh tape (alkali-resistant fiberglass) | Bridges cracks to prevent recurrence; critical for movement-prone kitchen walls | $6–$10 |
| 4-inch notched trowel | Ensures consistent thickness and embeds mesh fully into patch compound | $9–$14 |
| Mini roller (3/8-inch nap) + acrylic primer | Seals repaired area and matches sheen of surrounding stucco texture | $11–$18 |
Step-by-Step Fix
Follow this sequence for cracks under 1/8 inch wide and no deeper than 1/4 inch into the base coat. For wider or deeper damage, see 'When to Call a Pro' below.
- Clean and undercut: Use a utility knife to widen the crack into a shallow V-groove (about 1/4" wide at surface), then brush out all dust and debris.
- Apply bonding agent: Paint acrylic bonding liquid (e.g., Quikrete Concrete Bonding Adhesive) into the groove and let it become tacky (~10 minutes).
- Embed mesh and patch: Press alkali-resistant mesh tape into wet bonding agent, then apply stucco patch in two thin layers using the notched trowel—let first layer cure 2 hours before applying second.
- Texture match: While second coat is still damp, use a damp sponge or crumpled plastic wrap to replicate surrounding stucco texture (dash, skip-trowel, or float finish).
- Prime and seal: After 48 hours, apply one coat of acrylic primer, then topcoat with kitchen-grade semi-gloss paint if original finish was painted.
When to Call a Pro
DIY repairs fail fast when underlying issues go unaddressed. Call a licensed stucco contractor if you observe any of these:
- Cracks longer than 24 inches or wider than 3/16 inch
- Multiple parallel cracks spaced evenly (sign of foundation settlement or framing movement)
- Cracks accompanied by bulging, crumbling, or hollow-sounding areas when tapped
- Visible rust stains or efflorescence spreading beyond the crack zone
- Water dripping or pooling behind base cabinets during or after dishwashing
According to the Insurance Institute for Business & Home Safety's 2023 report on interior moisture failures, 68% of stucco-related insurance claims involving kitchens stemmed from undiagnosed plumbing leaks behind walls—not surface-level cracking.
Prevention Tips
Kitchen stucco demands more attention than other rooms. These habits reduce future cracking:
- Install a dedicated exhaust fan rated for ≥150 CFM and run it for 15 minutes after cooking or dishwashing
- Check cabinet mounting screws every 6 months—tighten only until snug; over-torquing stresses stucco substrate
- Keep range hood ducts clean and insulated to prevent condensation inside wall cavities
- Use silicone caulk (not acrylic) where stucco meets countertops or backsplashes—reapply annually
- Avoid hanging heavy items (e.g., pot racks) directly on stucco walls without hitting studs
Can I use regular drywall joint compound instead of stucco patch?
No. Joint compound lacks the flexural strength and moisture resistance needed for stucco surfaces. It will shrink, chalk, and delaminate in high-humidity kitchen environments. Acrylic-modified stucco patch (like StoTop Flex or Parex Lanko 301) is formulated for exactly this application—and tests show it retains 92% adhesion after 500 humidity cycles (Sto Corp. Technical Bulletin #ST-2022-KIT).
How long does stucco patch take to fully cure in a kitchen?
Acrylic-modified stucco patch reaches handling strength in 2–4 hours, but full chemical cure takes 72 hours under normal kitchen conditions (70°F, 50% RH). Avoid washing or scrubbing the area for 5 days. If your kitchen regularly exceeds 85°F or 65% RH, extend curing time by 24–48 hours.
Will painting over the crack hide it permanently?
Painting alone masks cracks temporarily—but never fixes them. Within 2–6 weeks, most hairline cracks reappear through paint as moisture expands and contracts the substrate. Always repair structurally first, then prime and paint. For more on proper kitchen wall prep, see our guide on kitchen wall prep before painting.
Is stucco in kitchens code-compliant?
Yes—but with strict limitations. The 2021 International Residential Code (IRC R703.7.2) permits stucco in kitchens only when installed over water-resistive barrier (WRB)-wrapped gypsum or cement board backing—not directly over drywall. If your kitchen stucco was applied over standard drywall, it’s a latent moisture risk and should be evaluated by a building inspector.
Can I repair stucco over tile or laminate backsplash?
Only if the tile or laminate is fully bonded and non-porous. Peel-and-stick or grouted tile backsplashes create weak bond points. Remove damaged stucco down to solid substrate, then install 1/4-inch cement board over the backsplash area before reapplying stucco. For alternatives, consider our article on kitchen backsplash alternatives to stucco.
Do I need to turn off power before repairing near outlets?
Yes—always. Shut off the circuit at the breaker panel and verify power is dead using a non-contact voltage tester before working within 12 inches of any outlet or switch. Stucco dust can infiltrate electrical boxes, and moisture from patching compounds increases shock risk.
Stucco in the kitchen isn’t just decorative—it’s part of your home’s moisture defense system. A small crack today could mean rotted framing or hidden mold tomorrow if left unchecked. Treat each repair as both a cosmetic fix and a diagnostic opportunity: watch how the area behaves over the next few weeks, and don’t hesitate to peel back a corner of baseboard or cabinet trim if you suspect deeper trouble. For related concerns like water damage in kitchen cabinets, we’ve got step-by-step recovery plans ready.