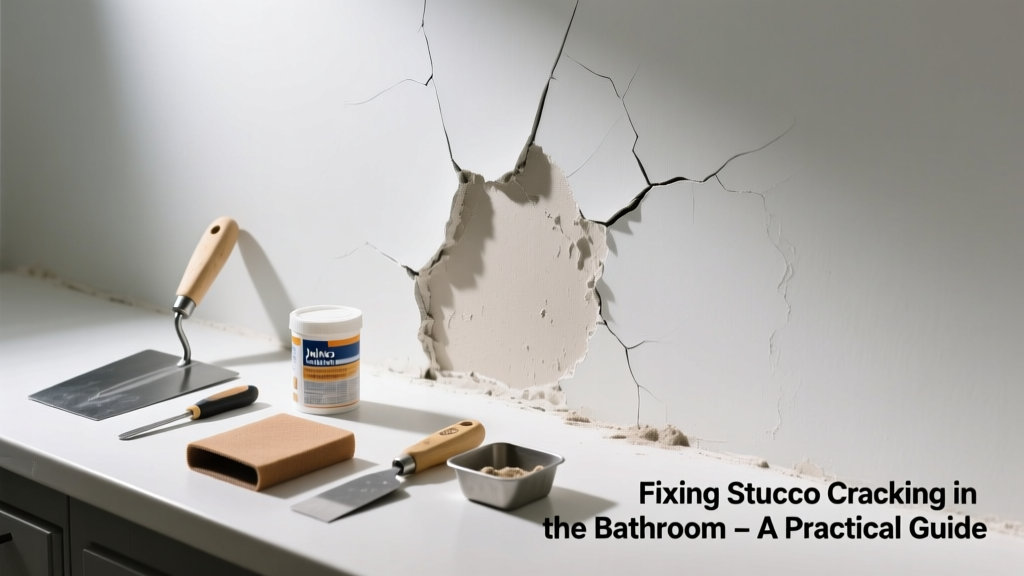
Stucco cracking in your bathroom isn’t just unsightly—it’s a red flag for moisture intrusion or substrate movement. Unlike exterior stucco, bathroom stucco faces constant steam, temperature swings, and condensation that accelerate deterioration. Ignoring hairline cracks can lead to mold behind walls or structural weakening in as little as 6–12 months.
Quick Diagnosis
Before grabbing tools, identify the root cause. Most bathroom stucco cracks fall into one of these categories:
- Moisture infiltration behind the stucco (most common—often tied to failed caulk or grout)
- Thermal expansion/contraction from repeated hot showers and AC cycling
- Substrate movement—especially if drywall or cement board wasn’t properly fastened or taped at joints
- Improper stucco mix or application (e.g., too thick a base coat over non-breathable drywall)
- Structural settling—rare in bathrooms but possible if near load-bearing walls or slab cracks
Tools & Materials Needed
| Item | Purpose | Estimated Cost |
|---|---|---|
| Rotary tool with carbide grout removal bit | Cleans out cracked stucco without damaging surrounding substrate | $25–$45 |
| Acrylic-modified stucco patch compound (e.g., Quikrete Base Coat) | Flexible, vapor-permeable repair material designed for high-humidity areas | $12–$18 per 25-lb bag |
| Alkali-resistant fiberglass mesh tape (3-in wide) | Bridges cracks and prevents re-formation by distributing stress across joints | $8–$12 per 50-ft roll |
| Hydrophobic acrylic topcoat (e.g., Sherwin-Williams Loxon) | Provides UV-stable, water-shedding finish while allowing trapped moisture to escape | $32–$44 per gallon |
| 100% silicone caulk (ASTM C920, mildew-resistant) | Seals perimeter joints where stucco meets tub, tile, or trim—critical for moisture control | $4–$7 per tube |
Step-by-Step Fix
Follow this sequence for lasting results—not just cosmetic cover-up:
- Prep the crack: Use the rotary tool to widen the crack into a consistent 1/4"-wide V-groove, extending 1/2" beyond visible ends. Vacuum dust, then wipe with isopropyl alcohol to remove oils and residue.
- Reinforce with mesh: Apply a thin layer of patch compound, press alkali-resistant mesh tape into it, then embed fully with a second skim coat. Let cure 24 hours.
- Apply base coat: Mix stucco patch per manufacturer instructions (do not add extra water). Apply two 1/8" layers, allowing 12 hours between coats. Feather edges aggressively—no ridges.
- Finish and seal: After 72 hours, sand lightly with 220-grit, then apply hydrophobic acrylic topcoat. Seal all perimeter transitions with mildew-resistant silicone within 4 hours of topcoat drying.
When to Call a Pro
DIY repairs fail when underlying issues go unaddressed. Call a licensed stucco contractor or building envelope specialist if you see any of these:
- Cracks wider than 1/8" that reopen within 2 weeks of repair
- Discoloration or softening of stucco adjacent to cracks (sign of prolonged water saturation)
- Cracks aligned with ceiling corners or floor joints—possible slab or framing movement
- Mold growth behind or beneath stucco (visible or musty odor behind walls)
- Stucco installed directly over greenboard or standard drywall (not cement board)—requires full removal and substrate replacement
"In high-moisture interior applications like bathrooms, stucco failures are rarely surface-deep—they’re almost always symptom of a vapor barrier or drainage defect." — Building Science Corporation, Interior Stucco Performance Report, 2021
Prevention Tips
Long-term success depends on managing humidity and movement—not just patching. Implement these three habits:
- Run your bathroom exhaust fan for at least 20 minutes after every shower (use a timer switch if yours lacks one—installing one takes 20 minutes)
- Inspect and replace silicone caulk at stucco-to-tub and stucco-to-mirror transitions every 18 months
- Maintain indoor relative humidity between 35–50% year-round using a hygrometer and portable dehumidifier (see our top-rated compact models)
Can I use regular drywall joint compound instead of stucco patch?
No. Standard joint compound lacks flexural strength and vapor permeability. It will shrink, crack, and trap moisture behind stucco—accelerating failure. Acrylic-modified stucco patch is specifically engineered for this environment.
How long does the repair need to cure before showering?
Wait at least 72 hours after the final topcoat before exposing the area to direct steam or water. The U.S. EPA estimates that 14% of household water usage is from leaks—including those hidden behind compromised stucco seals.
Will painting over the crack work as a temporary fix?
Only for hairline cracks under 1/32"—and only if sealed first with flexible acrylic caulk. Paint alone bridges no structural gap and fails within days in steam-rich air. It also hides worsening conditions.
Is this covered by homeowners insurance?
Rarely. Cosmetic stucco cracking is considered maintenance—not sudden damage. However, if a plumbing leak or roof issue caused the cracking, document moisture sources and file a claim promptly. Most insurers require proof of third-party moisture testing.
Can I apply stucco over existing tile or fiberglass surrounds?
No. Stucco requires a rigid, porous, alkaline substrate like cement board. Applying over non-porous surfaces creates delamination risk and traps condensation. If you want stucco aesthetics near a tub, consider stucco-look porcelain tile instead.
Do I need a vapor barrier behind bathroom stucco?
Yes—but it must be placed *behind* the cement board, not between board and stucco. A Class II vapor retarder (e.g., 6-mil poly) on the warm-in-winter side prevents interstitial condensation. Skipping it risks mold inside wall cavities.
A well-repaired bathroom stucco surface shouldn’t just look solid—it should breathe, flex, and resist steam like it was built for the space. Treat the crack as a clue, not a flaw, and you’ll avoid repeat repairs for years. Monitor the patched area monthly during the first 90 days: slight color variation is normal, but new cracking or efflorescence means it’s time to revisit the substrate or ventilation.