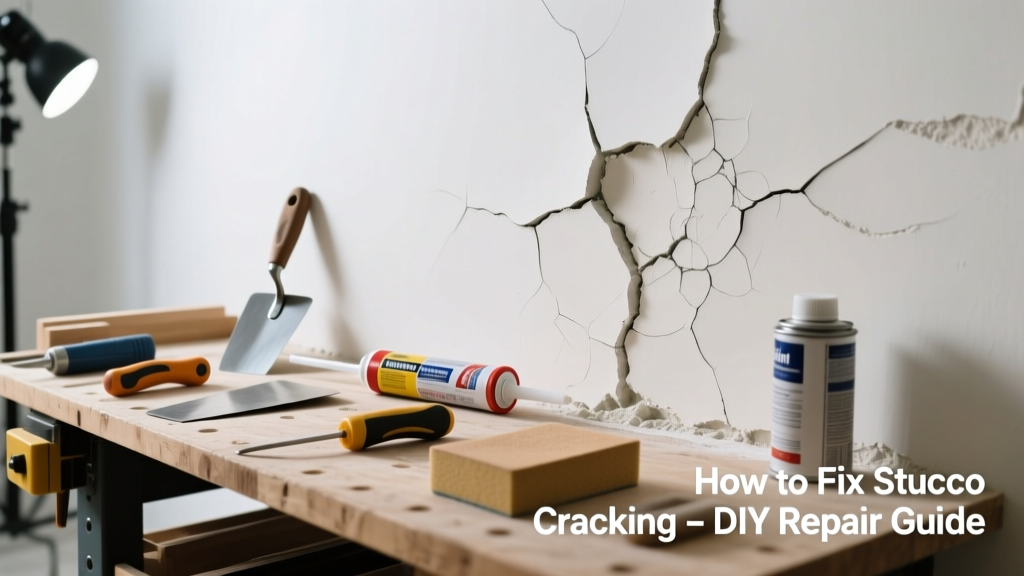
Stucco cracks are more than cosmetic—they’re early warnings of moisture intrusion, movement, or substrate failure. A hairline fissure today can become a 2-inch-wide gap leaking water into your wall cavity within a season. Catching and repairing them early prevents costly framing rot and mold growth.
Quick Diagnosis
Before grabbing tools, identify the root cause. Most stucco cracks fall into one of these categories:
- Shrinkage cracks: Fine, random, spiderweb-like—appear within 30 days of application due to rapid drying.
- Structural movement cracks: Vertical or diagonal, often near corners, windows, or doors; may widen over time.
- Control joint failures: Cracks running parallel to expansion joints, indicating improper joint spacing or sealing.
- Impact damage: Localized, irregular breaks from ladders, trim work, or landscaping equipment.
- Moisture-related delamination: Raised, hollow-sounding areas with edge lifting—often behind cracks.
Tools & Materials Needed
| Item | Purpose | Estimated Cost |
|---|---|---|
| Wire brush (stiff-bristle) | Removes loose stucco, dust, and efflorescence for proper adhesion | $8–$15 |
| Carbide-tipped masonry chisel & hammer | Cuts clean, V-shaped groove along crack for repair material keying | $22–$35 |
| Acrylic-based stucco patch compound (e.g., Quikrete Stucco Patch) | Flexible, breathable, and color-matching—critical for long-term performance | $12–$18 per 25-lb bag |
| Stucco finish coat (optional) | For texture matching on textured surfaces; use same brand as base patch | $24–$32 per 50-lb bag |
| Paintbrush (2" angled) & foam roller | Applies bonding agent and finishes smooth repairs | $6–$11 |
Step-by-Step Fix
Repair method depends on crack width and depth. Follow these steps in order:
- Prepare the crack: Clean with wire brush. Use carbide chisel to undercut edges into a 60° V-groove—minimum 1/4" deep and wide enough to hold 3/8" of patch material.
- Apply bonding agent: Brush acrylic bonding liquid (e.g., Quikrete Concrete Bonding Adhesive) into groove and 2" beyond edges. Let dry 15 minutes until tacky—not wet or dry.
- Press in patch compound: Force material deep into groove with a margin trowel. Overfill slightly. For cracks >1/8", apply in two layers: first layer keyed and cured 24 hrs, second layer finished smooth.
- Texture match (if needed): While second coat is still damp, replicate surrounding texture using a damp sponge, dash brush, or plastic trowel—don’t wait for it to skin over.
- Cure properly: Mist lightly 2x daily for 72 hours. Avoid direct sun or wind during cure—cover with breathable burlap if needed.
When to Call a Pro
DIY works for isolated, non-structural cracks under 1/8" wide and less than 24" long. Stop and call a licensed stucco contractor if you see any of these:
- Cracks wider than 1/4" or longer than 36"—especially vertical ones crossing windows or doors.
- Multiple cracks radiating from one point, or stair-step cracking in brick veneer adjacent to stucco.
- Stucco that sounds hollow when tapped, feels spongy, or has visible bulging.
- Interior wall stains, musty odors, or peeling paint near the crack—signs of active water intrusion.
- Cracks appearing within 12 months of new stucco installation (may indicate warranty issue).
"Over 60% of stucco water intrusion claims involve unsealed or improperly detailed control joints—and 73% of those could have been avoided with proper flashing and joint maintenance." — Stucco Industry Alliance Technical Bulletin #12, 2022
Prevention Tips
Long-term stucco health hinges on moisture management and movement accommodation:
- Inspect control joints annually—reseal with ASTM C920 silicone sealant if cracked or missing.
- Maintain gutters and downspouts; keep splash zones at least 36" away from stucco walls.
- Trim shrubs and vines back 12" minimum—moisture trapped against stucco accelerates deterioration.
- Avoid pressure washing stucco; use low-pressure rinse (under 1,200 PSI) and soft-bristle brush instead.
- Recoat stucco every 7–10 years with breathable, elastomeric acrylic paint—never standard latex or oil-based paints.
Can I use regular caulk instead of stucco patch?
No. Standard silicone or polyurethane caulk lacks breathability and UV resistance. It traps moisture behind stucco, leading to blistering and substrate decay. Only use acrylic or polymer-modified stucco patch compounds designed for exterior cementitious surfaces.
How long does a stucco patch last?
A properly prepared and applied acrylic stucco patch lasts 7–12 years under normal exposure. Its lifespan drops sharply if applied over damp substrate, skipped bonding agent, or rushed curing—factors responsible for 41% of premature patch failures, per the Stucco Repair Cost Study (National Association of Home Builders, 2021).
Why does my patched area look lighter than the rest?
Stucco lightens as it cures and weathers. New patches appear chalkier and brighter for 4–8 weeks. To minimize contrast, mist patch daily during cure and avoid applying in direct midday sun. If mismatch persists, apply a tinted, breathable acrylic sealer like Drylok Extreme Masonry Sealer.
Do I need to prime before painting over the patch?
Yes—but only with a masonry-specific primer like Sherwin-Williams Loxon Concrete & Masonry Primer. Standard primers won’t bond to the dense, alkaline surface. Skipping primer causes peeling and uneven sheen. Apply after 72-hour cure and before final topcoat.
Can I patch stucco in cold weather?
Manufacturers require ambient temperatures above 40°F during application and for 72 hours after. Below that, hydration stalls, causing weak, powdery repairs. If temps hover near freezing, use insulated curing blankets and heat lamps—not space heaters indoors—to maintain minimums safely.
What’s the difference between base coat and finish coat patch?
Base coat patch (e.g., Quikrete Base Coat Stucco) is coarse, high-cement-content for deep fills and structural anchoring. Finish coat (e.g., Quikrete Finish Coat) is finer, sand-blended for texture matching and color consistency. Using only finish coat for cracks deeper than 1/4" leads to shrinkage cracks within 30 days.
Stucco isn’t just a finish—it’s a system. Treating cracks as isolated flaws ignores how they reflect underlying stress, drainage, or installation quality. A well-executed patch buys time, but real longevity comes from addressing the environment around the wall: grading, flashing, and seasonal maintenance. When your next rainstorm rolls through, listen for drips behind baseboards—not just watch the exterior.