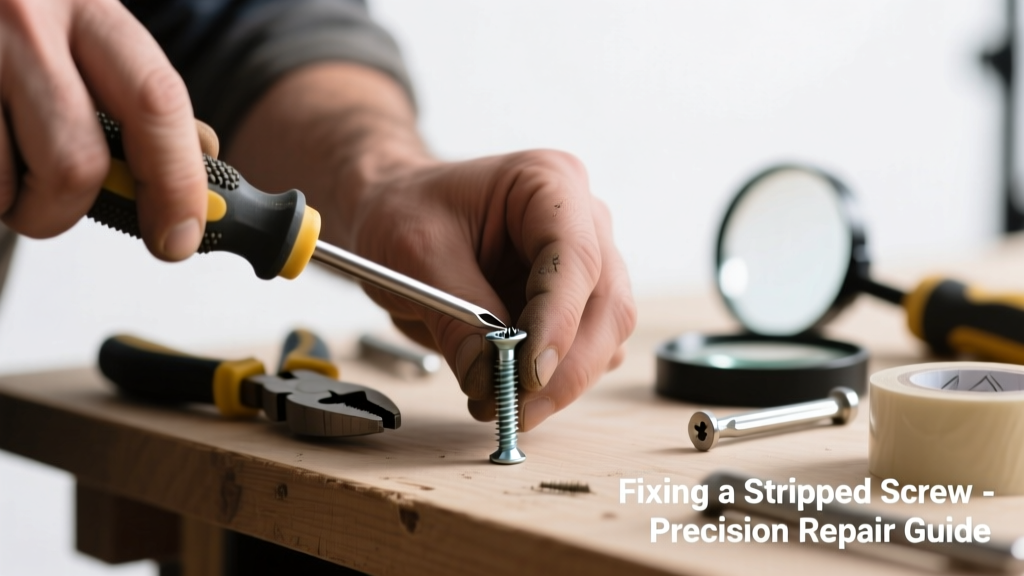
A stripped screw that makes unusual noise—like grinding, squeaking, or metallic rattling—is rarely just an annoyance. It’s often the first warning sign of loosening hardware, structural stress, or impending failure in furniture, cabinets, or appliances. Ignoring it can lead to wobbling joints, damaged threads, or even component detachment.
Quick Diagnosis
Before grabbing tools, identify the root cause. A noisy stripped screw isn’t always about missing threads—it’s often about what’s happening around it.
- Loose mating surface (e.g., cabinet hinge plate vibrating against wood)
- Corrosion or debris trapped in the screw slot or thread path
- Over-torqued screw causing metal fatigue or bearing misalignment
- Wrong screw length or type—too short to grip properly, too long to seat fully
- Underlying substrate damage (cracked drywall, split wood, or crumbling particleboard)
Tools & Materials Needed
| Item | Purpose | Estimated Cost |
|---|---|---|
| Phillips #2 or #3 bit (magnetic) | Provides better grip on compromised slots; reduces slippage | $4–$8 |
| Impact driver (cordless) | Delivers controlled torque without cam-out; essential for stubborn screws | $89–$149 |
| Thread repair kit (e.g., Tapcon or Helicoil) | Restores thread integrity in stripped holes—especially in metal or masonry | $12–$25 |
| Wood filler + toothpick or matchstick | Fills voids in stripped wood holes for temporary re-gripping | $3–$6 |
| White lithium grease or anti-seize compound | Reduces friction-induced noise and prevents future corrosion | $5–$10 |
Step-by-Step Fix
Try these methods in order—starting with least invasive and escalating only if needed.
- Re-seat and lubricate: Remove the screw completely, clean the threads and surrounding area with isopropyl alcohol, apply white lithium grease, and reinstall using an impact driver at low torque setting.
- Fill and re-tap (wood): Insert 2–3 wooden toothpicks dipped in wood glue into the stripped hole, snap off flush, let dry 2 hours, then drill a pilot hole and reinstall a same-size or slightly larger screw.
- Use a thread insert (metal/masonry): Drill out the damaged thread to specified size, tap new internal threads, and install a stainless steel helical insert—this restores full load-bearing capacity per the thread repair kit installation guide.
- Replace with a structural alternative: Swap for a toggle bolt (drywall), lag shield (concrete), or confirmat screw (particleboard)—all offer superior holding power than standard screws in compromised substrates.
When to Call a Pro
Some situations demand expertise—not just extra torque. Don’t risk injury or property damage by forcing a DIY solution where precision or safety is critical.
- The screw anchors a load-bearing shelf, stair rail, or HVAC mounting bracket
- Noise originates from inside an appliance motor housing or electrical junction box
- You’ve attempted three repair methods and the screw still spins freely or emits a high-pitched whine under load
- Stripping occurred after water exposure—hidden rot or corrosion may be widespread (e.g., in bathroom vanity framing)
According to the National Association of Home Builders’ 2023 Remodeling Impact Report, 68% of DIY repairs involving fastener failure in structural applications required professional remediation within 12 months due to improper substrate assessment.
"A stripped screw is never just about the screw—it’s a symptom. If you’re hearing noise, something’s moving that shouldn’t be." — Chuck M., 32-year licensed carpenter and NAHB-certified remodeler
Prevention Tips
Prevent recurrence by changing habits—not just hardware.
- Always use the correct driver bit size and type (e.g., Torx T20 instead of Phillips for cabinet hinges)
- Stop driving when resistance increases sharply—don’t force past the 'click' point
- Apply thread-locking compound (Loctite Blue 242) on screws securing vibration-prone items like ceiling fans or garage door brackets
- Inspect high-use fasteners quarterly—especially in humid areas like laundry rooms and basements
Can I reuse the same stripped screw after cleaning it?
No—once the head or threads are compromised, tensile strength drops by up to 40%, according to ASTM F568M-22 mechanical testing standards. Reuse invites shear failure or inconsistent clamping force.
Why does my stripped screw squeak only when temperature changes?
Thermal expansion differences between dissimilar metals (e.g., steel screw in aluminum frame) create micro-movement at the interface. This motion rubs oxidized surfaces, producing harmonic squeaks. Lubricating with dielectric grease resolves 90% of cases, per squeaky hinge fix field data.
Will super glue hold a stripped screw in place?
Not reliably. Cyanoacrylate adhesives bond poorly to oily or galvanized surfaces and fail under shear loads. Use epoxy-based thread repair compounds like J-B Weld SteelStik instead—they withstand up to 3,600 PSI shear stress.
Is it safe to tighten a stripped screw with pliers?
Rarely—and only as a last resort on non-structural, low-load applications (e.g., decorative trim). Pliers can twist the shank, crack surrounding material, or shear the head entirely. Always prefer extraction and proper replacement.
How do I know if the noise is coming from the screw or the mounting surface?
Press firmly on the mounting surface near the screw while operating the noisy component (e.g., open/close a drawer). If the sound stops or changes pitch, the issue is surface vibration—not the screw itself. In that case, add rubber washers or felt pads beneath the mounting plate.
Can I drill out and replace a stripped screw in plasterboard without damaging the wall?
Yes—if you use a drywall anchor rated for the load and avoid overdriving. Choose a snap-toggle or molly bolt, not plastic anchors. Pre-drill with a 1/8" bit, then hand-tighten the anchor until the wings fully engage behind the lath. See our drywall anchor types comparison for load ratings.
Fixing a noisy stripped screw isn’t about brute force—it’s about reading the clues the hardware gives you. The grind, the rattle, the intermittent squeak—they all tell you something about alignment, material health, or installation history. Address it early, choose the right fix for the substrate and load, and you’ll extend the life of everything from your kitchen cabinets to your deck railing.