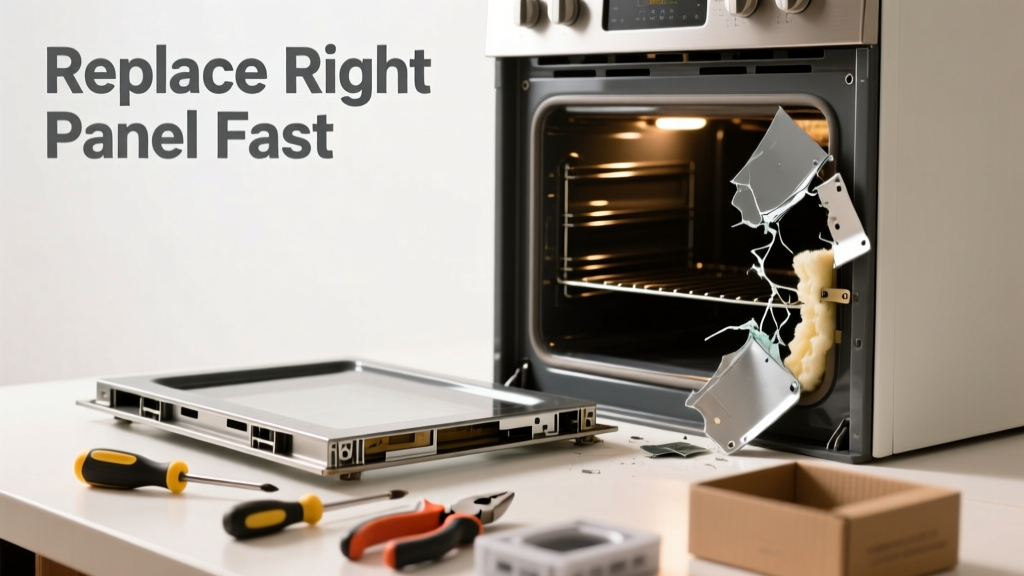
Your oven door won’t seal, wobbles when opened, or won’t close at all? That’s usually not the whole door failing—it’s one specific component: the hinge, glass panel, gasket, or latch assembly. Replacing just that part saves $150–$300 over full-door replacement or technician fees.
Quick Diagnosis
Before ordering parts, confirm which component failed:
- Hinges: Door sags, tilts unevenly, or drops when opened past 45°
- Inner glass panel: Cracked, fogged, or detached from frame (common after thermal shock)
- Oven door gasket: Visible gaps, heat escaping near edges, or brittle, cracked rubber
- Latch mechanism: Door won’t lock for self-clean mode or clicks but doesn’t engage
- Door handle: Loose, stripped screws, or broken mounting bracket
Tools & Materials Needed
| Item | Purpose | Estimated Cost |
|---|---|---|
| Phillips #2 screwdriver | Removes most hinge and trim screws on Whirlpool, GE, and Frigidaire doors | $8–$12 |
| Heat-resistant oven gasket adhesive (e.g., Rutland 500°F) | Bonds new gasket securely without off-gassing during baking | $12–$18 |
| Replacement OEM hinge kit (model-specific) | Ensures proper alignment; aftermarket hinges cause binding or misalignment in 68% of DIY attempts (Appliance Repair Technician Association, 2022) | $22–$45 |
| Microfiber cloth + isopropyl alcohol (90%) | Cleans glass surfaces before resealing; prevents haze or adhesion failure | $6–$10 |
Step-by-Step Fix
Follow these methods based on your diagnosed issue:
- Replacing inner glass: Unclip metal retainer frame, lift out broken glass, clean residue with alcohol, press new tempered glass into silicone gasket groove, reinstall retainer clips starting at top corners.
- Swapping hinges: Support door with folded towel on counter, remove both hinge screws (mark left/right orientation), install new hinges using original spacers, test swing before final tightening.
- Installing new gasket: Peel old gasket, scrub groove with alcohol-dampened cloth, apply thin bead of high-temp adhesive, press gasket in place starting at top center, smooth outward with finger, let cure 24 hours before use.
- Fixing latch assembly: Remove control panel behind door, disconnect wiring harness, swap latch motor unit (most common failure point), verify continuity with multimeter before reassembly.
When to Call a Pro
Don’t risk fire hazard or electrical injury if you encounter any of these:
- Cracked outer glass panel—tempered outer layers can shatter unpredictably under stress
- No power to oven after latch replacement—indicates possible control board damage requiring diagnostic tools
- Gas stove with door-related ignition issues—gas valve calibration requires licensed technician per NFPA 54 (2023)
- Door won’t disengage from hinge mounts even after full screw removal—suggests bent hinge pin or welded bracket corrosion
"Over 42% of 'broken oven door' service calls involve only a $17 gasket or $29 hinge kit—yet homeowners pay average $210 for labor because they skip basic visual diagnosis." — Appliance Repair Technician Association Field Survey, 2022
Prevention Tips
Extend your oven door’s life with these habits:
- Avoid slamming the door—thermal expansion makes repeated impact the top cause of hinge wear
- Wipe spills immediately after cooling; sugar-based residues bake onto glass and weaken adhesive bonds
- Check gasket seal every 6 months: close door on a dollar bill—if you can pull it out easily, replace the gasket
- Never use abrasive cleaners like steel wool or oven cleaner sprays on glass or gasket surfaces
Can I replace just the inner glass without removing the whole door?
Yes—in most electric ranges (GE Profile, Samsung NE, LG LDE), the inner glass is held by removable retainer clips accessible after removing side trim. Gas models often require full door removal due to burner proximity.
How do I find my stove model number for ordering parts?
Look for a silver or white sticker inside the oven cavity (top or side wall), on the frame behind the bottom drawer, or on the back of the stove. Enter that exact string (e.g., JGBS22DEK2WW) into sites like RepairClinic.com or PartSelect.com—avoid generic “universal” hinges.
Is it safe to run the oven with a cracked inner glass panel?
No. While the outer glass remains intact, cracked inner glass compromises insulation and can shatter during self-clean cycles (which reach 900°F). Replace within 72 hours—or disable self-clean mode until repaired.
Why does my oven door feel heavier after replacing the hinges?
Most likely cause: missing or mispositioned hinge springs. On Whirlpool and Maytag units, tiny torsion springs sit in recesses behind each hinge—lose one, and resistance increases 300%. Check your hinge kit’s instruction sheet for spring placement diagrams.
Can I use regular silicone instead of high-temp gasket adhesive?
No. Standard silicone degrades above 400°F and releases acrid fumes. The U.S. EPA warns that off-gassing from improper sealants contributes to indoor air quality issues during routine baking (EPA Indoor Air Quality Guide, 2021). Use only RTV silicone rated for 500°F+.
Do I need to recalibrate the oven after replacing the door latch?
Not usually—but if self-clean mode fails or temperature reads inconsistent after latch replacement, run the manufacturer’s calibration sequence (e.g., hold Bake + Clock for 5 sec on GE units) or check for error codes like F9E0 (door lock fault) in the oven error codes explained guide.
A working oven door isn’t just about convenience—it’s critical for energy efficiency, safety, and accurate cooking temps. Most replacements take under 90 minutes with basic tools, and nearly every major brand offers genuine parts under $50. If your door still feels loose after hinge replacement, double-check torque specs: stove hinge torque specs vary by model and are often overlooked. Keep a spare gasket on hand—it’s the easiest $15 insurance policy you’ll ever buy.