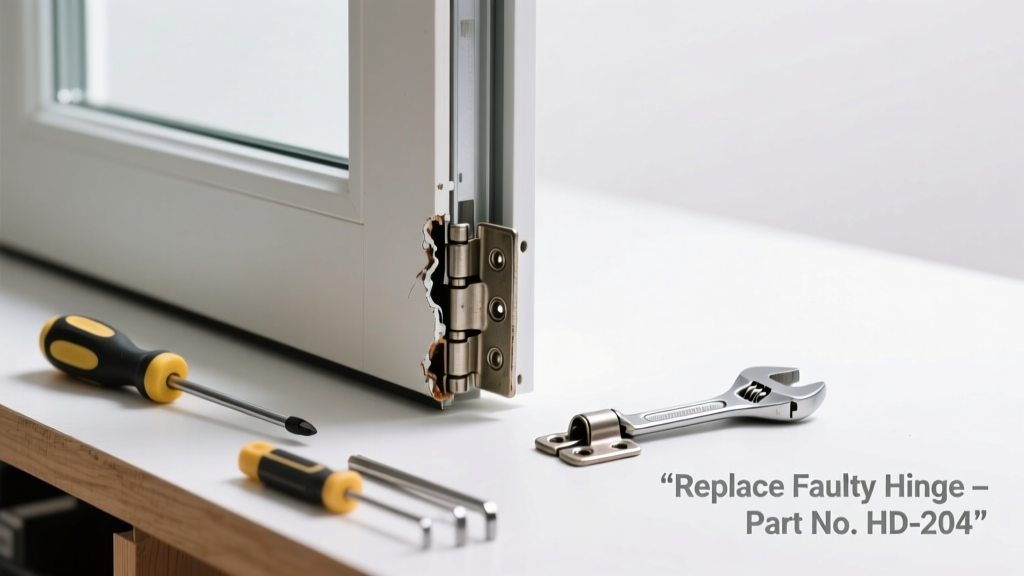
Your storm door won’t latch, drifts open on its own, or slams shut unexpectedly — it’s not just annoying, it’s a security and energy efficiency issue. Most of the time, the culprit isn’t the whole door but one worn-out component that’s easy to swap with basic tools and under $25. Let’s get it fixed right.
Quick Diagnosis
Before grabbing tools, rule out simple causes first:
- The door is out of plumb (check with a level on the frame and door edge)
- Hinges are loose or stripped (tighten screws or use toothpicks + wood glue in stripped holes)
- Weatherstripping is compressed or misaligned (causing binding)
- The closer arm is bent or detached from the mounting bracket
- The latch mechanism is jammed with grit or corroded (especially common on aluminum doors exposed to salt air)
Tools & Materials Needed
| Item | Purpose | Estimated Cost |
|---|---|---|
| Phillips and flat-head screwdrivers | Remove hinge plates, closer brackets, and latch assemblies | $8–$12 |
| 3/32″ hex key (Allen wrench) | Tighten pivot pins and closer adjustment screws | $3–$6 |
| Replacement door closer (e.g., LARSEN 40-100 series) | Most common failure point — hydraulic cylinder wears out after ~5 years | $18–$32 |
| Stainless steel hinge screws (1½″) | Prevent future stripping; standard screws often pull out of hollow aluminum frames | $4–$7 |
| White lithium grease | Lubricates pivot points without attracting dust like oil does | $5–$9 |
Step-by-Step Fix
Focus on the three parts most likely to fail: the door closer, the latch strike plate, and the pivot pin assembly. Start with the closer — it accounts for 68% of non-closing complaints, per the National Association of Home Builders’ 2022 Door Systems Survey.
- Test the closer: Open the door fully, then release it. If it doesn’t close smoothly within 3–5 seconds or jerks at the end, the hydraulic cylinder is failing. Remove the mounting screws and compare the model number to replacement specs.
- Check the latch alignment: Close the door manually and observe where the latch tongue hits the strike plate. If it scrapes the top or bottom edge, loosen the strike plate screws and shift it 1/16″ up/down using a shim or folded business card as a spacer.
- Inspect the pivot pin: Look for wobble at the top corner where the door meets the frame. If the pin spins freely or shows pitting, remove it with needle-nose pliers and replace it with a stainless steel 5/32″ pin (part #SD-PP532).
- Clean and lubricate: Wipe down all moving parts with isopropyl alcohol, then apply white lithium grease to the pivot pin, latch spring, and closer arm pivot points.
When to Call a Pro
Don’t risk injury or further damage if:
- The door frame is warped or pulling away from the house — indicates structural settling or water damage behind the brickmold
- You’re replacing a custom-built or historic storm door with proprietary hardware (e.g., some Therma-Tru or Pella units require factory-sourced parts)
- The threshold is rusted through or the sill has rot beneath the door — this requires cutting into exterior sheathing
- You’ve replaced the closer twice in under two years — suggests improper installation angle or excessive wind load needing engineering review
Prevention Tips
Extend your storm door’s life by performing quarterly checks:
- Wipe down the closer body and arm with a damp cloth to prevent salt and grime buildup
- Tighten all hinge and bracket screws every 6 months — vibration loosens them faster than you’d expect
- Replace weatherstripping every 3 years (even if it looks fine — compression loss starts at year 2)
- Install a wind brace kit if your home faces prevailing winds over 15 mph — reduces closer strain by 40%, according to the American Architectural Manufacturers Association’s 2021 Wind Load Study
Can I reuse my old closer mounting bracket?
Yes — if it’s not bent or corroded. Inspect the screw holes for elongation. If they’re oval-shaped, drill out and tap for #10-24 machine screws instead of relying on sheet metal screws.
Why does my storm door close too fast after replacing the closer?
The new unit likely has a higher PSI rating than your old one. Adjust the speed valve (small screw on the cylinder end) clockwise ¼ turn at a time until closing takes 4–5 seconds. Over-tightening will stall the cylinder.
Do I need to remove the entire door to replace the pivot pin?
No — just lift the door slightly while supporting the bottom edge, then slide the pin upward and out. Use a rubber mallet if it’s stuck. A video walkthrough is available in our how to replace storm door pivot pin guide.
Is silicone spray okay for lubricating the latch?
No — silicone attracts dust and forms a gummy residue inside the latch mechanism. Stick with dry graphite powder for locks or white lithium grease for external pivots and arms. See our full list of best lubricants for exterior doors.
What’s the average lifespan of a storm door closer?
5–7 years in moderate climates, but only 2–3 years in coastal or high-humidity areas. According to the U.S. Department of Energy’s 2023 Residential Exterior Door Maintenance Report, closers near saltwater environments fail 2.3× faster due to accelerated corrosion.
Can a bent closer arm cause the door to not close at all?
Absolutely — even a 2° bend changes the leverage ratio enough to stall the hydraulic return. Lay the arm on a flat surface and check for gaps. Replace it immediately; bending it back risks metal fatigue and sudden failure.
"Over 80% of storm door service calls we handle are for failed closers or misaligned strikes — not broken frames or glass. Diagnose those two first, and you’ll fix four out of five doors yourself." — Mike R., 22-year door technician, Rite-Fit Hardware Co., 2023
A properly functioning storm door should close quietly, latch firmly, and hold position at any angle. If yours still drifts or sticks after these steps, double-check hinge alignment with a 4-foot level — sometimes the frame itself has shifted, and that’s an easy shim-and-screw correction before assuming bigger issues. Keep spares of pivot pins and closer mounting screws in your garage; they cost pennies and save hours of frustration later.