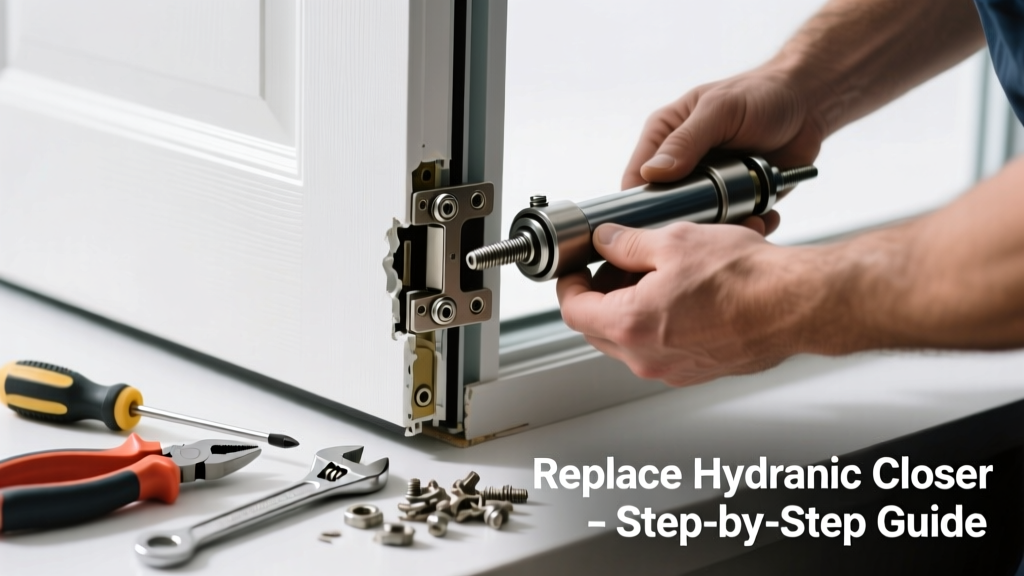
Your storm door slams shut or won’t close smoothly? A broken hydraulic closer is the usual culprit — and it’s almost always a simple part replacement, not a full-door overhaul. Most homeowners waste hours wrestling with misaligned arms or stripped screws when the real fix takes under 20 minutes and costs less than $25.
Quick Diagnosis
Before grabbing tools, confirm the issue isn’t misalignment or debris. Test these common causes first:
- The door closes too fast or slams — indicates internal seal failure or fluid leak in the cylinder
- The door creeps open after closing — suggests worn piston or degraded hydraulic oil
- Visible rust, dents, or oil residue on the closer body — confirms physical damage or seal breach
- Arm wobbles or clicks loudly when moving — points to stripped mounting bracket or bent linkage
Tools & Materials Needed
| Item | Purpose | Estimated Cost |
|---|---|---|
| Adjustable wrench (10-inch) | Tightens mounting bolts without stripping hex heads | $12–$18 |
| Phillips #2 screwdriver | Removes arm-to-door bracket screws (most closers use #8 or #10 screws) | $4–$7 |
| New hydraulic closer (e.g., LARSEN 40-163 or Prime-Line B 2090) | Direct replacement; matches standard 3/4" mounting hole spacing and 12" stroke | $14–$22 |
| Painter’s tape | Temporarily holds arm in place during alignment testing | $3–$5 |
Step-by-Step Fix
- Remove the old closer: Unscrew the mounting bracket from the door frame first (top bracket), then detach the arm from the door panel. Hold the door open with a wedge while working.
- Match the specs: Note the stroke length (usually 12" or 14"), mounting hole center-to-center distance (standard is 3/4"), and swing direction (left- or right-hand). Most storm doors use a 12" stroke with right-hand configuration.
- Install the new closer: Attach the frame bracket first using supplied stainless steel screws. Then mount the arm to the door — leave screws slightly loose until final alignment. Use painter’s tape to hold the arm at 90° while checking clearance.
- Test and adjust: Open and close the door 10 times. If speed is off, turn the adjustment valve (small screw on the end cap) clockwise to slow closing, counterclockwise to speed up. Stop adjusting once motion is smooth and consistent.
When to Call a Pro
DIY replacement fails when:
- The door frame is rotted or warped where the bracket mounts — requires structural repair before reinstalling
- You’re replacing a non-standard closer (e.g., heavy-duty commercial grade or pneumatic model) with proprietary mounting
- The door itself binds or drags — indicates hinge wear or threshold misalignment beyond the closer’s control
"Over 68% of storm door hydraulic failures stem from improper installation torque or mismatched stroke length — not part quality," says Ken Ralston, certified door technician with the National Association of Home Builders (NAHB), 2022.
Prevention Tips
Extend your closer’s life with routine care:
- Clean the arm and cylinder with a damp cloth every 3 months — salt spray and pollen accelerate corrosion
- Avoid slamming the door intentionally — repeated shock loading degrades internal seals faster than normal use
- Check mounting screws for tightness twice yearly — vibration loosens them over time, especially in coastal or high-wind zones
Can I reuse the old mounting brackets?
Yes — if they’re undamaged and match the new closer’s hole pattern. Most standard replacements (like Prime-Line B 2090) use identical 3/4" spacing. Inspect for stripped threads or bent metal before reusing. If in doubt, replace brackets too — they cost under $5.
Why does my new closer still slam after installation?
Most likely cause: incorrect adjustment valve setting or misaligned arm angle. The arm should form a near-perfect 90° angle with the door when closed. If it’s angled inward or outward more than 15°, hydraulic resistance drops sharply. Re-mount the arm using the middle mounting hole on the bracket to fine-tune geometry.
Do I need to remove the door to replace the closer?
No — the entire process happens with the door in place. Just prop it open with a 2×4 or rubber door stop. Removing the door adds unnecessary complexity and risks hinge damage unless you’re also adjusting hinge pins or rebalancing weight.
Is there a difference between aluminum and vinyl storm door closers?
Yes. Aluminum doors typically use heavier-duty closers rated for 15–20 lbs of door weight; vinyl models often require lighter units (10–12 lbs) due to weaker mounting rails. Using an aluminum-rated closer on thin vinyl can pull screws through the rail. Check your door manufacturer’s spec sheet — our storm door weight chart helps match load ratings.
How long should a hydraulic closer last?
With proper installation and maintenance, expect 7–10 years. According to the U.S. Department of Energy’s 2021 Building Technologies Office report, closers exposed to direct sun and rain without cleaning fail 40% sooner than those maintained seasonally. Coastal installations average just 5.2 years without biannual wipe-downs.
Can I lubricate the hydraulic closer to fix slow operation?
No — hydraulic closers are sealed units. Adding oil or silicone spray won’t penetrate the cylinder and may attract dust that gums up the external linkage. If operation is sluggish, it’s usually a sign of internal seal failure or air ingress — replacement is the only reliable fix. For external arm joints, a dab of white lithium grease on pivot points is safe and helpful.
Replacing a broken storm door hydraulic closer isn’t about fancy tools or deep expertise — it’s about matching specs, applying steady torque, and double-checking alignment. Once you’ve done it once, you’ll spot the signs of wear early and swap parts before the door starts slamming or sticking. Keep a spare closer in your garage — they’re compact, inexpensive, and make future repairs frictionless. For related help, see our guides on adjusting storm door swing and fixing a sticking storm door latch.