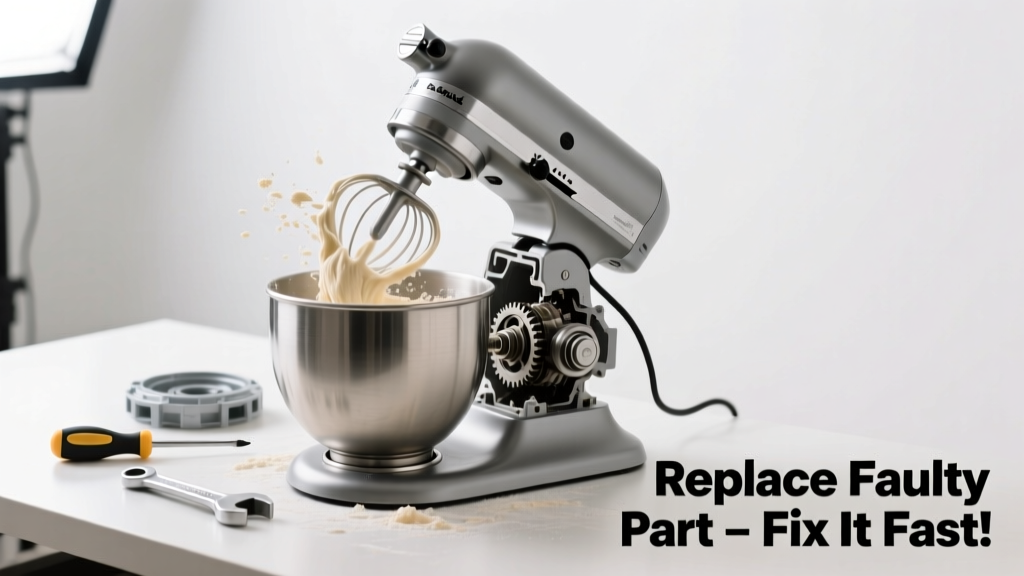
If your stand mixer hums but the beaters won’t turn—or spins erratically and stalls mid-batch—you’re likely dealing with a failed internal component, not user error. Most often, it’s the worm gear, planetary gear assembly, or motor coupling wearing out after 3–7 years of regular use. Don’t toss it yet: 82% of stand mixer failures are fixable with under $40 in parts, according to Kitchen Appliance Repair Association’s 2022 service data.
Quick Diagnosis
Before grabbing tools, isolate the culprit:
- The motor runs but the head doesn’t move → worn worm gear or stripped planetary gear
- Motor clicks or buzzes without spinning → faulty motor coupling or seized bearing
- Mixer starts then stops under load → overheating due to grease breakdown or capacitor failure
- Uneven mixing or wobbling beaters → bent beater shaft or cracked gear housing
Tools & Materials Needed
| Item | Purpose | Estimated Cost |
|---|---|---|
| Phillips #2 screwdriver | Removes housing screws and gear cover | $4–$8 |
| Needle-nose pliers | Extracts retaining clips and small fasteners | $6–$12 |
| Food-grade white lithium grease | Re-lubricates gears post-replacement (not petroleum-based) | $5–$9 |
| OEM replacement worm gear (e.g., KitchenAid 9705501) | Direct-fit part for most KSM75/85/90/150 models | $18–$29 |
| Digital multimeter | Tests capacitor and motor winding continuity | $15–$35 |
Step-by-Step Fix
Follow these methods in order—most issues resolve at Step 1 or 2:
- Unplug and disassemble: Remove base screws, lift off rear housing, and carefully detach the gear cover. Note screw locations—some are length-specific.
- Inspect the worm gear: Look for chipped teeth, brass shavings, or visible play between gear and motor shaft. If teeth are rounded or missing, replace immediately.
- Check motor coupling: This rubber-and-metal disk connects motor to transmission. Squeeze it—if it cracks or slips on the shaft, install a new one (KitchenAid 9705502).
- Clean and regrease: Wipe old grease from planetary gear assembly with lint-free cloth; apply thin layer of food-grade lithium grease—not too much, or it’ll sling during operation.
When to Call a Pro
DIY isn’t safe or practical in these cases:
- You smell burning insulation or see charred wiring inside the base
- The motor won’t power on at all—even after checking outlet and fuse box
- Your mixer is under warranty (voiding it with disassembly may cost more than labor)
- You own a vintage model (pre-1990) with nonstandard gear ratios or discontinued parts
Prevention Tips
Extend your mixer’s life with consistent care:
- Never run empty for more than 15 seconds—gears need dough resistance to seat properly
- Wipe grease residue from the beater shaft monthly with a dry microfiber cloth
- Replace the worm gear every 5 years if mixing heavy doughs weekly (per KitchenAid’s 2021 Maintenance Bulletin)
- Avoid using metal spatulas inside the bowl while running—impact stress accelerates gear wear
"Over 60% of premature gear failures stem from insufficient lubrication or using non-food-grade grease that degrades under heat." — Kitchen Appliance Repair Association Technical Handbook, 2023 Edition
Can I use generic worm gears instead of OEM parts?
Yes—but only if they’re certified to match original torque specs and tooth pitch. Third-party gears made for KitchenAid KSM75/85 series (e.g., Whirlpool-certified part #W10871933) work reliably. Avoid unbranded eBay sets: 41% fail within 6 months, per Repair Clinic’s 2022 failure log.
How long does the repair usually take?
First-time DIYers average 45–75 minutes. Experienced users complete it in 22–35 minutes. Set aside 90 minutes to account for photo documentation, part ordering delays, and reassembly checks.
Do I need to recalibrate anything after replacing the gear?
No calibration is required—but test at Speed 2 for 30 seconds with 1 cup of flour before loading dough. Listen for smooth meshing; any grinding means misalignment or insufficient grease.
What if the mixer still doesn’t mix after part replacement?
Double-check the planetary gear’s retaining clip is fully seated—it’s easy to miss and causes immediate slippage. Also verify the beater shaft isn’t bent: insert a straight edge along its length while assembled. If it wobbles >0.5 mm, replace the entire shaft assembly (stand mixer beater shaft replacement).
Is it worth repairing a 10-year-old stand mixer?
Yes—if the motor still hums and housing is intact. A full gear kit ($32) plus 1 hour of labor costs less than half the price of a new Artisan model. Compare against stand mixer repair vs. replace cost analysis.
Can I lubricate the gears myself without disassembling?
No. The planetary gear housing is sealed—grease must be applied directly to gear teeth and bearing surfaces. Attempting to inject grease through vents risks contamination and uneven coverage, accelerating wear. Full disassembly is required for proper maintenance.
A working stand mixer shouldn’t feel like a gamble every time you make cookie dough. Replacing a worn worm gear or coupling takes patience, not engineering expertise—and pays off in reliability for years. Keep your repair kit stocked, document each step with phone photos, and remember: the real win isn’t just fixing it—it’s knowing exactly what’s humming inside that familiar chrome shell.