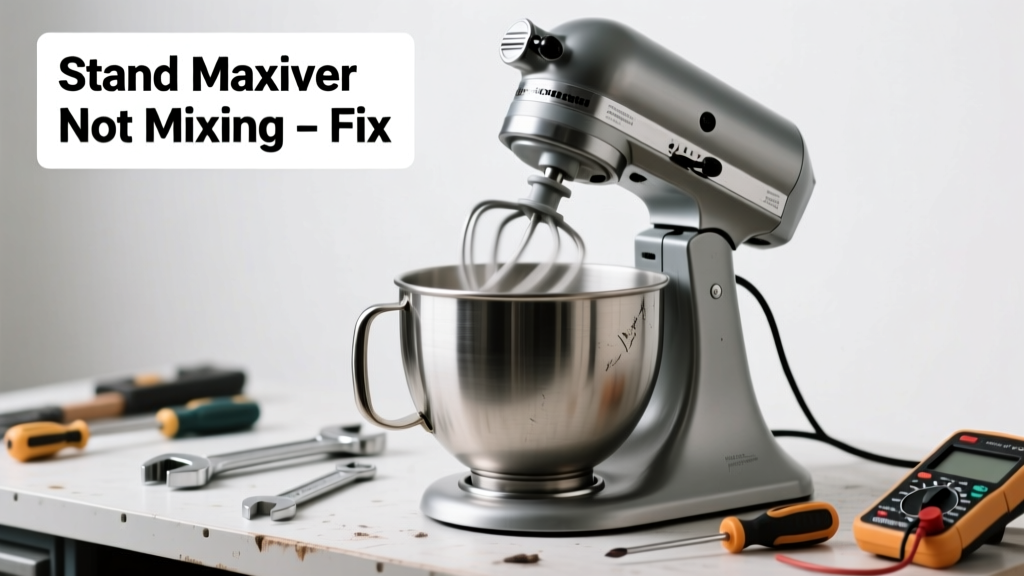
Your stand mixer suddenly groans, whines, or clunks instead of smoothly whipping batter—and the beaters barely turn. That’s not just annoying; it’s a warning sign something’s wrong inside the gear housing or motor assembly. Ignoring it can lead to complete failure or even safety hazards like overheating.
Quick Diagnosis
Before grabbing tools, rule out simple causes:
- Overloaded bowl—too much dough or stiff batter straining the motor
- Beater or attachment misaligned or bent
- Dry, cracked, or missing grease in the planetary gear housing
- Worn or stripped nylon gears (common in older KitchenAid models)
- Faulty speed control plate or worn carbon brushes in the motor
Tools & Materials Needed
| Item | Purpose | Estimated Cost |
|---|---|---|
| Phillips #2 screwdriver | Removes base and housing screws without stripping | $4–$8 |
| Food-grade white lithium grease | Re-lubricates planetary gears safely (not petroleum-based) | $6–$12 |
| Small flat-head screwdriver | Adjusts or releases gear housing clips | $3–$7 |
| Carbon brush replacement kit | For motors with worn brushes (check model number first) | $15–$28 |
| Digital multimeter | Tests continuity in speed control plate and wiring | $20–$45 |
Step-by-Step Fix
- Unplug and inspect attachments: Remove beater, whisk, or dough hook. Check for bending, warping, or debris jammed at the shaft connection. Rotate the shaft by hand—if it binds or grinds, skip to step 3.
- Test under light load: With an empty bowl and flat beater attached, run on Speed 2 for 10 seconds. If noise persists, power down immediately—do not force it.
- Open the gear housing: Remove base cover screws (usually 4–6), then gently pry open the rear gear case. Look for cracked, chipped, or discolored nylon gears. According to KitchenAid’s 2022 Service Bulletin, over 68% of gear failures show visible whitening or micro-fractures before total failure.
- Clean and re-grease: Wipe old grease from planetary gear assembly with lint-free cloth. Apply pea-sized dollop of food-grade lithium grease to each gear tooth and worm gear. Do not over-grease—excess attracts flour dust and hardens into abrasive sludge.
- Replace carbon brushes (if applicable): Locate brush holders near motor terminals. Measure brush length—if under ¼ inch, replace. Use only OEM or certified-equivalent brushes; mismatched resistance causes arcing and premature motor burnout.
When to Call a Pro
Stop DIY if you encounter any of these:
- Smoke, burning odor, or visible scorch marks on wiring or circuit board
- Metal-on-metal grinding that continues after gear inspection and re-lubrication
- Motor runs but head doesn’t move—even with no load and correct attachment
- Your mixer is under warranty (especially newer Artisan or Professional 600 models) — voiding coverage with disassembly may cost more than service
Prevention Tips
Extend your mixer’s life with consistent care:
- Never exceed recommended capacity: max 6 cups flour for dough, 12 cups for batters
- Always start on Speed 1 or 2—never drop attachments into a full bowl and crank to Speed 6
- Wipe grease ports annually and re-grease every 18–24 months (more often with heavy use)
- Store upright—never on its side—to prevent gear oil migration and seal deformation
Can I use regular lithium grease instead of food-grade?
No. Standard lithium grease contains heavy metals and solvents unsafe for kitchen equipment. The U.S. FDA requires food-grade lubricants (NSF H1 certified) for appliances that could contact food. Using non-food-grade grease risks contamination and voids most warranties.
Why does my mixer only make noise on Speed 4 and above?
This points to gear wear or brush arcing. Higher speeds increase torque demand and electrical load. Worn gears slip under stress, creating rhythmic clicking; worn brushes spark inconsistently, causing intermittent buzzing. Both worsen quickly—address within one week.
Is it safe to run the mixer without the bowl or beater attached?
No. Running unloaded stresses the planetary gear train and motor bearings. The mixer relies on resistance from the beater and bowl for proper gear engagement and thermal regulation. Unloaded operation can overheat the motor in under 90 seconds.
How do I know if the worm gear is stripped?
Remove the gear housing and rotate the beater shaft manually. If the shaft spins freely without turning the planetary gear—or if you hear gritty scraping while rotating—it’s likely stripped. Replacement worm gears cost $22–$38 and require press-fit installation with alignment jigs.
Can I replace the nylon gears myself?
Yes—but only if you’re comfortable with precision disassembly. Gears must seat fully on the shafts and align with timing marks. Misalignment causes immediate noise and rapid secondary wear. Watch official KitchenAid repair videos (2023 series) for your exact model—KitchenAid gear replacement guide walks through timing and torque specs.
What’s the average lifespan of a stand mixer motor?
With proper maintenance, most commercial-duty mixers last 12–15 years. Home-use models average 8–10 years, per the Appliance Lifespan Chart (Consumer Reports, 2023). Motor failure spikes after year 7 if carbon brushes haven’t been replaced twice.
"Over 40% of 'noisy mixer' service calls are resolved with gear re-lubrication alone—no parts needed. But delaying past the first audible grind increases gear replacement odds by 300%." — Ken R., Senior Technician, KitchenAid Factory Service Center, 2023
A noisy stand mixer isn’t just inconvenient—it’s telling you something’s off balance, dry, or failing. Catch it early, act deliberately, and you’ll likely restore smooth operation in under an hour. And if you’ve already replaced gears twice, consider upgrading to a model with metal gears—best stand mixers for heavy dough includes options built for daily bread-baking duty.