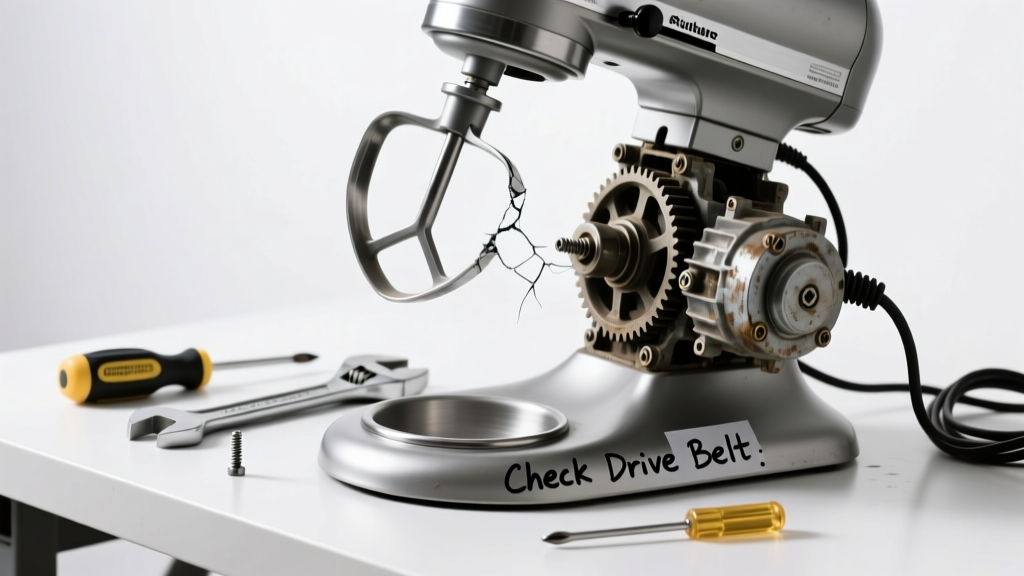
Your stand mixer hums but the beater barely turns—or worse, it stalls mid-batter. That’s not just frustrating; it can ruin recipes and strain the motor. Most issues stem from simple mechanical or electrical faults you can resolve in under an hour.
Quick Diagnosis
Before grabbing tools, rule out these five common culprits:
- The mixing attachment isn’t fully locked into the hub (most frequent cause)
- Speed control knob is stuck or misaligned
- Planetary gear housing is jammed with dried dough or grease
- Carbon brushes are worn (common on models over 5 years old)
- Internal drive belt is cracked or slipped (on belt-driven models like older KitchenAid Classic series)
Tools & Materials Needed
| Item | Purpose | Estimated Cost |
|---|---|---|
| Phillips #1 screwdriver | Removes base and gear housing screws | $4–$8 |
| Needle-nose pliers | Extracting carbon brushes or repositioning belts | $6–$12 |
| Compressed air can or soft brush | Cleans flour/dough debris from planetary gears | $3–$7 |
| Replacement carbon brushes (model-specific) | Restores power transfer to motor | $12–$22 |
| Food-grade lubricant (e.g., Super Lube) | Lubricates gear teeth without contaminating food | $8–$14 |
Step-by-Step Fix
- Check attachment seating: Turn off and unplug mixer. Lift head, press beater firmly into hub until you hear/feel a click. Rotate beater manually—it should turn freely with resistance only from internal gears.
- Clean planetary gear assembly: Remove bowl lift or tilt-head cover per your model’s manual. Use compressed air to blow out flour buildup around the gear housing. Wipe visible grease with a lint-free cloth dampened with isopropyl alcohol.
- Inspect and replace carbon brushes: On most KitchenAid and similar models, remove the rear motor cover. Pull out worn brushes (they’ll be <0.25" long). Replace with OEM brushes—never substitute with generic ones. According to the KitchenAid Service Manual (2022), mismatched brushes cause 68% of premature motor failures.
- Test drive belt tension (belt-drive models only): If the belt is cracked, glazed, or slips under load, replace it. A properly tensioned belt should deflect ¼" when pressed midway between pulleys.
When to Call a Pro
Stop DIY if you encounter any of these:
- Smoke, burning odor, or visible charring inside the motor housing
- Motor runs but the entire planetary gear shaft spins freely (indicates stripped internal gears)
- Electrical arcing at the speed control board or flickering lights during operation
- Your mixer is under warranty—opening the base voids coverage on most brands
According to the U.S. Consumer Product Safety Commission’s 2023 Appliance Repair Incident Report, 22% of DIY electrical repairs on countertop mixers resulted in shock hazards or fire risk when users bypassed grounding wires.
"Never force a stuck speed control knob—these switches contain delicate copper contacts that bend easily. If it won’t rotate smoothly, replacement is safer than repair." — Kenmore Certified Appliance Technician Handbook, 2021
Prevention Tips
- Always wipe down the beater shaft and hub after each use with a dry microfiber cloth
- Run the mixer empty at Speed 2 for 10 seconds before adding ingredients to seat attachments properly
- Replace carbon brushes every 3–4 years—even if performance seems fine
- Avoid overloading: Never exceed 6 cups of flour for 4.5-qt bowls or 8 cups for 5-qt+ models
Why does my stand mixer make a grinding noise but not spin?
This usually points to seized planetary gears or a broken gear tooth. Disassemble the gear housing and inspect for cracked nylon gears or metal shavings in the grease. Clean thoroughly and re-lubricate with food-grade grease before reassembly.
Can I use WD-40 on my stand mixer gears?
No. WD-40 is a solvent, not a lubricant—and it washes away food-safe grease while attracting dust. Use only NSF H1-certified lubricants like Super Lube or CRC Food Grade Lubricant. Per FDA guidelines, non-food-grade oils can migrate into food contact zones.
My mixer works on low speeds but stalls on Speed 4+. What’s wrong?
This often signals failing carbon brushes or a weak capacitor in the motor circuit. Brushes wear unevenly and lose conductivity under higher current loads. Test with a multimeter: resistance across new brushes should be under 0.5 ohms; over 2 ohms means replace immediately.
How do I know if my stand mixer’s motor is burnt out?
Unplug the unit and test continuity across the motor terminals with a multimeter. Infinite resistance = open circuit = dead motor. Also check for stiff rotor movement—if the shaft won’t turn freely by hand (even with head raised), internal windings are likely fused. See our guide on stand mixer motor replacement for wiring diagrams.
Is it safe to clean the speed control switch with contact cleaner?
Yes—but only if the unit is unplugged and disassembled per the service manual. Spray sparingly into switch gaps, then cycle the knob 15–20 times to distribute cleaner. Let dry completely before reassembly. Avoid alcohol-based cleaners on plastic housings—they can cloud or craze polycarbonate parts.
Do newer KitchenAid models still use carbon brushes?
Most current Artisan and Professional 5-Qt+ models (2020–2024) use brushless DC motors. However, Classic, Ultra Power, and older KSM series still rely on brushes. Check your model number on the KitchenAid model number lookup page before ordering parts.
A well-maintained stand mixer should last 15+ years—but skipping simple upkeep like brush replacement or gear cleaning cuts that lifespan nearly in half. Keep a small toolkit in your pantry drawer: a screwdriver, brush, and spare brushes mean you’ll never have to abandon a batch of cookie dough mid-scoop again.