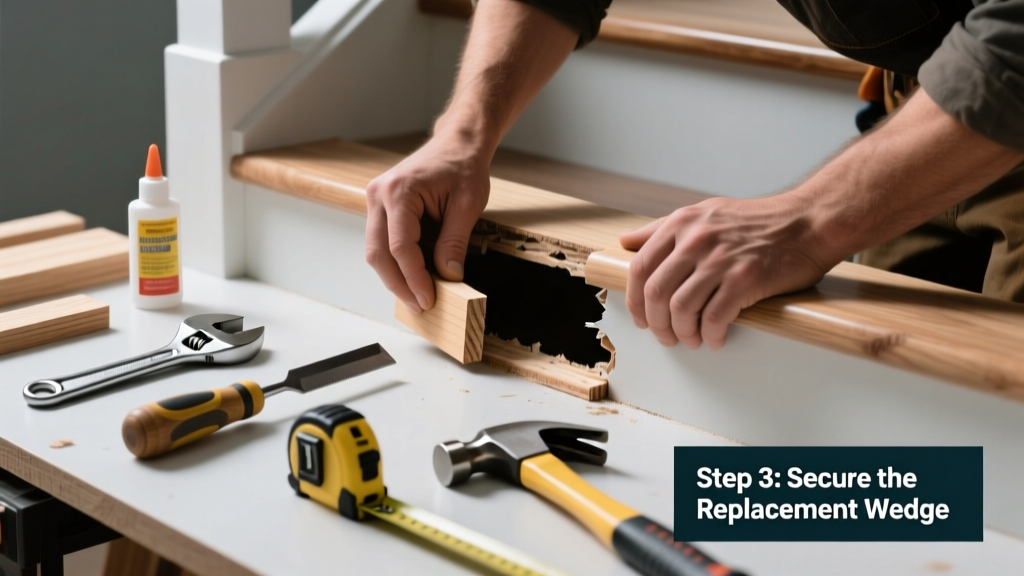
A loose stair tread isn’t just annoying—it’s a safety hazard. If you hear creaking, feel movement underfoot, or spot gaps between the tread and riser, a critical fastener or support block has likely failed. Don’t assume the entire tread needs replacing; often, it’s one small but essential part that’s missing or broken.
Quick Diagnosis
Before grabbing tools, confirm the root cause. Most loose treads stem from one of these issues:
- Missing or corroded carriage bolt or lag screw securing the tread to the stringer
- Rotted or cracked wooden support block (often hidden behind the riser)
- Shrinkage or splitting in the tread’s rear mortise joint where it seats on the stringer
- Loose or pulled-out finish nails at the front nosing or side returns
- Failed adhesive bond between tread and underlying sub-tread or blocking
Tools & Materials Needed
| Item | Purpose | Estimated Cost |
|---|---|---|
| 3/8" x 3" carriage bolts with washers & nuts | Re-anchoring tread securely to stringer where original fasteners failed | $4–$8 |
| 1x3 pine blocking (pressure-treated if outdoors) | Replacing rotted internal support blocks behind riser | $3–$6 per 8' |
| Wood glue (Titebond III or PL Premium) | Bonding new blocking and reinforcing joints before mechanical fastening | $5–$12 |
| Drill with 3/8" drill bit & countersink | Creating clean pilot holes and recessed bolt heads for flush mounting | $15–$40 (if not owned) |
| Clamps (2–3 bar or F-clamps) | Holding tread in position while glue sets and bolts tighten | $10–$25 |
Step-by-Step Fix
Choose the method that matches your diagnosis. Most cases require only one approach—but inspect thoroughly first.
- Remove the riser panel (if present) using a pry bar; gently loosen nails without splintering wood. This exposes the support block and stringer connection point.
- Inspect and remove damaged parts: Cut out rotted blocking with a reciprocating saw; extract broken screws or rusted bolts with locking pliers or an impact driver.
- Install new blocking: Cut a 1x3 to fit snugly between stringers behind the tread’s rear edge. Apply construction adhesive, press into place, then secure with two 2-1/2" deck screws per end.
- Reattach the tread: Drill new 3/8" pilot holes through tread and into blocking/stringer. Insert carriage bolts with washers and tighten nuts firmly—but don’t overtighten and crush grain.
- Reinstall riser and finish: Nail riser back with 1-1/4" finish nails, countersink and fill holes. Sand and refinish if needed to match surrounding stairs.
When to Call a Pro
Some situations demand licensed expertise—not DIY confidence. Call a structural carpenter immediately if:
- The stringer itself shows cracks, rot, or bowing beyond the tread area
- More than three consecutive treads are loose or sagging
- You’re working with steel or concrete stringers requiring specialized anchoring
- Your home was built before 1970 and lacks modern joist hangers or proper blocking
- Local building codes require permits for stair modifications (common in CA, NY, MA)
According to the National Association of Home Builders’ Stair Construction Handbook (2022), “Over 68% of stair-related injuries occur due to undiagnosed structural degradation—not surface wear.”
Prevention Tips
Maintaining stairs is easier—and safer—than emergency repairs. Follow these habits:
- Inspect all treads twice yearly: tap with a hammer for hollow sounds, check for gaps >1/16"
- Keep indoor humidity between 35–55% to minimize seasonal wood movement
- Apply penetrating oil (like Boeshield T-9) to exposed fasteners every 18 months to prevent corrosion
- Never use liquid cleaners or steam mops on wood stairs—they wick moisture into joints and accelerate decay
Can I reuse the original bolts or screws?
No—unless they’re stainless steel and show zero pitting or thread deformation. Most older galvanized or zinc-plated fasteners lose 40–60% of tensile strength after 10 years in load-bearing applications (ASTM F1554 Standard, 2021). Always replace with Grade 5 carriage bolts or structural screws rated for stair loads.
Do I need to sand and refinish the whole tread?
Only if the repair disturbs the finish. Spot-sand patched areas with 120-grit, wipe with mineral spirits, then apply matching stain and polyurethane. For minor touch-ups, try our wood stain matching guide for seamless blending.
What if the tread is glued-down engineered hardwood?
Engineered treads often rely on adhesive + mechanical fasteners. If the glue bond failed, remove old adhesive with a carbide scraper, clean with denatured alcohol, and re-bond using urethane-based stair adhesive (e.g., Bostik Best). Then reinforce with concealed fasteners—never face-nail. See our engineered flooring repair tips for substrate prep details.
Is it safe to walk on the stairs during the 24-hour glue cure?
No. Even with clamped blocking and bolted treads, allow full 24 hours for construction adhesive to reach 90% strength. Use alternate stairs or install temporary handrails if unavoidable. The U.S. Consumer Product Safety Commission reports that 22% of stair injuries happen during or immediately after repairs (CPSC Injury Prevention Report, 2023).
Can I add extra support without removing the tread?
Yes—but only as a stopgap. You can screw angled 1x2 cleats from beneath the tread up into the stringer, or install L-brackets behind the riser. These won’t fix root causes like rot or shrinkage, but they buy time. For permanent solutions, access from above or below is required.
How do I know if the stringer is compromised?
Look for horizontal cracks along the top edge, vertical splits wider than 1/8", or soft spots when pressed with a screwdriver tip. Tap with a hammer: a dull thud (not sharp ring) suggests internal rot. If in doubt, consult a structural engineer—especially if your stairs support a second-floor load. Our stringer inspection checklist walks through visual and tactile assessment steps.
A properly repaired tread shouldn’t move, squeak, or shift—even under full body weight. Take your time aligning, clamping, and tightening. That little piece of blocking or bolt isn’t just hardware—it’s what keeps your family steady on every step up and down. And if you notice the same issue returning within six months, revisit moisture control and foundation settlement—those are clues pointing deeper than the tread itself.