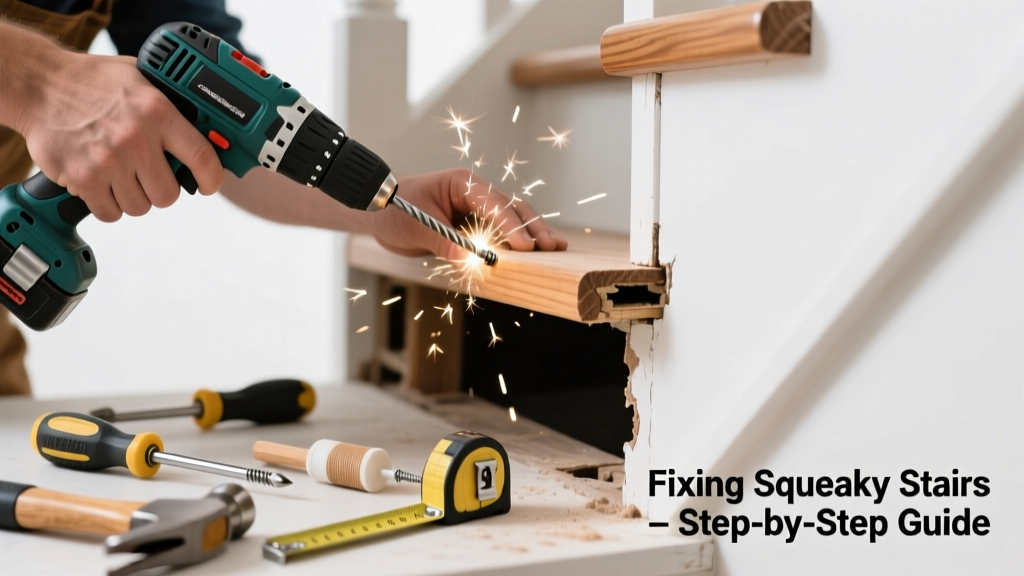
If your stairs sound like a haunted house every time you climb them—squeaking, groaning, or even shifting underfoot—it’s not just annoying. It’s often the first sign of compromised structural integrity. A loose tread isn’t just noisy; it can worsen with time, increasing wear on stringers and risking injury.
Quick Diagnosis
Before grabbing tools, identify what’s actually moving:
- The tread itself shifts side-to-side or lifts at the front/back edge
- Noise occurs only when stepping near the front (nose) or back (riser joint)
- You hear a hollow ‘thunk’ (loose fasteners), high-pitched ‘squeak’ (wood-on-wood friction), or low ‘groan’ (bending stringer)
- Visible gaps appear between tread and riser or tread and stringer
Tools & Materials Needed
| Item | Purpose | Estimated Cost |
|---|---|---|
| 16d finish nails or trim screws (2½") | Secure tread to stringer without splitting wood; screws offer superior holding power | $8–$12 |
| Drill with countersink bit | Prevent screw heads from protruding and create clean recesses | $25–$60 |
| Wood shims (¼" thick, cedar or pine) | Fill gaps between tread underside and stringer for full contact | $4–$7 |
| Construction adhesive (polyurethane-based) | Bonds wood permanently; resists moisture and vibration better than PVA glue | $10–$15 |
| Clamps (bar or pipe, 24"–36") | Hold tread in place while adhesive cures and fasteners seat fully | $18–$35 |
Step-by-Step Fix
Choose the method that matches your diagnosis—and always start with the quietest, least invasive option first:
- Method 1: Reinforce from below (if accessible) — Access the underside of the stair via basement or crawl space. Apply polyurethane adhesive along the stringer contact surface, then drive 2½" trim screws at 6" intervals into each stringer. Pre-drill pilot holes to prevent splitting.
- Method 2: Face-screw the tread nose — Drill countersunk pilot holes through the front 2" of the tread nose, angled slightly upward into the riser. Drive #8 x 2½" trim screws. Cover holes with matching wood plugs or putty.
- Method 3: Shim-and-adhesive repair (no access required) — Lift the tread gently using a pry bar, insert cedar shims where gaps exist, apply construction adhesive to shim surfaces, then clamp and let cure 24 hours before use.
When to Call a Pro
Don’t risk your safety—or your home’s structure—on these scenarios:
- The entire stringer feels spongy or flexes visibly when stepped on
- More than three consecutive treads are loose or sagging more than ⅛"
- You spot rot, insect damage, or black mold on stringers or subfloor beneath the stairs
- Your stairs are part of a manufactured steel or concrete system—not traditional wood framing
According to the National Association of Home Builders’ Stair Safety Standards Handbook (2022), “Treads with lateral movement exceeding 1/16 inch under 200 lbs. load require immediate evaluation by a licensed structural contractor.”
Prevention Tips
Long-term quiet starts with smart maintenance:
- Inspect treads annually—especially after seasonal humidity swings—using a flashlight and gentle pressure test
- Keep relative indoor humidity between 35–55% year-round to minimize wood shrinkage and expansion
- Avoid dragging heavy furniture up stairs; use felt pads and lift instead of sliding
- Re-torque all visible fasteners every 2 years—even if no noise is present
Can I just use wood glue instead of construction adhesive?
No. Standard PVA wood glue lacks shear strength and flexibility needed for dynamic stair loads. Polyurethane or hybrid polymer adhesives (like PL Premium or Gorilla Wood Glue) are engineered to absorb vibration and resist creep over decades. The U.S. Forest Products Laboratory confirms PVA fails under cyclic loading after ~1,200 cycles—far less than one month of typical household use.
Will tightening existing nails stop the noise?
Rarely—and often makes it worse. Hammered nails loosen further due to wood compression and vibration. Pulling and replacing them with screws is safer and more effective. If original nails are rusted or bent, they’re already compromised and must be removed entirely.
How long do I need to avoid using the stairs after repair?
With adhesive involved: wait minimum 24 hours before light use, 48 hours before full weight or carrying heavy loads. Without adhesive (screws-only): you may use the stairs immediately—but monitor for residual noise over the next 48 hours as the wood settles.
Do carpeted stairs need the same repair approach?
Yes—but remove the carpet and padding first. Carpet masks symptoms but doesn’t fix root causes. In fact, trapped moisture under padding accelerates tread/stringer decay. Always inspect bare wood before re-carpeting. For more on maintaining stair coverings, see our guide on carpeted stair maintenance.
Is this covered by homeowners insurance?
Generally, no—routine wear and tear isn’t covered. However, if the looseness resulted directly from a covered peril (e.g., burst pipe flooding the stairwell or windstorm damage), file a claim with documentation. Most insurers require proof of sudden, accidental cause—not gradual deterioration. See our article on what homeowners insurance covers for specifics.
Can I reinforce treads with brackets instead of screws?
Only if installed correctly—and rarely recommended for interior residential stairs. L-brackets add bulk, require precise alignment, and often interfere with carpet or nosing profiles. Modern trim screws with proper pilot holes deliver cleaner, stronger, and code-compliant results per the International Residential Code (IRC R311.7.5). For exposed industrial-style stairs, consult a structural engineer before adding metal hardware.
A well-repaired stair tread shouldn’t just go silent—it should feel solid, predictable, and safe underfoot. That sense of stability isn’t just comfort; it’s confidence in your home’s everyday infrastructure. And once fixed right, it’ll likely outlast the next decade of foot traffic—no touch-ups needed. For related issues, check our guide on squeaky floor joists repair or how to fix stair riser gaps.