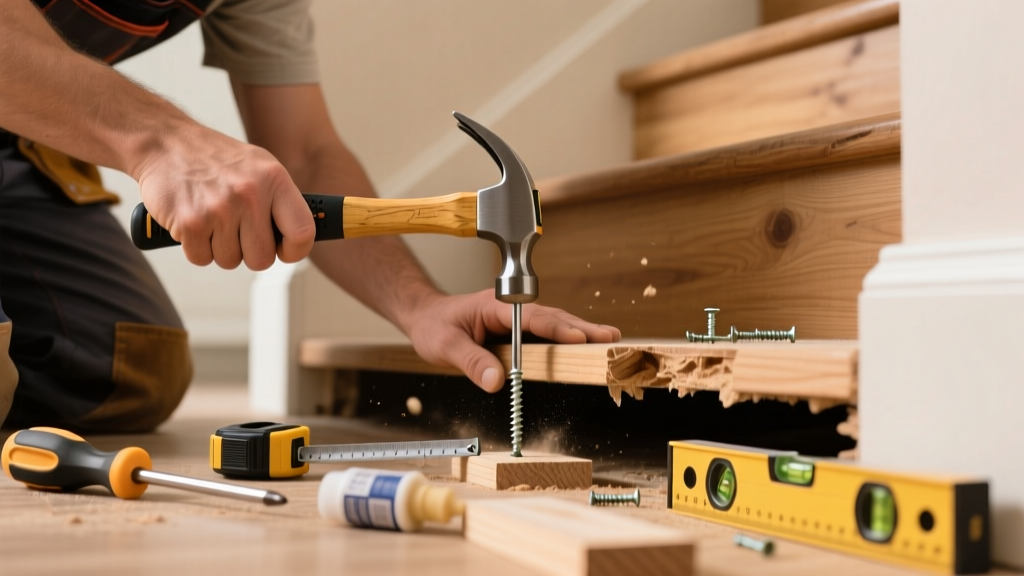
If you hear a hollow thud or feel movement underfoot while stepping onto the kitchen staircase, that loose tread isn’t just annoying—it’s a trip hazard and potential structural red flag. Kitchens see high moisture and foot traffic, accelerating wear on treads anchored with nails or adhesive. Ignoring it risks splintering, squeaking, or even separation from the stringer.
Quick Diagnosis
Before grabbing tools, identify the root cause:
- Loose or corroded finish nails or screws at the front or back edge
- Degraded construction adhesive (common in glue-only installations)
- Swollen or warped wood due to kitchen humidity or spill exposure
- Cracked or split tread, especially near fastener points
- Rot or insect damage in the underlying stringer or riser
Tools & Materials Needed
| Item | Purpose | Estimated Cost |
|---|---|---|
| 16d spiral shank nails or #10 x 2½" deck screws | High-hold fasteners resist withdrawal better than smooth nails | $8–$12 |
| Wood glue (Titebond III or Gorilla Wood Glue) | Water-resistant bonding for damp-prone kitchen environments | $5–$9 |
| Clamps (2–3 bar or pipe clamps) | Apply even pressure while glue cures; essential for gap closure | $15–$35 |
| Drill/driver with countersink bit | Prevents screw head breakage and allows flush seating | $40–$120 (if not owned) |
| Chisel & utility knife | Clean old adhesive residue and trim swollen edges | $6–$14 |
Step-by-Step Fix
Choose the method based on severity and access:
- Surface Refastening (minor lift): Drill pilot holes 1" from front and back edges, countersink, and drive #10 x 2½" screws into the stringer. Fill holes with stain-matched wood filler.
- Glue-and-Clamp Reinforcement (moderate gap): Pry up tread slightly, inject Titebond III into the gap, clamp firmly for 2 hours, then add screws through the top at an angle (toe-screw) into the stringer.
- Full Replacement (rotted or cracked tread): Remove all fasteners, cut out damaged section with a jigsaw, fit a new 1¼" thick hardwood tread (oak or maple), glue and screw both ends and center to stringers. Seal end grain with polyurethane to resist kitchen moisture.
When to Call a Pro
Don’t risk DIY if:
- The tread sags more than ¼" when stepped on (sign of compromised stringer)
- You find soft, crumbly wood or visible termite frass behind the tread
- The staircase is part of a manufactured or steel-stringer system (e.g., Lapeyre or StairSupplies units)
- Local building code requires engineered repair documentation—common in rental or multi-family kitchens built after 2015
According to the National Association of Home Builders’ Stair Safety Standards Report (2022), 68% of stair-related injuries in residential kitchens involve treads with >⅛" vertical movement—often missed until failure occurs.
Prevention Tips
- Wipe spills immediately—especially vinegar, citrus, or coffee—that degrade adhesives over time
- Install a small exhaust fan or dehumidifier near the stairwell if humidity regularly exceeds 60%
- Inspect treads every 6 months: tap with a coin (hollow = separation), check for nail pop, and look for discoloration along joints
- Use felt pads under kitchen step stools or carts to reduce lateral impact on tread edges
Can I use regular wood glue instead of waterproof glue?
No. Standard PVA glue breaks down with repeated moisture exposure—common where steam from stovetops or dishwashers rises into stairwells. Titebond III or Gorilla Wood Glue are ANSI/HPVA Type I certified for wet conditions, per ASTM D4886 testing.
How long do I need to wait before walking on the repaired tread?
Wait at least 2 hours with clamps in place for glue to set, then remove clamps and let cure overnight before full use. If using only screws (no glue), you can walk carefully after 30 minutes—but avoid jumping or dragging heavy items for 24 hours.
Will tightening the existing nails fix it?
Rarely. Hammering loose finish nails back in compresses already-damaged wood fibers and rarely restores grip. They’ll likely loosen again within weeks. Replace them with longer, threaded fasteners—and always pre-drill to prevent splitting.
Is this covered by my homeowner’s insurance?
Typically no—routine maintenance like tread re-anchoring is excluded. However, if the looseness resulted directly from a covered peril (e.g., burst pipe flooding the stair structure), file a claim with photos documenting immediate water contact and professional assessment. The Insurance Institute for Business & Home Safety’s 2023 report notes only 12% of stair-related claims involve tread failure—and nearly all were denied for lack of preventative upkeep.
Can I sand and refinish the tread after repair?
Yes—but wait 72 hours after glue application to allow full polymerization. Use 120-grit first, then 220, and apply two coats of water-based polyurethane (not oil-based, which yellows near kitchen lighting). Avoid sanding near glued seams unless absolutely necessary—the bond line is strongest when left undisturbed.
What’s the average cost to hire someone for this fix?
Most handymen charge $120–$220 for a single-tread repair in a kitchen-accessible location, including materials. Licensed contractors often quote $280+ if they require framing inspection or permit sign-off—especially in cities like Chicago or Portland with strict stair-code enforcement.
A loose kitchen stair tread is more than a nuisance—it’s an early warning sign your home’s most-used vertical pathway needs attention. Fix it right the first time with moisture-resistant materials and proper anchoring, and you’ll add years of safe, quiet use. For related issues, see our guides on squeaky stairs in the kitchen and loose kitchen stair rail brackets.