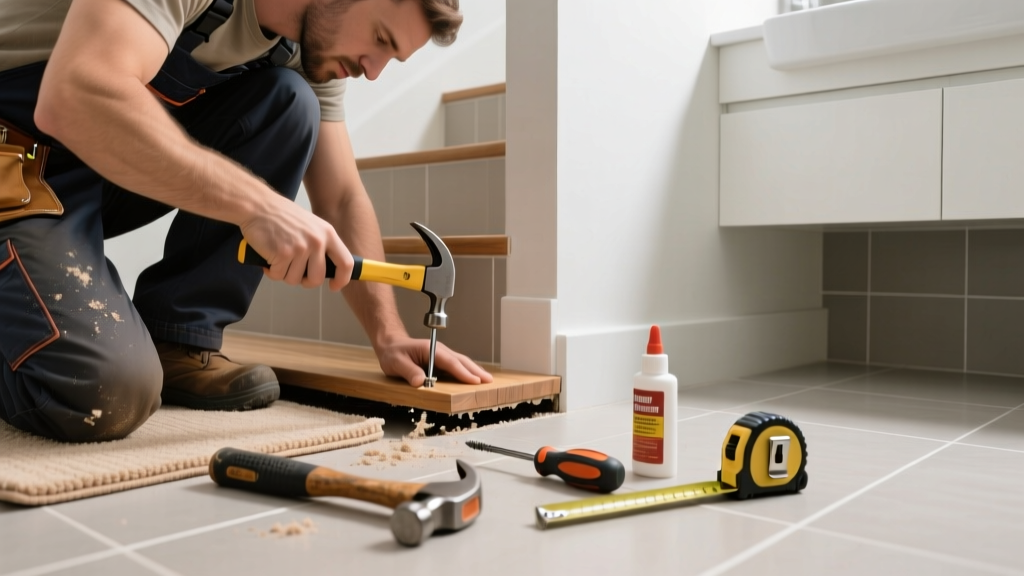
A loose stair tread in the bathroom isn’t just annoying—it’s a safety hazard. Moisture from showers and steam weakens adhesives and swells wood, making bathroom stairs especially prone to loosening. If you hear creaks or feel movement underfoot, don’t wait: address it before someone slips or the substructure degrades further.
Quick Diagnosis
Before grabbing tools, identify the root cause. Most bathroom stair tread looseness stems from one (or more) of these:
- Water-damaged glue or construction adhesive beneath the tread
- Rotted or warped stringer support due to chronic moisture exposure
- Loose or corroded screws/nails connecting tread to riser or stringers
- Shrinkage or warping of pressure-treated or pine treads in humid environments
- Missing or failed blocking between stringers underneath the tread
Tools & Materials Needed
| Item | Purpose | Estimated Cost |
|---|---|---|
| 16-oz claw hammer | Driving nails, prying up damaged fasteners | $12–$20 |
| 3-in stainless steel deck screws (with corrosion-resistant coating) | Securing tread without rusting in humid conditions | $8–$15 |
| Construction adhesive rated for wet locations (e.g., PL Premium Polyurethane) | Bonding wood where moisture is present | $10–$14 |
| Drill with countersink bit | Creating clean, flush screw holes; prevents splitting | $25–$65 |
| Moisture meter (optional but recommended) | Checking stringer and tread moisture content—above 19% indicates rot risk | $45–$90 |
Step-by-Step Fix
Choose the method based on severity and access. Start with the least invasive:
- Re-fasten with screws: Locate existing nail/screw holes (use a stud finder or tap gently). Drill pilot holes at a 15° angle into the stringer, then drive 3-in stainless screws through the tread—countersink them and fill with matching wood putty.
- Add adhesive + screws: If the tread lifts more than 1/8" when pressed, pry it up slightly (use a thin pry bar), clean old glue residue, apply PL Premium adhesive to the stringer top, reseat, clamp for 2 hours, then screw.
- Replace rotted blocking: If access exists from below (e.g., basement or crawl space), remove decayed 2×4 blocking between stringers, cut new pressure-treated or cedar blocking, coat ends with Thompson’s WaterSeal, and screw in place with galvanized screws.
- Install hidden bracket reinforcement: For high-traffic or heavily loaded treads, mount L-brackets (1.5"×1.5") under the front edge, securing both tread and riser—ideal for open-riser bathroom stairs.
When to Call a Pro
Don’t risk injury or structural compromise if you observe any of these:
- Stringer shows visible rot, softness, or crumbling when probed with a screwdriver
- More than two adjacent treads are loose or sagging more than 1/4"
- The staircase lacks proper anchoring to the floor or landing—especially critical in older homes with balloon framing
- You discover mold growth (>1 sq ft) behind the tread or inside the stringer cavity
According to the National Association of Home Builders’ Stair Safety Guidelines (2022), “Stairs with lateral movement exceeding 1/8 inch under 200 lbs of load require immediate engineering evaluation.”
Prevention Tips
Bathroom stairs face unique challenges—humidity, temperature swings, and limited ventilation. Extend tread life with these habits:
- Run the bathroom exhaust fan for 20 minutes after every shower, even if windows are open
- Wipe down stair surfaces weekly with a dry microfiber cloth to remove residual moisture
- Apply a water-repellent finish (e.g., spar urethane) to exposed wood treads every 18 months
- Install a small dehumidifier in enclosed stairwells or basements below bathroom stairs
- Check fasteners annually—tighten or replace any showing white corrosion (zinc oxide) or pitting
Can I use regular wood glue instead of construction adhesive?
No. Standard PVA wood glue breaks down in sustained humidity and won’t hold long-term in a bathroom environment. Use only polyurethane-based adhesives rated for wet locations—PL Premium and Gorilla Wood Glue (industrial formula) are tested to ASTM D3433 for shear strength in 95% RH conditions.
How do I know if the stringer is too rotten to repair?
Probe the stringer along its full length with an awl or ice pick. If it penetrates deeper than 1/4" with light pressure—or crumbles like wet cardboard—the wood has lost structural integrity. Replace the entire stringer section rather than patching; refer to our stair stringer replacement guide for safe removal techniques.
Will tightening screws fix a squeaky tread too?
Squeaking often comes from friction between loose tread and stringer—not just movement. Tightening screws helps, but adding adhesive eliminates the micro-gaps causing noise. For persistent squeaks, inject wax-based lubricant (like Bostik Squeak No More) into joints before re-fastening.
Can I sand and refinish the tread after repair?
Yes—but wait at least 72 hours after adhesive application and screw installation. Lightly sand only the repaired area with 120-grit, then match the existing finish using water-based polyurethane (low-VOC, ideal for bathrooms). Avoid oil-based finishes—they yellow faster in UV-exposed bathroom skylights.
Do I need a building permit for this repair?
Minor tread re-anchoring typically doesn’t require a permit in most U.S. jurisdictions (per ICC Residential Code R105.2, 2021 edition). However, if you’re replacing structural components (stringers, landings, or more than three treads), contact your local building department—especially in earthquake-prone or flood zone areas.
What’s the safest way to test the repair before full use?
Apply 250 lbs of static weight (e.g., two adults standing side-by-side) on the repaired tread for 5 minutes. Watch for deflection, creaking, or movement. Then walk up and down the full flight five times, pausing on each tread to check stability. If any motion exceeds 1/16", re-torque screws and recheck adhesive bond.
A well-executed repair restores safety and confidence—not just in the bathroom, but throughout your home’s circulation path. Keep a moisture meter in your tool kit, inspect treads every season, and treat bathroom stairs like plumbing: maintain them before they leak, warp, or fail. For related help, see our guides on bathroom floor sagging and shower leaks under stairs.