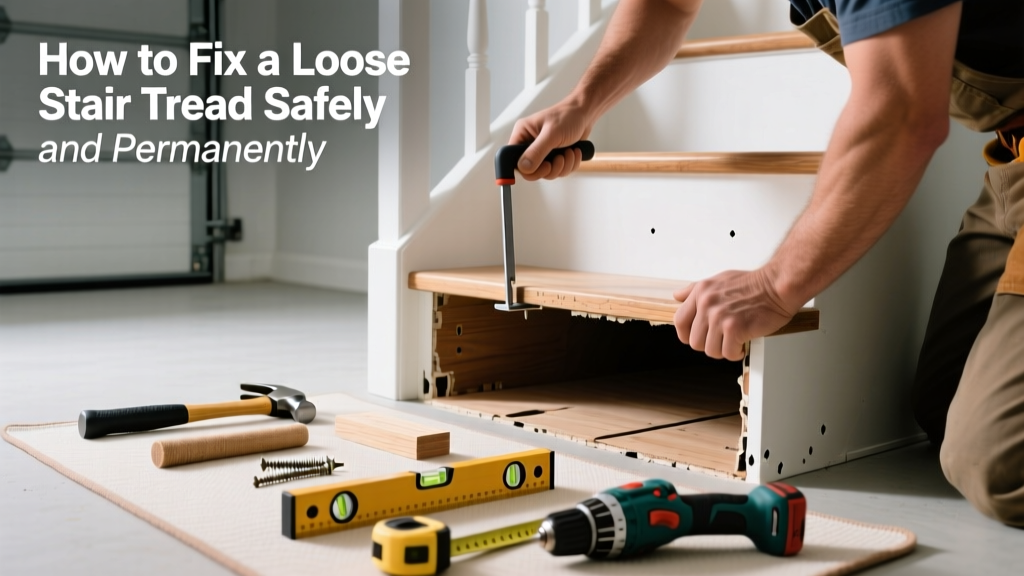
A loose stair tread isn’t just annoying—it’s a safety hazard. Every creak or wobble increases fall risk, especially for kids and older adults. According to the U.S. Consumer Product Safety Commission, stairs account for over 1 million emergency room visits annually—many linked to instability like loose treads.
Quick Diagnosis
Before grabbing tools, identify the root cause. Most loose treads stem from one or more of these issues:
- Shrunk or failed adhesive (common in older glued-down treads)
- Loose or missing nails or screws at front or back edges
- Rotted or cracked stringer support underneath
- Worn or missing riser-to-tread fasteners (like cleats or brackets)
- Seasonal wood movement causing gaps in nailed installations
Tools & Materials Needed
| Item | Purpose | Estimated Cost |
|---|---|---|
| 3/4" wood screws (deck or trim head) and pilot bit | Secure tread without splitting; countersink cleanly | $8–$12 |
| Construction adhesive (polyurethane-based) | Bond wood to stringers where nails alone fail | $10–$15 |
| Clamps (bar or pipe, 24"–36") | Hold tread flat while adhesive cures and screws set | $15–$25 |
| Drill/driver with magnetic bit holder | Drive screws accurately into tight spaces | $40–$90 (if not owned) |
| Wood shims (tapered, 1/8"–1/4") | Firm up gaps between tread and stringer before fastening | $3–$6 |
Step-by-Step Fix
Choose the method that matches your tread type and condition. Always start by testing adjacent treads—looseness often spreads.
- Remove old fasteners: Pull exposed nails with a cat’s paw; drill out stripped screw heads. Don’t force rusted hardware—cut it flush and patch later.
- Inspect and prep the substrate: Check stringers for rot or cracks using a screwdriver tip. Sand away old glue residue and wipe surfaces clean and dry.
- Reattach with hybrid fastening: Apply a 1/4" bead of polyurethane adhesive along each stringer edge, then position the tread. Clamp firmly, then drive 3″ trim-head screws every 6" along both front and back edges—avoiding existing holes.
- Fill and finish: Plug screw holes with matching wood filler or tapered dowels. Lightly sand and refinish to match surrounding stairs.
When to Call a Pro
Don’t risk structural integrity—or your safety—if you see any of these red flags:
- More than two consecutive treads are loose or spongy under foot
- Visible rot, insect damage, or crumbling wood on stringers or risers
- Tread is cracked across its width or has >1/8" vertical movement at the nose
- Your stairs are part of a manufactured or steel-stringer system (e.g., pre-fab metal frame)
- You’re unsure whether the staircase meets current IRC stair code requirements
"A single loose tread may seem minor—but if it’s moved more than 1/16 inch vertically, it’s already exceeding the deflection limit set by the International Residential Code." — National Association of Home Builders, 2022 Stair Safety Bulletin
Prevention Tips
Long-term stability starts with smart maintenance:
- Check all treads twice yearly—press down firmly at the nose and back edge
- Maintain indoor humidity between 30–50% to minimize seasonal wood shrinkage
- Refinish treads every 3–5 years to seal against moisture penetration
- Avoid dragging heavy furniture or appliances up stairs—use moving pads and lift instead
- Install non-slip stair treads with integrated fastening systems for high-traffic homes
Can I just nail it back down?
Nailing alone rarely solves the problem long-term. Modern building codes require mechanical fasteners *plus* adhesive for treads. Nails loosen over time due to vibration and wood movement—especially in hardwoods like oak or maple. A 2021 study by the Forest Products Laboratory found that adhesive + screw combinations increased pull-out resistance by 300% versus nails alone.
What kind of adhesive should I use?
Use a construction-grade polyurethane adhesive (e.g., PL Premium or Gorilla Wood Glue). Avoid standard PVA (white or yellow) glue—it lacks gap-filling ability and fails in humid environments. Polyurethane expands slightly as it cures, filling micro-gaps and bonding even damp or oily wood surfaces.
Do I need to remove the tread completely?
Not always. If the tread is intact and only the front or back edge is loose, you can often clamp and re-fasten *in place*. But if there’s visible separation along the full length or you suspect hidden rot, removal is necessary to inspect and repair the stringer first. See our guide on how to remove stair tread safely.
How long does the adhesive take to cure?
Most polyurethane adhesives reach handling strength in 2–4 hours but require 24 hours for full bond development. Keep clamps on for at least 8 hours—and avoid walking on the stair for a full day. Temperature matters: below 50°F slows cure time significantly.
Will fixing it stop the squeaking too?
Often yes—squeaks usually come from friction between loose tread and stringer. Re-adhering and screwing eliminates that movement. But if squeaking persists after repair, the issue may be loose risers or subfloor movement below. Try injecting lubricant into the joint first, or consult our fix squeaky stairs troubleshooting guide.
Can I paint or stain over the repair?
Absolutely—but wait until adhesive is fully cured and filler is sanded smooth. Use a primer compatible with both wood and filled areas (e.g., BIN shellac-based primer), then apply your topcoat. For best results, refinish the entire tread—not just the repaired section—to avoid color mismatch.
A well-secured stair tread restores confidence with every step—and protects your home’s structural longevity. Small repairs done right now prevent costly replacements later, and keep your family safe without compromising on aesthetics. If you’ve tackled this fix, consider checking your handrail anchors next—they’re another common failure point in aging staircases.