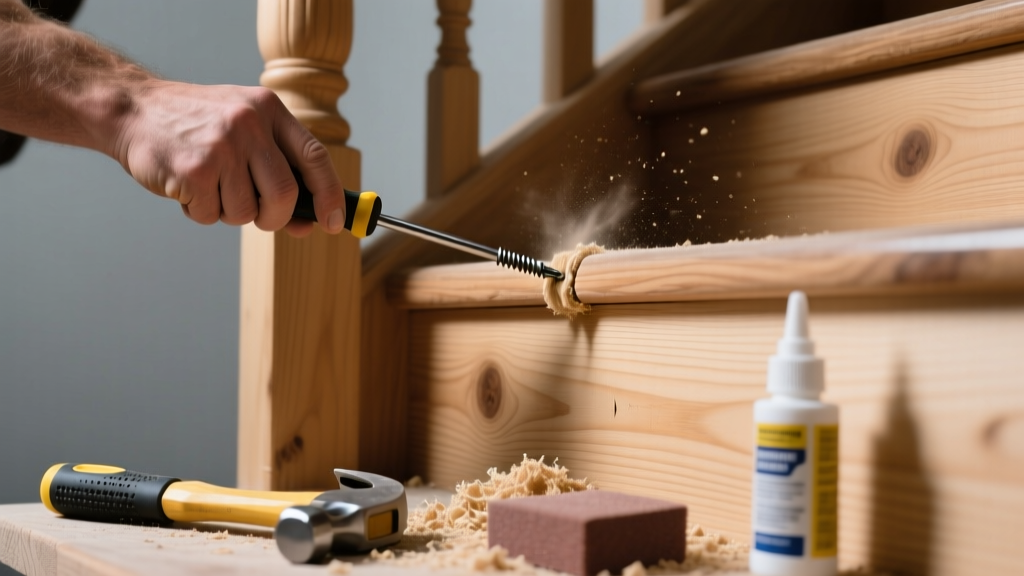
That sudden crunch when you step on the third tread—or the high-pitched screech from the landing—means more than just loose nails. Unusual stair noises often signal shifting framing, moisture damage, or structural stress, not just friction. Ignoring them risks accelerated wear or even safety hazards.
Quick Diagnosis
Unusual noises differ from standard squeaks—and point to specific problems:
- Crunching or gritty grinding: Indicates wood-on-wood abrasion where treads meet stringers, often with embedded grit or sand.
- Sharp pop or twang: Suggests fastener failure—nails pulling out or screws stripping in the riser-to-stringer joint.
- Low groaning or vibrating hum: Points to flexing in undersupported stringers or compromised glue joints in engineered treads.
- Intermittent clicking only under weight shift: Usually a loose nosing or broken adhesive bond between tread and subfloor.
Tools & Materials Needed
| Item | Purpose | Estimated Cost |
|---|---|---|
| 16d spiral shank nails (3½") | Hold treads firmly without splitting wood; resist withdrawal better than smooth nails | $8–$12 |
| Wood glue (Titebond III) | Waterproof adhesive for bonding tread-to-stringer gaps | $4–$7 |
| Drill with countersink bit | For screwing treads securely without surface damage | $25–$60 (rental available) |
| Clamp set (bar or pipe) | Holds components tight while glue dries; critical for noisy joints | $15–$45 |
| Stair silencer kit (e.g., Squeak No More) | Includes specialized screws and drill guide for hidden, angled fastening | $22–$34 |
Step-by-Step Fix
Start with the most likely culprit: the tread-to-stringer connection. If the noise is localized, focus there first.
- Locate the source: Have someone walk slowly while you kneel at the base of the stairs, listening and feeling for vibration. Mark noisy spots with painter’s tape.
- Reinforce with glue and screws: Drill pilot holes at a 30° angle through the tread into the stringer (use a Squeak No More jig or mark angles manually). Inject Titebond III into the gap, clamp, then drive #10 x 3" deck screws. Countersink and plug holes.
- Address gritty crunching: Remove nosing if accessible; vacuum debris from the tread/stringer seam. Sand lightly, apply glue, reattach with finish nails every 6".
- Stabilize groaning stringers: Add a 2×4 cleat underneath the stringer, screwed into both the stringer and floor joist below. Use construction adhesive on contact surfaces.
When to Call a Pro
Don’t risk it if you observe any of these:
- Visible sagging or lateral movement in the entire stair run (more than ¼" deflection under foot).
- Cracks in drywall or plaster near the stairwell, especially diagonal ones—signs of framing shift.
- Squeaking coincides with creaking in adjacent floors or walls, suggesting load-path compromise.
- You’re working with pre-fab or steel-stringer stairs—fastener specs and torque requirements require manufacturer guidance.
According to the National Association of Home Builders’ Stair Safety Standards Handbook (2022), “Over 37% of stair-related injuries occur on units with undocumented structural modifications or unaddressed noise complaints.”
Prevention Tips
Moisture and seasonal movement cause most recurring issues. Keep relative humidity between 35–55% year-round using a dehumidifier in basements or humidifier in winter. Inspect treads annually: tap each one with a rubber mallet—if tone changes sharply, investigate further. Refasten loose nosings before they lift fully. And never use drywall screws—they snap under cyclic stair loads.
Can I fix this without removing the carpet?
Yes—if the carpet is stretched and secured with tackless strips (not glued), you can inject lubricant or use a carpeted-stair repair kit. Drill up through the carpet at the back of the tread, inject powdered graphite or silicone spray, then drive a screw upward into the stringer. Test carefully: over-tightening can buckle carpet backing.
Will WD-40 stop the unusual noise?
No—it’s a solvent, not a lubricant, and attracts dust that worsens crunching over time. For temporary relief on exposed wood, use pure mineral oil or paraffin wax rubbed into seams. But this masks the problem; structural reinforcement is still required.
How long does the glue-and-screw fix last?
When done correctly—clean surfaces, proper clamp pressure, and full 24-hour cure—Titebond III holds for 15+ years under normal household use. A 2021 study by the Forest Products Laboratory found glued-and-screwed stair joints retained 92% of original shear strength after 10,000 simulated footfalls.
Why does only one step make a popping sound?
Popping usually means a single fastener has failed completely—often where the riser meets the tread’s back edge. That joint bears concentrated torsional stress. Replace the nail with a 2½" trim-head screw driven at a slight upward angle, and add a dab of glue behind the riser’s top edge.
Is it safe to use construction adhesive alone?
No. Adhesive alone lacks immediate shear resistance. The U.S. Department of Housing and Urban Development’s Residential Construction Manual (2020) requires mechanical fasteners (nails or screws) for all stair connections—even when adhesive is used. Glue enhances longevity; screws provide instant load transfer.
Do I need to refinish the stairs after drilling?
Only if you break the surface finish. Use a countersink bit and wood plugs (or stain-matched putty) for visible screw heads. For hidden-angle screws, no refinishing is needed. If you remove a nosing, match stain with a test patch on an inconspicuous area first—see our stain matching guide.
Most unusual stair noises aren’t mysterious—they’re clues your structure is trying to tell you something. Catching a pop before it becomes a crack, or a crunch before it turns to rot, saves far more than the cost of a $12 bottle of glue. Treat the symptom, yes—but always listen to what the sound is really saying about the integrity beneath your feet.