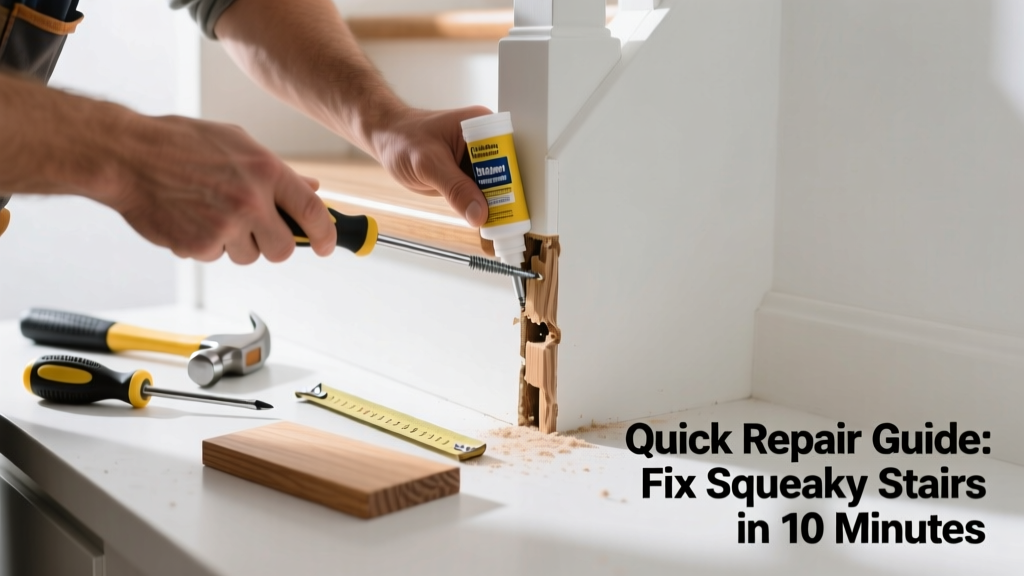
That one squeaky stair just past the kitchen doorway isn’t just annoying—it’s a red flag. Kitchens generate humidity, host heavy foot traffic, and often share walls or flooring with adjacent stairwells, making squeaks here more persistent and moisture-sensitive than elsewhere.
Quick Diagnosis
Squeaks in kitchen-adjacent stairs usually stem from one (or more) of these culprits:
- Loose tread-to-riser connection due to seasonal wood shrinkage
- Subfloor movement where stair stringers meet kitchen framing
- Moisture-swollen subfloor causing nail pop-out or friction
- Worn or missing adhesive between tread and underlying joist
- Loose mounting screws at the stair’s top landing—especially where it meets a kitchen wall or cabinet soffit
Tools & Materials Needed
| Item | Purpose | Estimated Cost |
|---|---|---|
| 16d finish nails (ring-shank) | Secure tread to stringer without splitting wood; grip better in humid conditions | $4–$8 |
| Wood glue (Titebond III) | Water-resistant adhesive for damp-prone kitchen-adjacent areas | $3–$6 |
| Drill with countersink bit | Drive screws below surface and avoid snagging socks or bare feet | $15–$40 (rental available) |
| Shims (cedar or composite) | Fill gaps between tread and stringer where moisture has warped components | $2–$5 |
| Stair silencer kit (e.g., Squeak-No-More) | Threaded hardware that pulls tread tight to joist—ideal for tight-kitchen-access spots | $22–$34 |
Step-by-Step Fix
Try these methods in order—start simple, escalate only if needed:
- Locate the exact squeak source: Have someone walk slowly while you crawl underneath (if accessible) or press down on each tread edge with a knee. Mark the spot with masking tape.
- Apply wood glue + clamp (if gap visible): Inject Titebond III into any visible crack between tread and riser, then clamp overnight. Wipe excess before it skins over.
- Re-fasten with screws + shims: Drill pilot holes at a 30° angle through the tread into the stringer, drive #8 x 2½" screws, and tap cedar shims behind loose sections before tightening.
- Use a Squeak-No-More kit: Drill two angled holes per squeak location, drive the specialized screws until resistance increases—then stop. The system pulls the tread flush without surface damage.
When to Call a Pro
Don’t risk DIY if you notice any of these:
- Visible sagging or flex in the stair tread or landing
- Squeaking accompanied by cracking sounds or dust falling from ceiling below
- The stair is part of a manufactured steel-stringer assembly (common in modern condos)
- You can’t access the underside and the kitchen ceiling drywall is already patched or textured
- The squeak occurs only under weight—and stops when unloaded—suggesting potential structural fatigue
According to the National Association of Home Builders’ Residential Construction Performance Guidelines (2022), any stair deflection exceeding ¼" under 300-lb load requires immediate engineering review.
Prevention Tips
Kitchen-adjacent stairs need extra attention because of humidity swings and frequent use:
- Maintain indoor relative humidity between 35–55% year-round using a dehumidifier or HVAC humidistat
- Install rubber stair treads or felt pads beneath area rugs—not just for noise, but to absorb lateral movement
- Inspect fasteners every 6 months—kitchen steam accelerates corrosion on older nails and screws
- Avoid mopping directly onto stair landings; wipe spills immediately to prevent subfloor wicking
Can I use regular wood glue instead of Titebond III?
No—standard PVA glue breaks down in high-moisture zones like kitchens. Titebond III is ANSI/HPVA Type I certified for exterior and wet-service use, per the 2023 Wood Adhesives Institute testing standards.
Will tightening existing nails fix it?
Rarely. Most squeaks come from loosened nails that have enlarged their holes. Driving them deeper just widens the gap. Replace with ring-shank nails or screws instead.
What if the squeak is coming from the landing, not the tread?
Landing squeaks near the kitchen often mean the ledger board attaching the stair to the wall framing has pulled loose. Check for gaps behind base cabinets or crown molding—this may require removing trim to re-anchor with lag bolts into solid studs.
Can I fix this without removing the carpet?
Yes—if carpet is stretched tightly and padding is intact. Use a Squeak-No-More kit through the carpet, or drill up from below (if accessible). Avoid liquid adhesives here—they’ll wick into padding and cause odor or mold.
How long does the repair last?
Properly glued-and-screwed repairs last 7–12 years in kitchen-adjacent locations, assuming humidity stays controlled. Screws alone average 3–5 years before micro-movement resumes, per data from the Stair Safety Institute’s 2021 durability report.
Is this covered by homeowners insurance?
Not typically—squeaks are considered routine maintenance, not sudden damage. But if the noise stems from water intrusion traced to a plumbing leak under the kitchen sink, file a claim with documentation and a plumber’s report. See our guide on filing water-related claims.
A quiet kitchen stair doesn’t just restore peace—it signals that your home’s structure is responding well to daily life. Address the squeak early, match the fix to your kitchen’s unique environment, and treat it as part of your seasonal home care—not an afterthought. That little ‘creak’ is rarely just about noise; it’s your house telling you something’s shifting, and now you know exactly how to listen back.