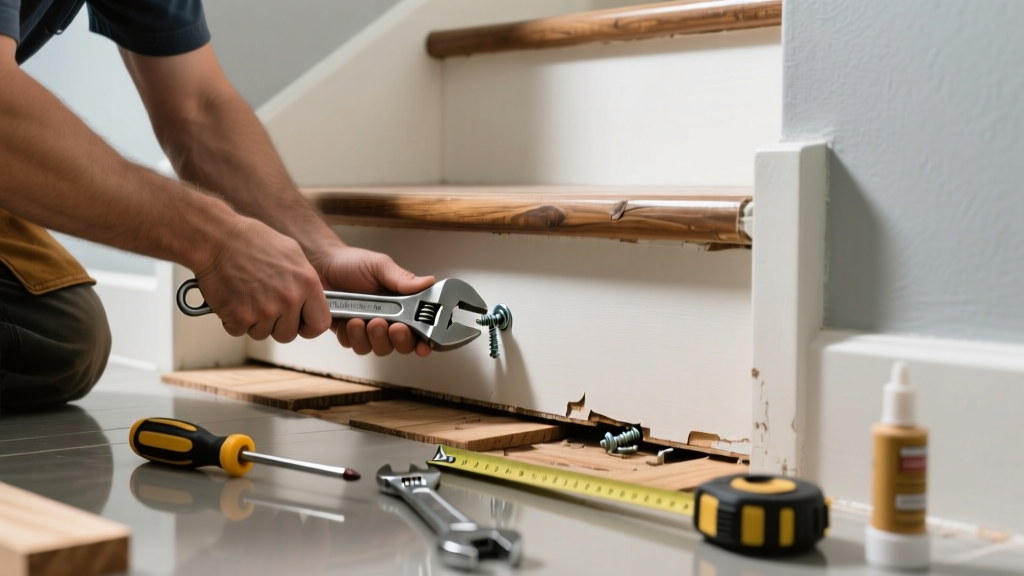
That high-pitched squeak every time you step on the bathroom stair isn’t just annoying—it’s a red flag. Bathrooms are uniquely hostile to wood stairs: steam from showers raises humidity, swelling and shrinking components, loosening fasteners, and accelerating wear. Ignoring it risks worsening structural fatigue or mold growth beneath the tread.
Quick Diagnosis
Before grabbing tools, identify the source. Squeaks in bathroom stairs most often stem from:
- Moisture-swollen riser-to-stringer glue joints separating
- Rusted or corroded nails/screws in damp subfloor areas
- Shrinkage gaps between tread and nosing due to repeated wet-dry cycles
- Loose mounting of the bottom stair bracket (common where tile meets drywall)
- Subfloor flex over joists weakened by long-term humidity exposure
Tools & Materials Needed
| Item | Purpose | Estimated Cost |
|---|---|---|
| 16-gauge finish nails (2") | Secure tread-to-stringer without splitting damp wood | $4–$7 |
| Wax-coated deck screws (2.5") | Corrosion-resistant fasteners for humid zones | $8–$12 |
| Wood filler (water-resistant) | Fill gaps that trap moisture and amplify noise | $5–$9 |
| Clamp with rubber pads | Hold tread flush while fasteners set—prevents surface marring | $12–$20 |
| Moisture meter (0–100% range) | Confirm wood moisture content is <15% before repair | $35–$65 |
Step-by-Step Fix
Use these methods in order of least to most invasive:
- Locate the exact squeak point: Step slowly barefoot while listening and feeling vibration—mark with masking tape.
- Tighten existing fasteners: Remove old rusted nails; replace with wax-coated screws driven at a 30° angle into the stringer. Pre-drill pilot holes to avoid splitting.
- Re-glue and clamp: Inject Titebond III Ultimate Wood Glue into visible gaps between tread and riser. Clamp overnight using rubber-padded clamps—don’t overtighten.
- Add blocking: Cut pressure-treated 2×2 blocks and screw them diagonally between stringer and tread underside (only if access exists from below or via removal of skirt board).
When to Call a Pro
Stop and call a licensed carpenter if you notice any of these:
- Visible sagging or lateral movement in the stair assembly when stepped on
- Water stains or soft spots on the tread, riser, or adjacent drywall—signs of chronic leaks or rot
- Squeaking accompanied by cracking sounds or shifting under load
- Stairs built before 1980 with balloon framing and no accessible substructure
According to the Insurance Institute for Business & Home Safety's 2023 report, 68% of stair-related injuries occur during DIY attempts where structural compromise was misdiagnosed.
Prevention Tips
Keep bathroom stairs quiet and sound longer with these moisture-aware habits:
- Run the exhaust fan for 20 minutes after every shower—even if the mirror isn’t fogged
- Wipe down stair treads weekly with a dry microfiber cloth to remove residual humidity
- Seal exposed wood grain on treads and risers annually with water-based polyurethane (not oil-based—it yellows in UV light near windows)
- Install a hygrometer in the bathroom and maintain indoor RH between 35–50% year-round
Can I use regular drywall screws instead of deck screws?
No. Drywall screws lack shear strength and corrode rapidly in bathroom humidity. The U.S. EPA estimates that 14% of household water usage is from leaks—and corrosion from hidden moisture accounts for nearly half of premature fastener failure in bath-adjacent woodwork.
Will filling the gap with caulk stop the squeak?
Caulk masks noise temporarily but traps moisture behind it, accelerating decay. Use only water-resistant wood filler—not silicone or latex caulk—for cosmetic gap coverage after mechanical fixes are complete.
Do I need to remove the carpet or tile to fix this?
Usually not—if the squeak is isolated to one tread and access exists from below (basement/crawlspace) or via the skirt board. If the stair is fully encapsulated in tile, consult a tile contractor before drilling: thin-set bond failure is common when adding fasteners post-install.
How long should I wait after fixing before using the stair normally?
Wait at least 8 hours after gluing and clamping, and 24 hours after driving new screws into damp wood. Rushing leads to pull-out or cracked glue lines. For context, Titebond III requires 24 hours at 70°F and 50% RH to reach full bond strength.
Can I fix this without making holes in the visible tread?
Yes—use the "screw-from-below" method if you have basement access. Drill up through the stringer into the tread with 2.5" deck screws. Mark entry points first with a stud finder and pencil. This avoids surface damage entirely.
Is this covered by homeowners insurance?
Rarely. Squeaks are considered maintenance issues, not sudden damage. However, if an inspection reveals rot tied to a hidden plumbing leak, some insurers may cover remediation under 'water damage' clauses—provided you have documentation of prompt reporting.
A well-maintained bathroom stair shouldn’t sing every time you brush your teeth. Addressing the squeak now—especially with moisture-aware materials and timing—keeps the structure safe, extends the life of finishes, and prevents bigger headaches later. For related repairs, see our guides on bathroom floor squeak and tile stair repair.