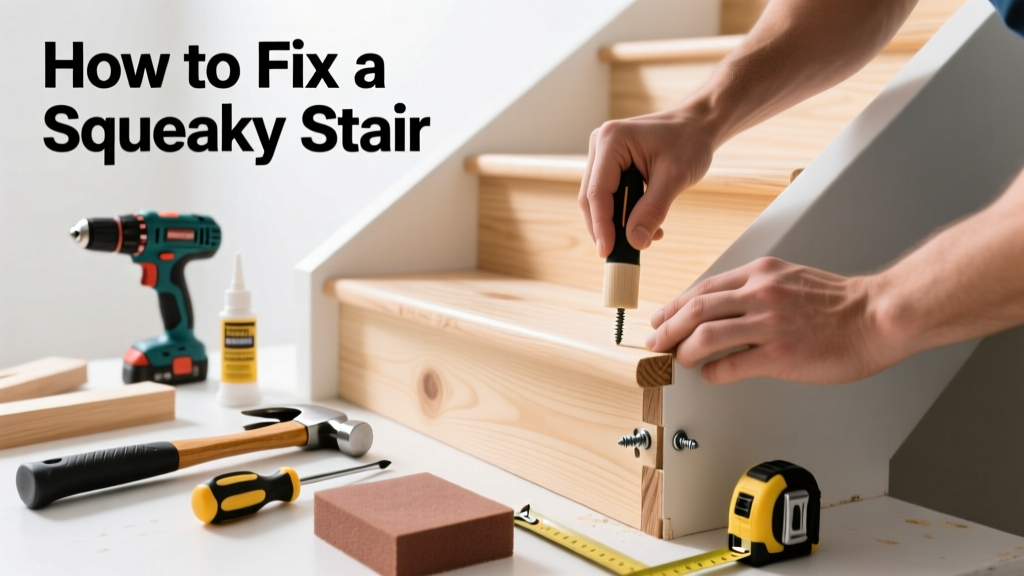
That one stair that groans every time you step on it isn’t just annoying—it’s a sign of shifting wood, loose fasteners, or settling framing. Left unaddressed, squeaks can worsen into creaks, gaps, or even structural looseness over time. The good news? Over 80% of stair squeaks are fixable in under an hour with basic tools and no demolition.
Quick Diagnosis
Squeaks happen where friction occurs between moving parts. Before grabbing tools, identify the source:
- Loose tread-to-riser connection (most common)
- Gaps between tread and stringer due to dried-out glue or shrinkage
- Subfloor movement beneath carpeted stairs
- Rusted or stripped screws/nails in older construction
- Seasonal wood expansion/contraction in homes with poor humidity control
Tools & Materials Needed
| Item | Purpose | Estimated Cost |
|---|---|---|
| 16d finish nails or trim screws (2–2½") | Secure treads without visible heads; screws offer better holding power | $5–$12 |
| Wood shims (¼" or thinner) | Fill gaps between tread and stringer to eliminate movement | $3–$8 |
| Carpenter’s glue (Titebond III or similar) | Bond wood surfaces permanently where access allows | $4–$9 |
| Drill with countersink bit | Drive screws flush without splitting wood | $15–$45 (rental available) |
| Stair squeak repair kit (e.g., Squeak No More) | Includes specialized screws, drill guide, and jig for hidden fastening | $25–$38 |
Step-by-Step Fix
Choose the method based on your stair construction (open vs. closed riser, carpeted vs. bare wood) and access level:
- Top-down screw method (for exposed treads): Locate the front edge of the tread and drill pilot holes at a 30° angle into the stringer. Drive 2½" trim screws with countersink, then fill holes with wood putty.
- Shim-and-glue method (for gaps behind risers): Pry back carpet or remove base shoe molding. Insert thin wood shims coated in carpenter’s glue into gaps between tread and stringer. Tap gently until snug—don’t force.
- Under-stair reinforcement (best for open-stringer stairs): From below, attach 1×2 cleats with glue and screws across the joint where tread meets riser. Use clamps while glue dries.
- Carpeted stairs with subfloor movement: Lift carpet near squeak, locate joist/stringer, and drive ring-shank nails through subfloor into framing. Re-tack carpet securely.
When to Call a Pro
Don’t risk safety or structural integrity—call a licensed carpenter if you notice any of these:
- Multiple consecutive squeaks spanning more than three steps
- Visible sagging, cracking, or separation between tread and riser
- Squeaking accompanied by vertical movement or 'give' under foot
- Stairs built before 1970 using balloon framing or no blocking
- Water damage, rot, or insect evidence near the affected area
According to the National Association of Home Builders’ Residential Construction Performance Guidelines (2022), “stair systems with measurable deflection (>¼ inch under load) require engineering evaluation before repair.”
Prevention Tips
Stair squeaks thrive in dry, fluctuating conditions. Prevent recurrence with these habits:
- Maintain indoor relative humidity between 35–55% year-round using a hygrometer and humidifier/dehumidifier
- Inspect stairs annually—tighten loose screws, re-glue suspect joints, and replace corroded fasteners
- Avoid dragging heavy furniture across treads; use felt pads and lift instead of slide
- Apply paste wax to wood treads every 6–12 months to reduce surface friction
Can I use regular drywall screws for this fix?
No—drywall screws are brittle and snap easily under lateral stress. Use hardened trim screws (like Spax or GRK) or ring-shank nails rated for structural wood applications. They resist withdrawal and shear forces far better.
Will filling the squeak void my home warranty?
Most builder warranties exclude wear-and-tear items like stair noise unless tied to defective materials or workmanship. Check your warranty document—our warranty review checklist helps decode fine print.
How long does carpenter’s glue take to cure fully?
Titebond III reaches 75% strength in 1–2 hours but requires 24 hours for full bond development. Avoid heavy foot traffic on repaired stairs during this period. Clamp or weight the joint if possible.
Can I fix a squeaky stair without removing carpet?
Yes—with limitations. Use a stud finder to locate stringers, then drive angled screws through carpet and padding into framing. A carpet repair kit with a locator tool improves accuracy and minimizes visible damage.
Do all squeaks mean the stairs are unsafe?
Not necessarily. Most squeaks stem from harmless wood movement—not structural failure. But as the U.S. Consumer Product Safety Commission notes in its 2023 Stairway Injury Report, “72% of stair-related falls occur on stairs with pre-existing audible warning signs like creaking or grinding.” Address them promptly.
Is there a temporary fix I can try tonight?
Yes—rubbing bar soap or powdered graphite into the suspected joint reduces friction immediately. It won’t last, but it buys time for a permanent fix. Avoid WD-40: it attracts dust and degrades wood finishes over time.
A well-fixed stair doesn’t just silence noise—it restores confidence in every step. Whether you choose shims, screws, or glue, the key is matching the method to your stair’s design and condition. And if you’re unsure whether that creak is cosmetic or critical, knowing when to call a carpenter is just as important as knowing how to grab a drill.