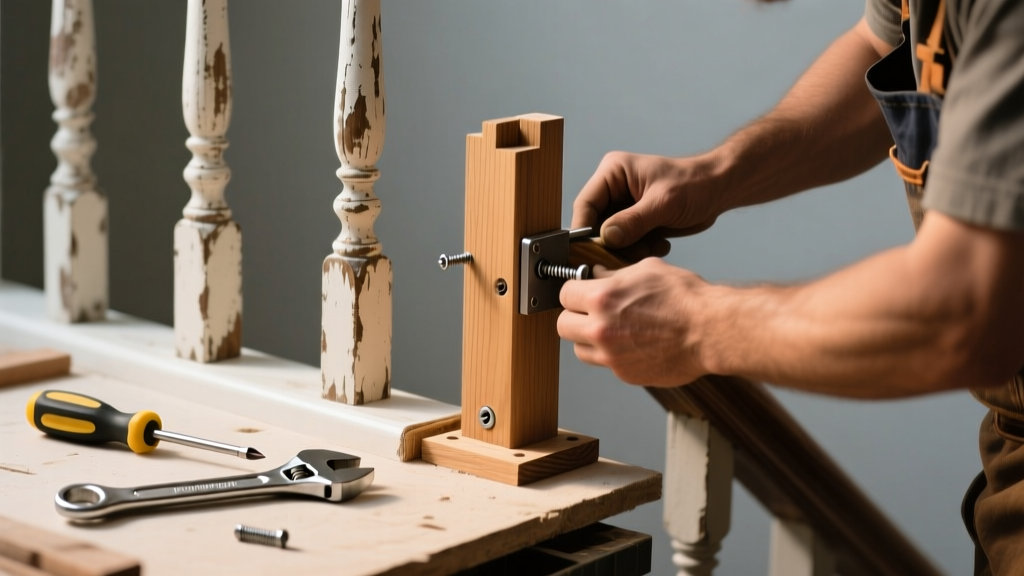
A wobbly stair railing isn’t just annoying—it’s a safety hazard. If you feel movement when gripping the rail, especially near a newel post or baluster connection, a specific part has likely failed: a loose bracket, cracked wood insert, stripped screw, or corroded metal fastener. Don’t ignore it—loose railings contribute to over 1 million fall-related ER visits annually (CDC, 2022).
Quick Diagnosis
Before grabbing tools, pinpoint the source of the wobble. Test each section slowly and note where movement occurs:
- Newel post base—rocking side-to-side or twisting indicates loose anchor bolts or rotted floor framing
- Baluster-to-rail joint—wobble here often means broken dowel pins or failed glue joints
- Wall-mounted bracket—screw holes stripped in drywall or plaster, not solid stud
- Rail end cap or return—cracked wood or bent metal mounting plate
- Intermediate post—split wood post or missing carriage bolt through the stringer
Tools & Materials Needed
| Item | Purpose | Estimated Cost |
|---|---|---|
| 3/8" hex key or socket set | Tightens carriage bolts securing posts to stringers | $8–$15 |
| Wood filler (epoxy-based) | Fills stripped screw holes in hardwood newel posts | $12–$20 |
| Stud finder with deep-scan mode | Locus solid wall framing behind plaster/drywall for secure bracket mounting | $25–$45 |
| Replacement lag screws (1/4" × 3") | Upgraded fasteners for newel post anchoring—stainless steel recommended | $6–$12 |
| Clamp-on torque wrench (0–50 in-lb) | Prevents over-torquing and snapping brittle oak or maple rail brackets | $35–$65 |
Step-by-Step Fix
Most wobbles stem from one of three failure points. Use the diagnosis above to pick the right method:
- Loose newel post base: Remove base trim, inspect anchor bolts. If bolts spin freely, drill out old holes, inject epoxy filler, re-drill pilot holes at 90°, and reinstall with new stainless lag screws.
- Wobbly baluster-to-rail joint: Remove affected baluster. Clean old glue residue with denatured alcohol. Re-seat using Titebond III and 18-gauge brad nails—clamp for 90 minutes.
- Wall-mounted bracket sagging: Confirm stud location with deep-scan stud finder. Remove old screws, fill drywall voids with mesh tape + joint compound, then mount bracket into solid stud using #10 x 3" coarse-thread screws.
- Cracked rail end cap: Cut off damaged cap with flush-cut saw. Sand mating surface, apply construction adhesive, and press on matching replacement cap—hold with masking tape for 2 hours.
When to Call a Pro
Some situations demand licensed expertise—not just for safety, but code compliance. Call a stair specialist if:
- The wobble involves structural stringer attachment (e.g., carriage bolts pulling through 2×12 treads)
- Your home was built before 1978 and you suspect lead paint under the rail finish
- You find rot or insect damage in the underlying framing—especially at the landing or basement level
- The railing fails local building code requirements (e.g., less than 34" high or gaps > 4" between balusters)
According to the National Association of Home Builders’ 2023 Stair Safety Report, 68% of stair-related injuries occur when railings are installed below minimum load-bearing standards—something most DIYers can’t test without calibrated equipment.
"If the rail deflects more than 1/4 inch under 200 pounds of lateral force, it’s no longer compliant—even if it feels 'stiff enough' to you." — NAHB Stair Code Commentary, 2023
Prevention Tips
Extend your railing’s life with these simple habits:
- Tighten all visible fasteners every 6 months—especially after seasonal humidity shifts
- Apply boiled linseed oil to wood rails twice yearly to prevent checking and cracking
- Install rubber grommets inside metal bracket sleeves to dampen vibration and reduce metal fatigue
- Replace zinc-plated screws with stainless steel or silicon-bronze fasteners in humid areas like basements or covered porches
Can I reuse the old screws when replacing a bracket?
No—stripped threads rarely recover, even with filler. Always use new screws sized one gauge larger (e.g., swap #8 for #10) and pre-drill pilot holes to avoid splitting.
How do I know if my newel post is anchored into framing or just drywall?
Tap around the base with a screwdriver handle—if it sounds hollow beyond 1.5 inches, it’s likely mounted to drywall only. Solid framing gives a dense, dull thud. Confirm with a deep-scan stud finder or carefully remove base shoe molding to inspect.
Is Gorilla Glue okay for repairing a cracked wooden baluster?
Avoid it. Gorilla Glue expands and foams, creating uneven pressure that worsens cracks. Use Titebond III or West System epoxy instead—they bond tightly without internal stress. See our guide on wood glue comparison for structural repairs.
What’s the fastest way to test if the wobble is safe to fix myself?
Apply 200 pounds of lateral pressure (stand sideways, brace knees, push firmly with both hands). If the rail moves more than 1/4 inch—or you hear creaking from the stringer or floor joists—stop and consult a contractor. That’s a red flag for deeper structural compromise.
Do I need a permit to replace a stair railing part?
In most jurisdictions, replacing a single component (like a bracket or baluster) doesn’t require a permit—but if you’re modifying height, spacing, or anchoring method, check with your local building department. Permits are mandatory for any work affecting egress stairs in multi-family dwellings per IRC R311.7.2 (2021).
Can I paint over epoxy filler on a newel post?
Yes—but only after full cure (72 hours for most brands). Lightly sand with 220-grit, wipe with tack cloth, then prime with oil-based primer before applying topcoat. Skipping primer causes yellowing and poor adhesion. For best results, see our stair rail painting guide.
A properly repaired stair railing should feel solid—not springy, not silent, but confidently resistant. It’s not about making it perfect; it’s about restoring trust in every handhold. Keep a small torque wrench and stainless screws in your garage kit—this is one repair you’ll likely do again, and next time, you’ll be faster, smarter, and safer.