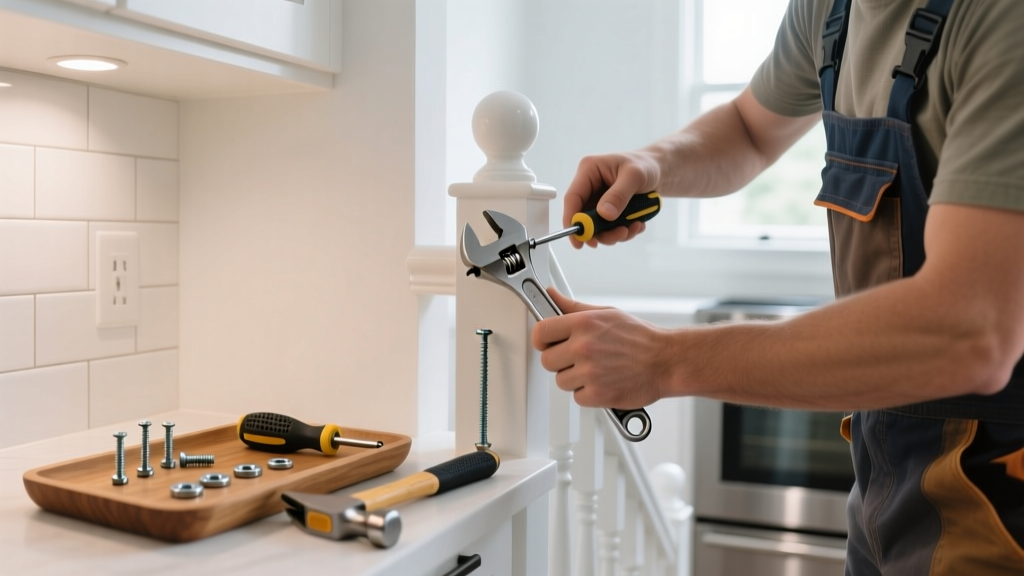
A wobbly stair railing in the kitchen isn’t just annoying—it’s a liability. Between carrying hot pots, juggling groceries, or rushing with kids in tow, that instability becomes dangerous fast. Most cases stem from simple hardware failure or wood fatigue near the mounting points, not structural collapse.
Quick Diagnosis
Before grabbing tools, inspect these common culprits:
- Loose lag bolts or screws at wall or newel post anchors
- Rotted or split wood around mounting blocks (especially where the railing meets cabinetry or drywall)
- Worn-out or stripped screw holes in stud framing
- Missing or cracked mounting brackets hidden behind trim
- Shifting or settling of the kitchen floor slab beneath the bottom stair tread
Tools & Materials Needed
| Item | Purpose | Estimated Cost |
|---|---|---|
| 1/4" hex key or socket set | Tightens carriage bolts securing rail to newel posts | $8–$15 |
| 3/8" lag screws (3" long, stainless steel) | Re-anchors railing to solid framing when original screws fail | $6–$12 |
| Wood filler + epoxy resin (e.g., Abatron WoodEpox) | Fills stripped screw holes and rebuilds load-bearing wood | $22–$34 |
| Stud finder with AC detection | Confirms exact stud location—critical where kitchen walls may have conduit or plumbing | $20–$45 |
| Clamp-on LED work light | Illuminates tight spaces between cabinets and stair stringers | $12–$28 |
Step-by-Step Fix
- Turn off kitchen circuit breakers if drilling near outlets or switches—many kitchen stairwells run wiring through wall cavities adjacent to rail mounts.
- Remove base trim or cover plates using a pry bar; check for missing screws, rusted anchors, or gaps >1/16" between bracket and framing.
- Fill stripped holes: Drill out damaged wood to 3/8", inject epoxy, insert hardwood dowels, then redrill pilot holes. Let cure 4 hours minimum.
- Re-mount with longer lag screws into solid stud material—not just drywall or cabinet framing. Use a torque wrench to tighten to 45 ft-lbs (per International Residential Code R311.7.8).
- Add a concealed L-bracket at the bottom rail-to-tread junction if sway persists—mount vertically into the stair stringer and horizontally into the wall stud.
When to Call a Pro
Stop and call a licensed contractor if you find any of these:
- More than two mounting points show >1/4" lateral movement after tightening
- The newel post rocks side-to-side even after bracket reinforcement
- You detect soft, spongy subfloor or visible cracks radiating from the stair base
- Your home was built before 1980 and the railing lacks continuous graspable handrail geometry (a code violation requiring full replacement)
"Over 32% of stair-related injuries in residential kitchens involve compromised handrails—most preventable with annual torque checks and moisture monitoring." — National Safety Council Home Injury Report, 2022
Prevention Tips
Kitchen stair railings face unique stress: steam, spills, and frequent contact accelerate wear. Do these every 6 months:
- Tighten all visible fasteners with a calibrated torque screwdriver (target: 35–45 ft-lbs)
- Wipe down metal brackets with white vinegar to remove mineral deposits from cooking steam
- Check for water pooling at the base of the newel post—kitchen humidity often condenses there
- Install a small dehumidifier (like this compact model) if RH exceeds 60% regularly
Can I use regular wood glue instead of epoxy for stripped holes?
No. Standard PVA glue lacks compressive strength for load-bearing rail anchors. Epoxy-resin fillers like Abatron or J-B Weld Wood Restore bond at 3,200 psi—over 4× stronger than carpenter’s glue. Using glue alone risks sudden failure under dynamic kitchen loads.
Is it safe to mount into kitchen cabinet framing instead of wall studs?
Not reliably. Cabinet frames are typically 3/4" particleboard or plywood—insufficient for rail loads exceeding 200 lbs. Always verify stud location with a magnetic stud finder (see our top-rated models) and drill into solid 2x4 or 2x6 framing.
How do I know if my railing meets current code for height and clearance?
Kitchen stairs require handrails 34–38" above stair nosings (IRC R311.7.8). Clearance between rail and wall must be ≥1.5" to allow full grip. Measure at three points—top, middle, and bottom—and compare to your local amendment (e.g., California requires 36" minimum).
Why does my railing only wobble when someone leans on it sideways?
This points to inadequate lateral bracing—not just loose screws. The fix requires diagonal blocking between the newel post and adjacent wall framing, or installing a second mounting plate angled at 45° to resist shear forces common in busy kitchens.
Can I paint over epoxy-filled holes before re-screwing?
Yes—but only after full cure (check product datasheet; most epoxies need 8–12 hours). Sand smooth with 120-grit, prime with oil-based primer, then apply latex topcoat. Skipping primer risks adhesion failure during thermal cycling from oven use.
What’s the fastest temporary fix while I wait for parts?
Tighten existing screws, then wedge a 1/8" aluminum shim (not wood) between the bracket and wall behind trim. Secure with construction adhesive rated for wet areas (e.g., PL Premium Polyurethane). This buys 2–3 weeks—not a permanent solution.
A stable stair railing in the kitchen shouldn’t feel like a gamble every time you carry a boiling pot upstairs. Most wobbles yield to methodical tightening, smart anchoring, and moisture control—not wholesale replacement. If you’ve reinforced two anchor points and still feel play, revisit your stud map: sometimes the issue isn’t the rail, but a shifted header beam behind the drywall. That’s when your contractor referral list earns its keep.