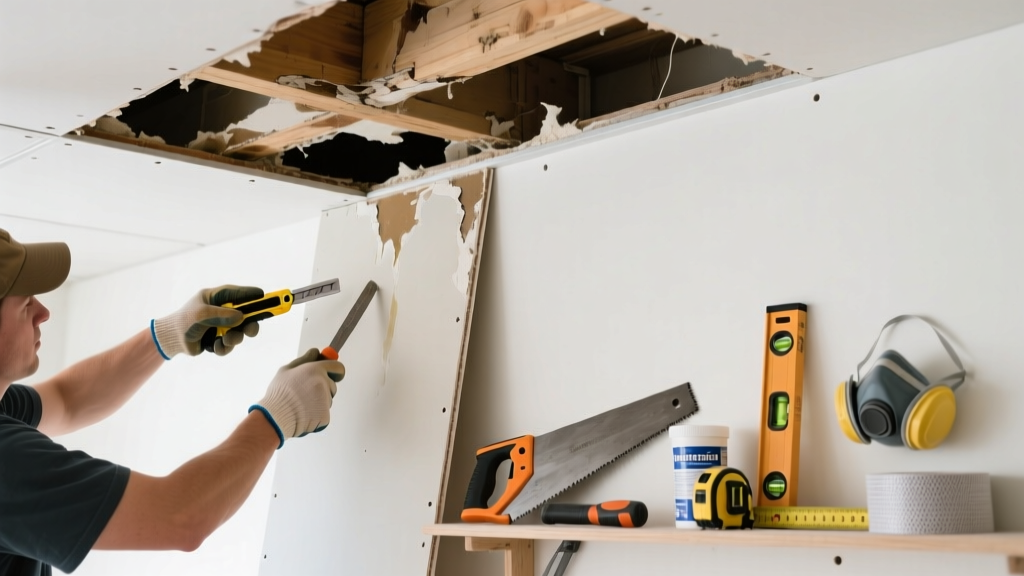
That brownish-yellow stain spreading across your ceiling isn’t just ugly—it’s a red flag. Water damage has compromised the drywall’s integrity, and patching over it won’t hold long or stop mold growth underneath. Replacing only the affected section is faster, cheaper, and more effective than redoing the whole ceiling—if done right.
Quick Diagnosis
Before cutting into drywall, confirm the source and severity. Not all stains mean full replacement is needed—but most water-stained areas larger than 12 inches in diameter do.
- Active leak above (dripping, damp insulation, or visible pipe corrosion)
- Stain feels soft or spongy when gently pressed
- Musty odor or visible mold spores (black, green, or fuzzy patches)
- Cracking, bubbling, or sagging drywall around the stain
- Stain reappears within days after drying and painting
Tools & Materials Needed
| Item | Purpose | Estimated Cost |
|---|---|---|
| Drywall saw or keyhole saw | Cuts precise square/rectangular opening without damaging surrounding ceiling | $8–$15 |
| 1/2-inch gypsum board (cut to size) | Replacement panel matching existing thickness and fire rating | $12–$20 |
| Drywall screws (1-1/4") | Secures new panel without dimpling or popping | $4–$7 |
| Joint compound & mesh tape | Seals seams and prevents cracking at repair edges | $10–$18 |
| Drop cloths & N95 mask | Protects floor and lungs from dust and potential mold spores | $6–$12 |
Step-by-Step Fix
Work methodically—this isn’t about speed, but sealing out future moisture and ensuring structural continuity.
- Shut off power to any lights or fans near the stain; use a non-contact voltage tester before drilling or cutting.
- Cut a clean rectangle around the stain using a drywall saw—extend at least 2 inches beyond discoloration into solid drywall on all sides.
- Remove the damaged section, then inspect joists: if wet or warped, let them dry fully (3–5 days) or replace rotted sections before proceeding.
- Secure a new drywall piece with screws every 6–8 inches along each joist edge; leave 1/8-inch gaps at seams for taping.
- Apply mesh tape and three thin coats of joint compound, sanding lightly between coats; prime before painting with mold-inhibiting ceiling paint.
When to Call a Pro
Some ceiling stains signal deeper problems that demand licensed expertise—not just extra time or tools.
- Stain covers more than 4 sq. ft. or spans multiple joist bays
- You find black mold thicker than 10 sq. in. (EPA recommends professional remediation above this threshold)
- Leak originates from a flat roof, HVAC condensate line, or plumbing stack—diagnosis requires pressure testing or infrared imaging
- Electrical wiring or recessed lighting housings are exposed, wet, or corroded
"Over 60% of ceiling water damage repairs fail within 18 months when the root cause isn’t addressed first." — National Association of Home Builders, Residential Repair Standards 2022
Prevention Tips
Stains return when conditions stay unchanged. Prevention starts where the water does.
- Inspect roof flashing and gutters twice yearly—clogged gutters cause overflow that seeps under shingles
- Install a humidity monitor in attics; sustained RH above 60% encourages condensation on cold ductwork
- Wrap HVAC supply lines with closed-cell foam insulation to prevent sweating in humid climates
- Check bathroom exhaust fan ducts: 30% vent into attics instead of outside (per 2023 NAHB field audit)
Can I just paint over the stain?
No—paint alone doesn’t stop moisture migration or mold growth beneath the surface. Kilz Original or Zinsser Mold Killing Primer can seal *dry*, *clean* stains—but only after full removal of compromised drywall and verification of dryness with a moisture meter (<20% MC).
Do I need to replace insulation behind the drywall?
Yes, if fiberglass batts are wet, compressed, or discolored. Wet insulation loses R-value and harbors mold. Remove it carefully while wearing gloves and an N95 mask, and replace with unfaced batts or spray foam rated for attic use.
What if the stain is near a light fixture?
Turn off power at the breaker, verify with a voltage tester, then remove the fixture housing before cutting. If wiring shows corrosion or melted sheathing, contact a licensed electrician before reinstalling anything.
How long should I wait before painting the repair?
Allow joint compound to dry fully—minimum 24 hours per coat in low-humidity conditions. Use a moisture meter on the finished patch: readings must be ≤12% before priming. Rushing leads to bubbling and peeling.
Can I match the existing ceiling texture?
Yes—with practice. Skip-roll, knockdown, or orange peel textures can be replicated using a hopper gun, texture sprayer, or even a wide brush and thinned mud. For best results, test on scrap drywall first. See our ceiling texture matching guide for technique videos and product comparisons.
Is this repair covered by homeowners insurance?
Sometimes—but only if the leak resulted from a sudden, accidental event (e.g., burst pipe). Gradual leaks or maintenance-related failures (like clogged gutters) are typically excluded. Document everything with dated photos before starting work, and file a claim *before* repair if damage exceeds $2,000. Check your policy’s ‘dwelling coverage’ limit and deductible.
A properly replaced stained ceiling section shouldn’t telegraph its history—no bumps, no mismatched texture, no ghosting. It’s not glamorous work, but getting it right means fewer callbacks, safer air quality, and peace of mind when the next rainstorm hits. If you’ve tackled similar jobs before, consider upgrading to moisture-resistant drywall (green board vs. purple drywall) in bathrooms or kitchens where humidity runs high.