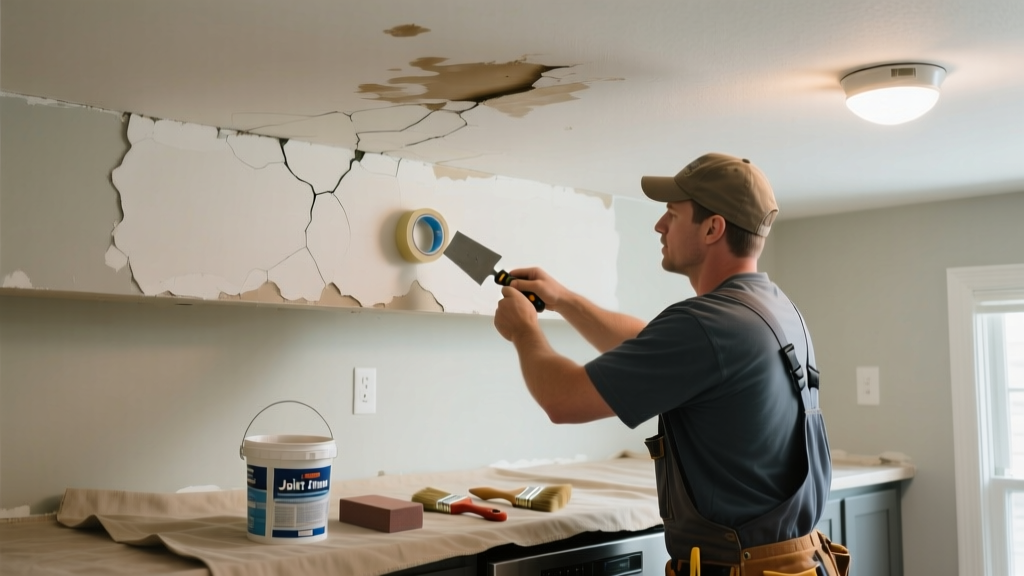
That brownish-yellow splotch on your kitchen ceiling isn’t just ugly — it’s a red flag. Unlike stains elsewhere, kitchen ceiling discoloration often points to active moisture intrusion, grease vapor buildup, or even hidden plumbing issues above cabinets or the attic floor.
Quick Diagnosis
Before grabbing tools, pinpoint the cause. Kitchen ceiling stains rarely appear out of nowhere — they’re symptoms. Here are the most common culprits:
- Leaking supply line or shut-off valve above cabinets (especially behind refrigerator or sink)
- Condensation from unvented range hood exhausting into attic instead of outdoors
- Roof leak directly above kitchen (common with aging shingles or damaged flashing)
- Grease-laden steam rising and condensing on cooler ceiling surfaces over time
- Plumbing vent stack condensation or blockage causing back-pressure and moisture migration
Tools & Materials Needed
| Item | Purpose | Estimated Cost |
|---|---|---|
| Moisture meter (pin-type) | Detects residual dampness beneath paint; confirms if stain is active or old | $45–$85 |
| Kilz Original Oil-Based Primer | Blocks water stains and grease bleed-through better than latex primers | $18–$24 |
| 100-grit sandpaper + pole sander | Smooths blistered or chalky drywall before priming | $12–$20 |
| Drop cloths & painter’s tape | Protects countertops, appliances, and flooring during prep | $8–$15 |
| HEPA vacuum with drywall bit | Cleans dust without spreading mold spores if mild growth is present | $90–$160 |
Step-by-Step Fix
Fixing a stained kitchen ceiling requires more than just covering it up — especially when grease or moisture is involved. Follow these methods in order of severity:
- Confirm dryness first: Use a moisture meter to test at least three spots within the stain. Readings above 15% indicate active moisture — stop here and address the source before proceeding.
- Light sanding & cleaning: Lightly sand stained area with 100-grit paper until surface is uniform. Wipe with TSP substitute (e.g., Krud Kutter) to remove grease film — critical for primer adhesion.
- Oil-based stain blocker: Apply one coat of Kilz Original (not the water-based version) with a 3/8" nap roller. Let dry 24 hours. This prevents yellowing re-emergence — a common failure point with latex primers.
- Topcoat with scrubbable paint: Use Benjamin Moore Aura Bath & Spa or Sherwin-Williams Emerald Interior Acrylic — both rated for high-humidity, grease-prone areas like kitchens.
When to Call a Pro
DIY stops where safety and structural integrity begin. Call a licensed contractor or plumber if you observe any of these:
- Stain expands more than 1 inch per week — indicates ongoing, uncontrolled leak
- Visible sagging, soft spots, or crumbling drywall — risk of collapse
- Mold growth larger than 10 sq. ft. (per EPA guidelines, remediation requires containment and PPE)
- Stain coincides with dripping sounds, musty odor, or rust on nearby pipes or ductwork
"Kitchen ceiling stains linked to plumbing leaks go undetected for an average of 72 days before homeowners act — increasing repair costs by 300% due to secondary damage." — Insurance Institute for Business & Home Safety, 2023 Residential Water Damage Report
Prevention Tips
Preventing recurrence means targeting root causes — not just surface fixes. Start here:
- Install a ducted range hood that vents outside (not recirculating), and clean its filter monthly
- Add insulation above the ceiling (R-30 minimum) to reduce condensation on cold drywall surfaces
- Check shut-off valves and supply lines behind fridge and sink every 6 months for corrosion or weeping
- Run bathroom and kitchen exhaust fans for at least 20 minutes after cooking or washing dishes
Can I use bleach on this?
No. Bleach doesn’t remove grease-based stains and breaks down drywall paper facing, weakening the substrate. It also fails to penetrate deep into porous gypsum board where contaminants reside. Use a TSP-substitute cleaner instead — it emulsifies grease without damaging drywall.
Will a regular primer cover the stain?
Not reliably. Standard latex primers lack the solvent strength to seal tannins, rust, or grease. You’ll see bleed-through within weeks. Oil-based primers like Kilz Original or B-I-N are non-negotiable for kitchen ceiling stains — they create a true barrier.
Do I need to replace the drywall?
Only if the drywall is soft, crumbly, or has visible mold deeper than surface level. If moisture readings are below 12% and the surface is solid after sanding, repair is possible. But if the stain covers more than 4 sq. ft. and feels spongy, replacement is safer and more durable.
Why does this keep coming back after painting?
Recurring stains mean either: (1) the moisture source wasn’t fixed (e.g., leaky pipe still active), or (2) you used water-based primer that couldn’t lock in grease or rust pigments. Both require reassessment — don’t repaint until the root cause is confirmed inactive.
Is this a sign of mold?
Not always — but it’s possible. Brown or yellow stains are typically water or grease-related. However, if the area smells musty, feels damp, or shows fuzzy black/green patches, test with a $15 mold test kit (like Pro-Lab Mold Test Kit, 2022 edition) before sanding. Never disturb suspected mold without proper containment.
Can I fix this without moving my cabinets?
Yes — unless the leak originates from plumbing behind upper cabinets. In that case, you’ll need cabinet removal or access panels. For roof or vent-related stains, work from below is sufficient. Always verify the source location with an infrared camera or moisture scan first.
A stained kitchen ceiling is rarely just cosmetic — it’s your home’s way of signaling something’s off upstream. Address the cause, not just the symptom, and you’ll avoid repeat repairs, higher energy bills, and potential health risks from hidden moisture. For related help, see our guides on leaky kitchen faucet repair and range hood venting problems.