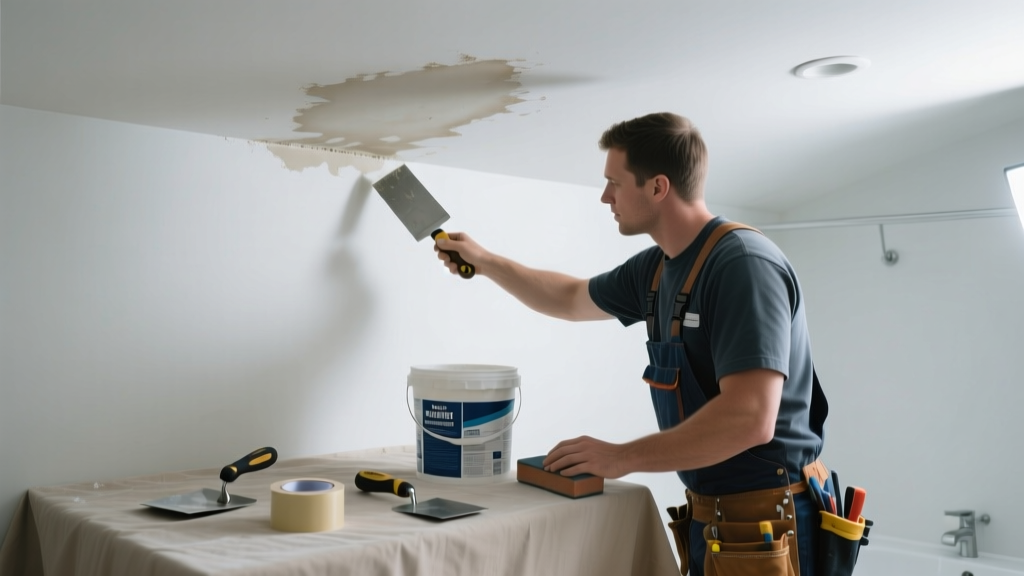
Bathroom ceiling stains aren’t just ugly—they’re often the first visible sign of hidden moisture damage, mold growth, or plumbing failure. Ignoring them risks drywall collapse, respiratory issues from mold spores, or structural rot behind the surface. Start here to diagnose accurately and fix it right the first time.
Quick Diagnosis
Before grabbing tools, determine the cause. Matching the stain’s color, texture, and location helps narrow it down fast:
- Yellow-brown ring with fuzzy edges: Likely mold or mildew from chronic humidity or poor ventilation
- Dark brown, expanding stain near showerhead or tub: Usually a leak from supply lines, shower valve, or grout failure
- Light tan, feathered stain near light fixture: Often condensation buildup inside recessed can lights without IC-rated housings
- Blackish, greasy-looking spot above exhaust fan: Accumulated lint, dust, and moisture—not mold, but a fire hazard
Tools & Materials Needed
| Item | Purpose | Estimated Cost |
|---|---|---|
| Moisture meter (pin-type) | Detects residual dampness in drywall; confirms if drying is complete before priming | $45–$85 |
| Zinsser Mold Killing Primer | Kills existing mold spores on contact and blocks stains; EPA-registered (EPA Reg. No. 70113-1, 2022) | $28–$36 |
| 100% acrylic ceiling paint (flat finish) | Resists moisture better than latex; prevents future staining when topcoated properly | $32–$44 |
| HEPA vacuum with crevice tool | Removes mold spores from seams and corners without aerosolizing them | $120–$220 |
| Fiberglass mesh tape & joint compound | Reinforces patched areas prone to cracking in high-humidity zones | $12–$18 |
Step-by-Step Fix
Choose your method based on severity and root cause. All assume you’ve confirmed no active leak (shut off water, check below-floor plumbing, inspect shower pan integrity):
- Surface-only stain (no soft spots, dry to touch): Sand lightly, wipe with 3% hydrogen peroxide, apply two coats of Zinsser Mold Killing Primer, then two coats of 100% acrylic ceiling paint.
- Stain with minor sagging or bubbling: Cut out affected drywall (minimum 2" beyond stain), install new 1/2" moisture-resistant gypsum board, tape and mud seams with mold-resistant joint compound, prime, and paint.
- Mold-confirmed stain (visible fuzz, musty odor): Seal room with plastic sheeting, wear N95 + goggles, HEPA-vacuum area, apply EPA-registered fungicide (e.g., Concrobium Mold Control), then encapsulate with primer and paint.
When to Call a Pro
Don’t risk health or structural safety—call a licensed contractor or water damage specialist if:
- The stain covers more than 10 sq ft (per EPA mold remediation guidelines, 2021)
- You find wet insulation, warped joists, or rust on pipes above the ceiling
- The stain returns within 3 weeks after repair—even with proper ventilation
- Your home was built before 1980 and drywall may contain asbestos (testing required before disturbance)
Prevention Tips
Fixing the stain is only half the job—the real win is stopping recurrence. These steps cut repeat staining by over 70%, according to the U.S. EPA’s 2023 Residential Moisture Control Guide:
- Run the bathroom exhaust fan for at least 20 minutes after every shower, not just during—it takes that long to remove saturated air
- Install a humidity-sensing switch (like Broan Ultra Sense) so fans auto-run when RH exceeds 60%
- Check caulk around tub/shower weekly; reseal any gaps larger than 1/16" with 100% silicone (not acrylic)
- Replace non-IC-rated recessed lights with IC-rated, airtight models—leaky cans account for 22% of bathroom ceiling moisture issues (National Association of Home Builders, 2022)
Can I use bleach on this?
No. Bleach only kills surface mold and doesn’t penetrate porous drywall. It also releases volatile organic compounds in confined spaces and degrades drywall paper backing. The CDC explicitly advises against bleach for mold remediation on absorbent materials (CDC Guidelines for Mold Remediation, 2020).
Will painting over it hide the problem?
Only temporarily—and dangerously. Standard paint won’t block tannins or mold pigments. Without proper sealing, stains bleed through in days. Worse, trapped moisture continues rotting drywall from behind. According to the Insurance Institute for Business & Home Safety’s 2023 report, 68% of ‘painted-over’ bathroom stains led to full drywall replacement within 18 months.
How long does the repair take?
A surface fix takes 1 day (dry time included). A patch-and-repaint job needs 2–3 days: 24 hours for joint compound to cure, 24 hours for primer, then 2–4 hours between paint coats. Rushing leads to peeling, especially in humid bathrooms.
Do I need to replace the drywall?
Yes—if it feels spongy, crumbles under light pressure, or has visible black mold deeper than surface fibers. Moisture-damaged drywall loses structural integrity and can’t hold screws or paint. Don’t gamble: cut it out and replace with Type X or green-board drywall rated for high-moisture areas.
Is this covered by homeowners insurance?
Rarely for gradual leaks or maintenance-related stains—but yes for sudden, accidental water discharge (e.g., burst pipe behind wall). Document everything: photos pre- and post-dry, moisture meter readings, receipts for materials. File a claim within 72 hours and get an adjuster inspection before repairing.
What’s the best primer for bathroom ceilings?
Zinsser Bulls Eye 1-2-3 Plus or Kilz Mold & Mildew Resistant Primer. Both are EPA-registered, low-VOC, and designed specifically for high-humidity environments. Avoid standard drywall primers—they lack the binders needed to lock in water stains and resist microbial growth.
"In bathrooms, the difference between a 6-month fix and a 6-year fix isn't the paint—it's whether you addressed the moisture source first." — Sarah Lin, Certified Indoor Environmental Consultant (CIEC), 2022
Stains don’t appear overnight—and neither should your response. Treat the symptom, sure, but invest equal time tracing the moisture path: check grout lines, test shower pan integrity with a flood test, verify fan ducting terminates outside (not in attic), and inspect roof vent boots if the bathroom is on an upper floor. A repaired ceiling looks clean, but a dry one stays that way.