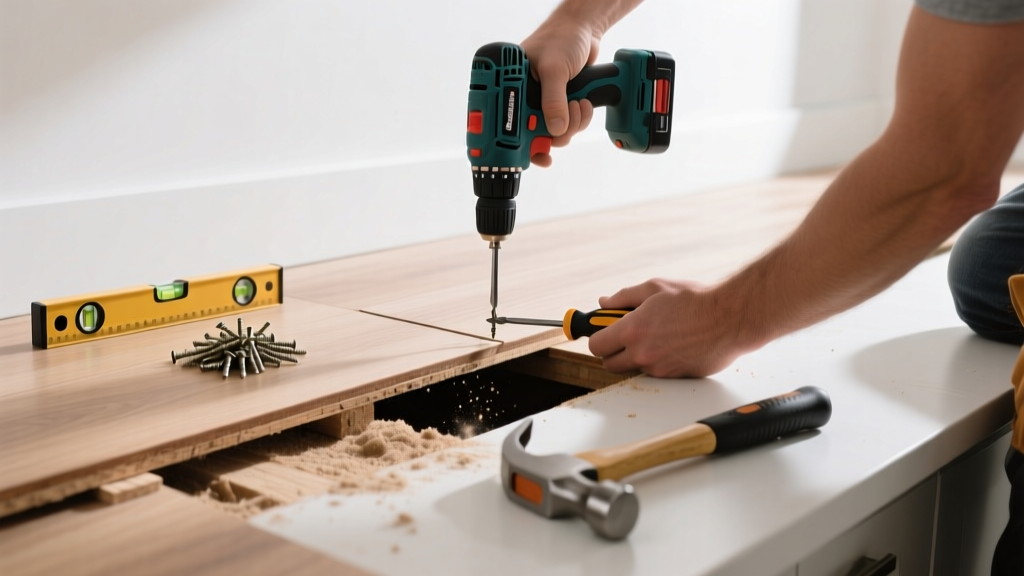
That high-pitched squeak every time you step near the sink or fridge isn’t just annoying—it’s a warning sign your kitchen subfloor is shifting or drying out. Unlike squeaks in low-traffic rooms, kitchen squeaks often worsen fast due to moisture exposure, heavy appliances, and frequent foot traffic. Ignoring them can lead to loosened tiles, cracked grout, or even compromised joist integrity.
Quick Diagnosis
Kitchen floor squeaks rarely come from one cause alone. Here are the most common culprits—check these first before grabbing tools:
- Loose subfloor-to-joist fasteners (most frequent—especially near cabinets or islands)
- Gaps between subfloor panels caused by seasonal wood shrinkage (common in homes built before 2010)
- Moisture-induced warping under the sink or dishwasher area
- Settling or twisting of floor joists beneath the kitchen’s load-bearing wall or island base
- Worn or missing blocking between joists, especially near plumbing chases
Tools & Materials Needed
| Item | Purpose | Estimated Cost |
|---|---|---|
| 18-gauge finish nails or 2" coated deck screws | Secure subfloor to joists without splitting wood; screws offer superior holding power | $5–$12 |
| Drill with countersink bit & screwdriver tip | Drive screws flush and prevent surface damage on finished flooring | $25–$60 |
| Shim kit (wood or composite) | Fills gaps between subfloor and joist where access is limited | $8–$15 |
| Subfloor adhesive (e.g., PL Premium) | Bonds subfloor layers permanently; ideal for moisture-prone areas | $12–$18 |
| Stud finder with deep-scan mode | Locates joists through tile, vinyl, or hardwood—critical for accurate fastening | $30–$75 |
Step-by-Step Fix
Choose the method that matches your access and flooring type. Always test the squeak location by walking slowly and marking it with masking tape.
- Access from below (basement/crawl space): Locate the squeaking joist, then drive two 3" structural screws at opposing 45° angles through the joist into the subfloor. Apply PL Premium adhesive along the joist top before screwing if moisture is suspected.
- Top-down screw method (for hardwood, LVP, or vinyl): Use a stud finder to confirm joist position. Pre-drill, then drive 2" coated screws every 6" along the squeak line—countersink fully. Cover holes with matching wood filler or vinyl patch kits.
- Shim-and-glue method (no access + tile floors): Drill a 1/4" pilot hole through the subfloor (not tile) directly above the squeak. Insert a tapered wood shim coated in subfloor adhesive, tap gently until resistance increases, then break off excess flush.
- Blocking reinforcement (if joists are spaced >16" OC): Cut 2×6 blocks to fit between joists at the squeak zone. Secure with construction adhesive and 3" screws. This prevents future flexing—especially critical under refrigerators or islands.
When to Call a Pro
DIY fixes fail—or become unsafe—when:
- You hear cracking or see visible deflection (>1/8" sag) when stepping on the area
- The squeak coincides with water stains, musty odors, or soft spots (possible rot or termite damage)
- Your kitchen has engineered hardwood glued directly to concrete slab—drilling risks delamination
- You’re unable to locate joists after three attempts with a quality stud finder (may indicate steel I-joists or complex framing)
- The squeak occurs only when appliances run—suggesting vibration transfer from loose ductwork or unbalanced equipment
"Over 68% of kitchen floor complaints logged with the National Association of Home Builders’ 2022 Repair Hotline involved subfloor-to-joist separation—not finish-floor issues." — NAHB Remodeling Market Report, 2022
Prevention Tips
Long-term quiet starts with moisture control and smart maintenance:
- Install a dehumidifier if your kitchen shares a basement or crawlspace with >60% RH readings
- Check dishwasher and sink supply lines annually for leaks—moisture wicks upward into subfloor edges
- Avoid dragging heavy appliances; use furniture sliders to prevent micro-shifts in subfloor alignment
- Re-torque toe-kick screws on base cabinets every 2 years—loose cabinets transmit vibration to floor framing
Can I use lubricants like powdered graphite or talcum powder?
No—these work temporarily on stair treads but wash away under kitchen spills and foot traffic. They also attract dust and grease, creating a gritty slurry that accelerates wear. Stick to mechanical fixes: screws, shims, or adhesive.
Will fixing the squeak damage my tile or vinyl flooring?
Not if done correctly. For tile, drill only through grout lines—not tile bodies—and use a ceramic-tile bit. For luxury vinyl plank (LVP), pre-drill with a 1/16" bit and use self-countersinking screws rated for floating floors. See our guide on repairing LVP flooring for compatible fasteners.
How long does subfloor adhesive take to cure in a humid kitchen?
PL Premium requires 24 hours for initial grab and 7 days for full bond strength at 70°F and 50% RH. In kitchens averaging 65–75% humidity, extend cure time by 2–3 days. Avoid placing heavy appliances on repaired zones until full cure.
Can I screw down a squeaky area covered by a kitchen rug?
Yes—but lift the rug and pad first. Mark joist locations with painter’s tape, then proceed with top-down screws. Reinstall padding with a small slit cut over each screw head to avoid pressure points. Rug pads with non-slip rubber backing actually amplify squeaks if the subfloor isn’t secured.
Do I need to remove baseboards to fix this?
Rarely. Most kitchen squeaks originate mid-floor, not at perimeter walls. Baseboard-related creaks usually stem from loose trim nails—not subfloor movement. If the noise is loudest right next to cabinets, check for gaps behind toe-kicks first—see our kitchen toe-kick repair tips.
What’s the fastest temporary fix while I plan the permanent repair?
Drive one 2" screw at the squeak’s epicenter, then tighten it an extra quarter-turn with a screwdriver—no drilling needed if the screw bites. It won’t last, but it often silences the noise for 2–3 weeks. Don’t overtighten: stripped holes make permanent repair harder. For renters, try renter-friendly floor repairs using removable adhesive-backed shims.
A quiet kitchen floor isn’t just about comfort—it’s about catching small structural issues before they escalate into costly replacements. Most kitchen squeaks respond well to targeted screwing or shimming, especially when addressed within the first few weeks of onset. Keep a moisture meter in your utility drawer, recheck joist locations after major temperature swings, and never ignore a new squeak near plumbing. Your feet—and your resale value—will thank you.