That sharp, embarrassing squeak every time you step on the bathroom floor isn’t just annoying—it’s often a warning sign. Bathrooms are high-moisture zones where wood swells, fasteners loosen, and subfloor adhesion fails faster than in other rooms. Ignoring it risks worsening damage or even mold growth beneath the flooring.
Quick Diagnosis
Before grabbing tools, identify the root cause. Most bathroom squeaks stem from one (or more) of these issues:
- Loose or corroded nails or screws connecting subfloor to joists
- Gaps between subfloor panels caused by shrinkage or moisture warping
- Subfloor not glued to joists (common in older builds)
- Moisture-damaged OSB or plywood softening near tub/shower drains
- Tile or vinyl flooring bridging over a void or flexing at seams
Tools & Materials Needed
| Item | Purpose | Estimated Cost |
|---|---|---|
| Drill with countersink bit | Drives screws without breaking tile or cracking grout | $25–$45 |
| 1¼" coated deck screws | Corrosion-resistant, grip better than nails in damp environments | $8–$12 |
| Shim kit (wood or composite) | Fills gaps between subfloor and joist without prying up finished floor | $6–$10 |
| Stud finder with deep-scan mode | Locates joists through tile, cement board, or thick underlayment | $30–$65 |
| Moisture meter (pin-type) | Confirms if subfloor is saturated—critical before screwing into wet wood | $40–$90 |
Step-by-Step Fix
Try these methods in order—from least invasive to most involved:
- Locate the joist: Use a deep-scan stud finder to map joist centers (typically 16" or 24" apart). Mark them with painter’s tape.
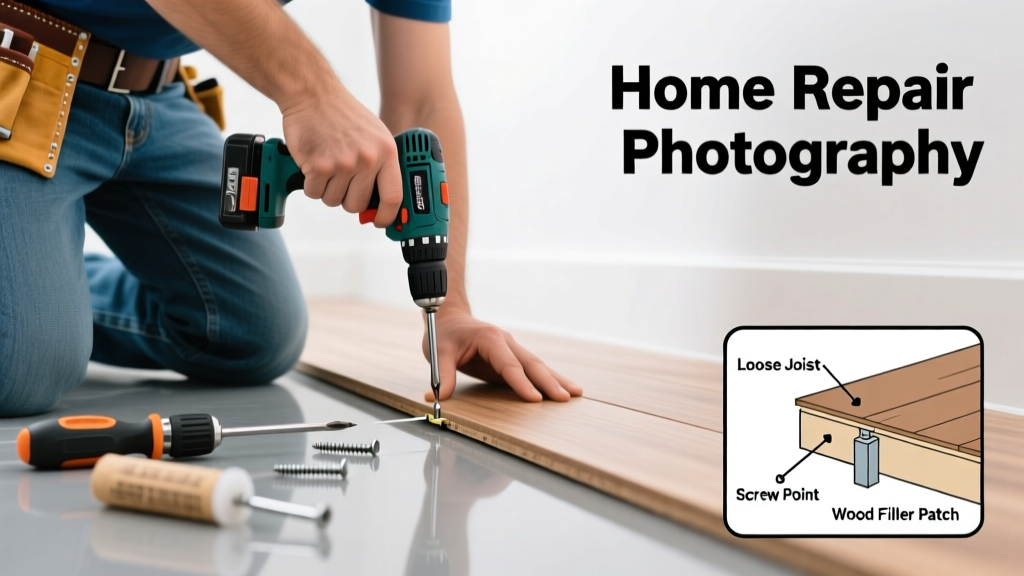
- Screw down the squeak zone: Drill pilot holes through the finished floor (tile or vinyl) directly above the joist, then drive coated screws until flush. For tile, use a diamond-tipped bit and go slow to avoid cracking.
- Shim from below (if accessible): If you have basement or crawl space access, slide tapered shims between subfloor and joist where gaps exist—tap gently with a block of wood and secure with construction adhesive.
- Apply subfloor adhesive: Inject PL Premium or similar subfloor glue into gaps using a caulk gun and nozzle extension—then clamp or weight the area for 24 hours.
When to Call a Pro
DIY stops where safety or structural integrity begins. Call a licensed contractor if:
- You detect sponginess or visible sagging near the toilet flange or shower base
- Moisture readings exceed 18% on two or more adjacent subfloor spots (per Wagner Moisture Meter guidelines, 2022)
- The squeak coincides with grout cracks wider than 1/16" or tiles lifting at corners
- You’re working over a concrete slab with no access from below and can’t confirm joist location
"Over 60% of bathroom floor repairs we handle start with undetected moisture intrusion—not loose fasteners." — Mike R., certified home inspector with InterNACHI, 2023
Prevention Tips
Stop future squeaks before they start:
- Run your bathroom exhaust fan for 20 minutes after every shower to reduce humidity buildup under flooring
- Check caulk around tub and shower bases annually; reseal any gaps to prevent water seepage
- Avoid placing heavy freestanding cabinets directly over unsupported subfloor spans
- If replacing flooring, specify subfloor adhesive (not just nails) during installation—required by the National Tile Contractors Association (NTCA, 2021)
Can I use regular drywall screws instead of deck screws?
No. Drywall screws lack shear strength and corrosion resistance. In a bathroom’s humid environment, they’ll snap or rust within months. Deck screws have deeper threads and hardened steel—critical for long-term hold in damp subfloors.
Will fixing the squeak damage my tile?
Not if done carefully. Use a diamond-tipped masonry bit at low RPM, apply light pressure, and place masking tape over the drill point to reduce slippage. For large-format porcelain, consider how to drill tile without cracking first.
How do I know if the subfloor is rotten?
Press firmly with a screwdriver tip at the squeak site. If the wood compresses, crumbles, or feels soft—even slightly—it’s compromised. Also check for dark staining, musty odor, or visible fungal growth. Replace damaged sections per bathroom subfloor replacement standards.
Can I fix this without removing the toilet?
Yes—in most cases. The toilet flange sits on top of the subfloor and rarely interferes with joist access. Just avoid drilling within 2" of the flange bolts. If the squeak is directly under the tank base, shut off water, disconnect supply, and lift the tank (not the bowl) for safer access.
Do I need to replace the entire subfloor if only one spot squeaks?
Not necessarily. Isolated squeaks usually mean localized fastener failure or a small gap—not systemic rot. But always verify moisture levels first: per the U.S. EPA’s 2023 Indoor Air Quality Guide, prolonged subfloor moisture above 16% RH increases mold risk exponentially.
What if the squeak returns after six months?
Recurring noise often means the underlying moisture issue wasn’t resolved—or fasteners were driven into warped, non-contacting wood. Recheck humidity control, retest moisture, and consider adding a second row of screws offset 1" from the first to ensure full joist engagement.
A quiet bathroom floor shouldn’t be a luxury—it’s basic function and safety. Addressing squeaks early keeps moisture in check, preserves your flooring investment, and avoids the costlier repairs that follow neglect. And remember: when in doubt about subfloor integrity, get a moisture reading before you drill.