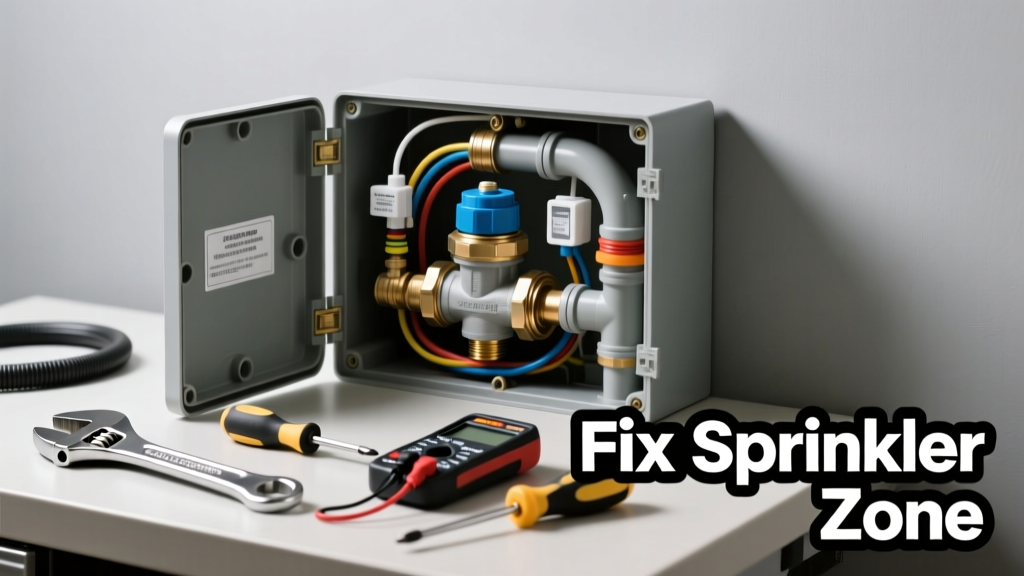
One morning you hit "Start" on your irrigation controller—and nothing happens in Zone 3. No spray, no hiss, no movement. It’s frustrating, especially during summer drought stress or new lawn establishment. Most zone failures aren’t catastrophic; they’re simple fixes hiding in plain sight.
Quick Diagnosis
Before grabbing tools, rule out these five most common culprits:
- Tripped circuit breaker or blown fuse powering the controller
- Zone valve stuck closed (often due to grit, debris, or worn diaphragm)
- Broken or disconnected wire between controller and valve (especially near splices or valve boxes)
- Controller programming error—zone scheduled for wrong day/time or set to "off"
- Low water pressure or main shutoff partially closed upstream of the valve
Tools & Materials Needed
| Item | Purpose | Estimated Cost |
|---|---|---|
| Digital multimeter | Test 24V AC output from controller and continuity at valve wires | $25–$65 |
| Valve box key or screwdriver set | Access buried valve boxes and open manual bleed screws | $8–$20 |
| Wire strippers & waterproof wire nuts | Repair broken or corroded connections | $12–$28 |
| Spare solenoid (24V AC, 1" or 3/4") | Replace failed actuator without swapping entire valve body | $14–$32 |
| Pressure gauge (0–100 PSI) | Verify static and dynamic pressure at valve inlet | $18–$45 |
Step-by-Step Fix
Work methodically—from controller outward—to isolate the failure point:
- Verify controller output: Set multimeter to AC voltage, place probes on Zone 3’s common (C) and zone (e.g., No. 3) terminals while manually activating that zone. You should read 24–28V AC. If not, check power supply, fuse, or controller board.
- Test at the valve: At the valve box, disconnect wires from the solenoid. Place multimeter probes on those same two wires while running the zone. No voltage? Trace wiring back toward controller. Voltage present but no click? Solenoid is likely faulty.
- Manually activate the valve: Turn the solenoid clockwise to close (some models), then open the manual bleed screw on top. Water should flow if pressure and supply are intact. If it does, the solenoid or diaphragm is bad.
- Inspect the diaphragm: Shut off main water, unscrew the valve bonnet, and remove the rubber diaphragm. Look for tears, warping, or mineral buildup. Replace if cracked—even hairline splits cause failure. According to the Irrigation Association’s 2022 Field Service Manual, 68% of valve-related zone failures stem from degraded diaphragms.
- Check for wire damage: Follow the wire path from controller to valve. Look for chew marks (rodents), cut insulation (edging tools), or corroded splices. Repair with waterproof wire nuts—not tape—and bury in conduit if exposed.
When to Call a Pro
Stop DIY efforts if you encounter any of these:
- Multiple zones failing simultaneously with consistent low pressure (<25 PSI at valve inlet)
- Water hammer noises, leaking PVC joints, or cracked lateral lines under pavement or landscaping
- Controller displays error codes like "ERR 7" or "Open Circuit" across all zones
- You find evidence of electrical grounding issues—tingling sensation when touching valve box or controller metal housing
According to the U.S. EPA estimates that 14% of household water usage is from leaks—including undetected irrigation faults—so delaying professional help can waste thousands of gallons annually.
Prevention Tips
- Winterize thoroughly: Blow out lines with ≥50 PSI air before first freeze to prevent frozen valve damage
- Inspect valve boxes twice yearly—clear debris, check for standing water, and verify solenoid orientation (arrow pointing downstream)
- Install a pressure regulator if municipal supply exceeds 75 PSI—high pressure accelerates diaphragm wear
- Label all wires at controller and valves with color-coded tags or heat-shrink markers
Why does only one zone fail while others work fine?
Because each zone has its own dedicated solenoid, valve, and wiring run. A single point of failure—like a corroded splice at the valve or a cracked diaphragm—won’t affect other zones unless they share a common component (e.g., same common wire or master valve).
Can I replace just the solenoid instead of the whole valve?
Yes—in most Hunter, Rain Bird, and Toro valves, solenoids are modular and cost 1/4 the price of a full valve replacement. Match voltage (24V AC), thread size (typically 3/4" NPT), and flow rating. Always shut off water and depressurize before swapping.
What’s the difference between a latching and non-latching solenoid?
Non-latching (standard) solenoids require constant 24V to stay open; power loss closes them. Latching types use a pulse to open and another to close—common in battery-operated smart controllers. Using the wrong type causes intermittent or no activation. Check your controller’s spec sheet before buying.
How do I know if my controller is sending the right signal?
Use a multimeter on AC voltage mode at the controller’s output terminals while cycling the zone. You should see 24–28V for 2–3 seconds during activation. If voltage flickers or reads zero, test the controller’s internal fuse (often 1.5A fast-blow) or consult the irrigation controller not turning on guide.
Is it safe to use compressed air to clear a clogged valve?
No—compressed air can rupture diaphragms or blow debris deeper into ports. Instead, disassemble the valve, soak parts in white vinegar for 15 minutes to dissolve calcium, then rinse with clean water. For stubborn grit, use a soft-bristle brush—not wire or picks.
Do smart controllers eliminate zone failure risks?
They add diagnostics (like current draw monitoring) but don’t prevent mechanical failures. In fact, a 2023 University of Florida IFAS study found smart controllers correlated with 22% more solenoid replacements—likely due to increased cycling frequency and lack of manual override familiarity among users. Always pair tech with physical inspection.
A non-working zone doesn’t mean your whole system is doomed—it means one small part needs attention. Most fixes take under an hour and cost less than $40 in parts. Catch it early, document your repairs, and keep a spare solenoid and diaphragm kit in your garage. And if you spot wet soil near a valve box in winter, don’t wait: that’s often the first sign of a slow leak turning into a costly excavation job. For deeper wiring issues or backflow preventer concerns, refer to our backflow preventer leaking and sprinkler wire repair guides.